Configure & Create New Customers in Odoo 16 Sales App
One of the most important modules in Odoo is the sale module. Using this module, you can efficiently manage and view sales data with a large amount of data. You can easily manage and control data with its integrated features and functionalities. After releasing of the new version its features are also increasing. Odoo 16 has brought the system to a great level of functionality and performance. Its user-friendly interface is the main feature among them. There is a lot of updation that comes under the Odoo 16 sales module and sales app.
The Odoo sales module provides a separate platform for creating and managing customer details. So we can create a customer in the Sale module and we can add further information about the customer.

We want to select the Sale module, after selecting the sale module it will be directed to the quotation menu.
 Here we can see menus like Orders, To Invoices, Product, Reporting, Configuration
We want to select Orders Menu, below this drop-down menu, there will be Quotation, Orders, Sales Teams, and Customers.
DOWNLOAD ERP
Create New Customers in Odoo Sales App
To Create new customers and to know already created Customer details we want to click Customers.
After selecting the customer’s option, we will direct you to a new page that shows the Kanban view of customers. Here we can see options like Filter, Group By, and Favourites This will allow you to easily locate the essential data from the Customs record in our database.

Under this Odoo 16 Sales Module, let’s see how to configure or create a New Customer. So just click on the create button shown in the above image. After clicking, it will open a new page where we can give all the details about this customer.

You can give a new name to the customer; the customer can be an individual or a company. Also, we can give other information such as Address, Phone, Mobile, Email, Tax-id, Website, Language, and Tags.
There are sub-tabs for Contacts and Addresses, Sales and Purchase, Accounting, Internal notes, Partner Assignment, and Membership.
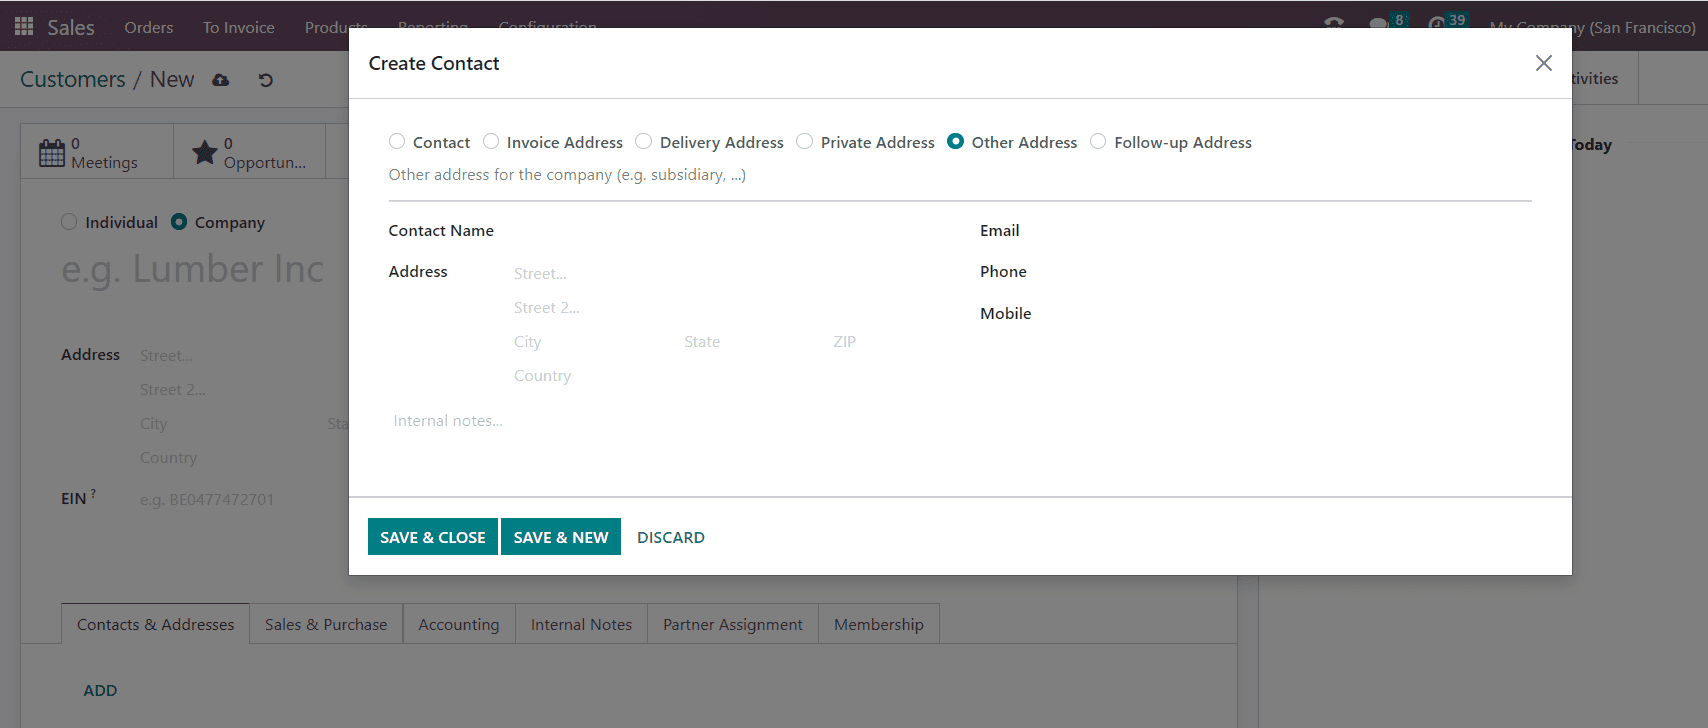
In Contact and Addresses there will be a add button, after clicking this button a pop-up window will come up. There we can give information like contact name, address, phone, email, and mobile, we can give other addresses like invoice address, delivery address, private address, other address, and follow-up address.
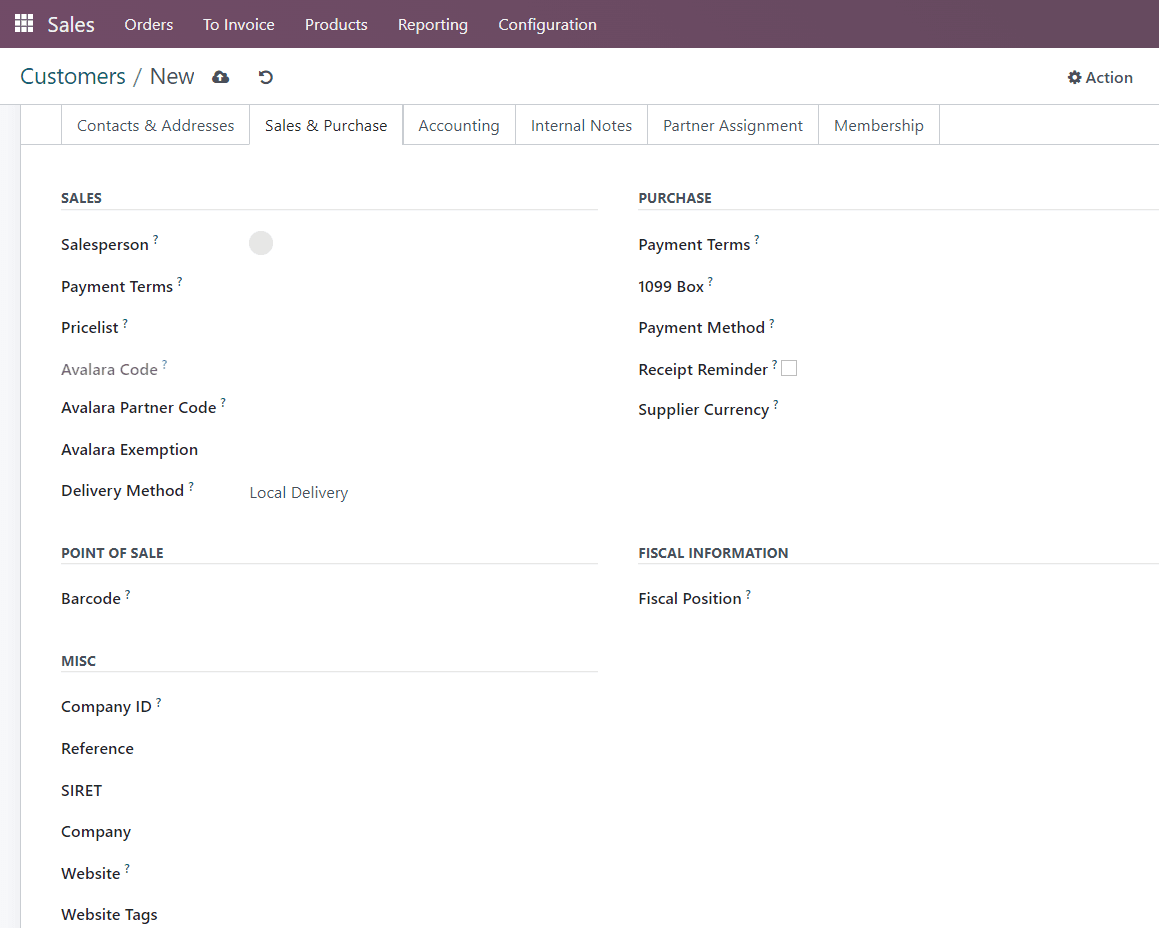
On Sale and Purchase page, we can provide information for sales and purchases and in here sale tab we can give all sale details in the purchase tab, we can give all purchase details.
In sales, we can give who the salesperson corresponds also payment terms which show the duration of the payment completion sometime it will be immediate payment or within a no of days.
Similarly to purchase we can give payment terms and payment methods which will be cash, bank, and checks. Etc. Also, we can select supplier currency. The clicking button box corresponds to a receipt reminder it will send to the customer before the expected receipt date, confirming the exact date by the customer.
Also, there is the point of sale we can set a barcode, this contact’s fiscal position is determined by the fiscal information field and Miscellaneous (MISC) will provide the company id, also we can select the company, reference, website, website tags, and we can select the type of industry.
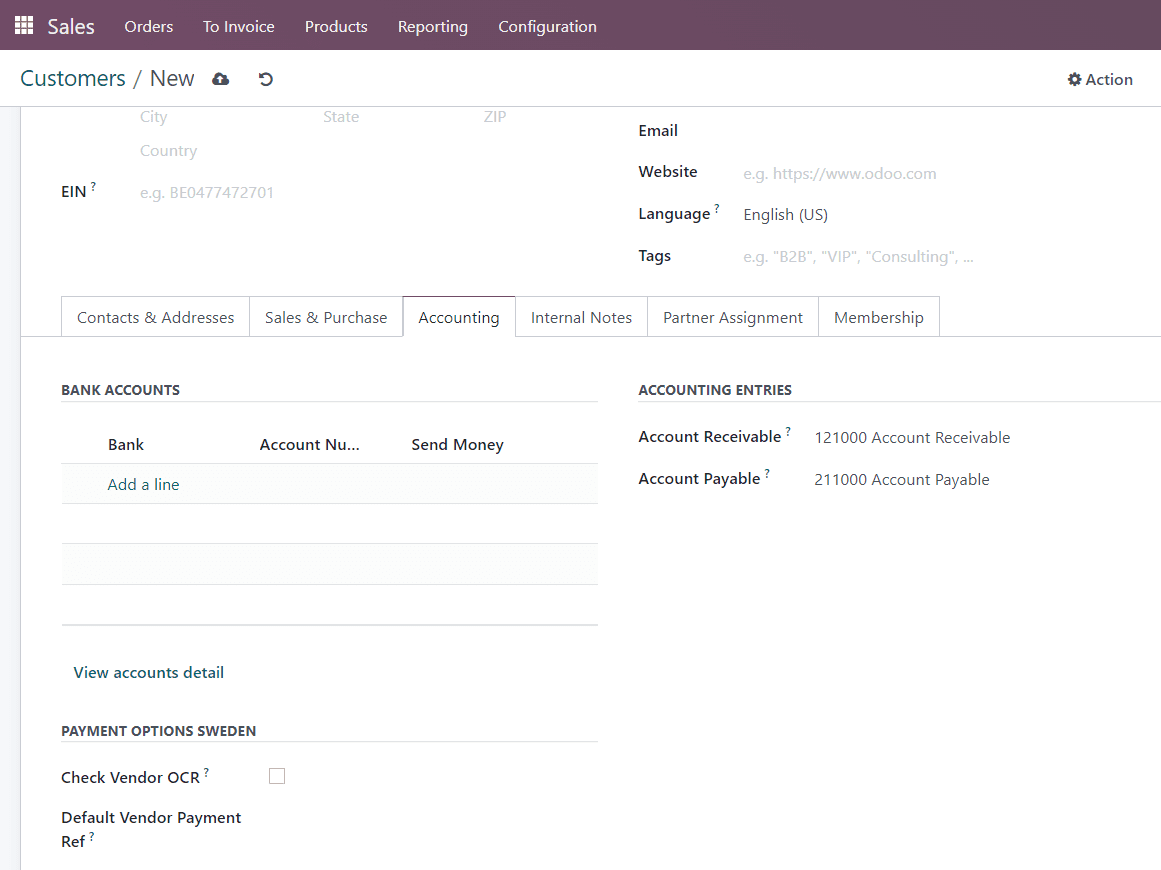
The next tab is Accounting, here we can give bank account details like account number, and name. Etc.
Then, under Accounting Entries, you can mention Account Receivable and Account Payable. The Check Vendor OCR option can be activated if the vendor’s OCR number is used, and they can enter the Default Vendor Payment Reference under the view account details option.
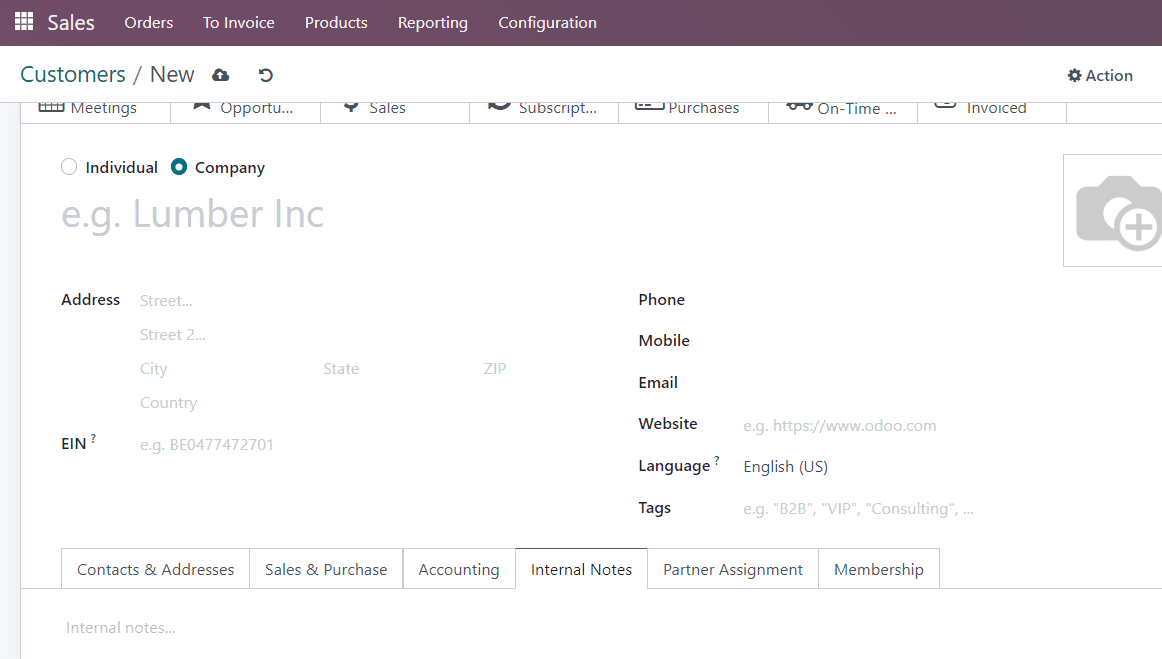
The next tab is Internal note, where we can give additional information about the customer
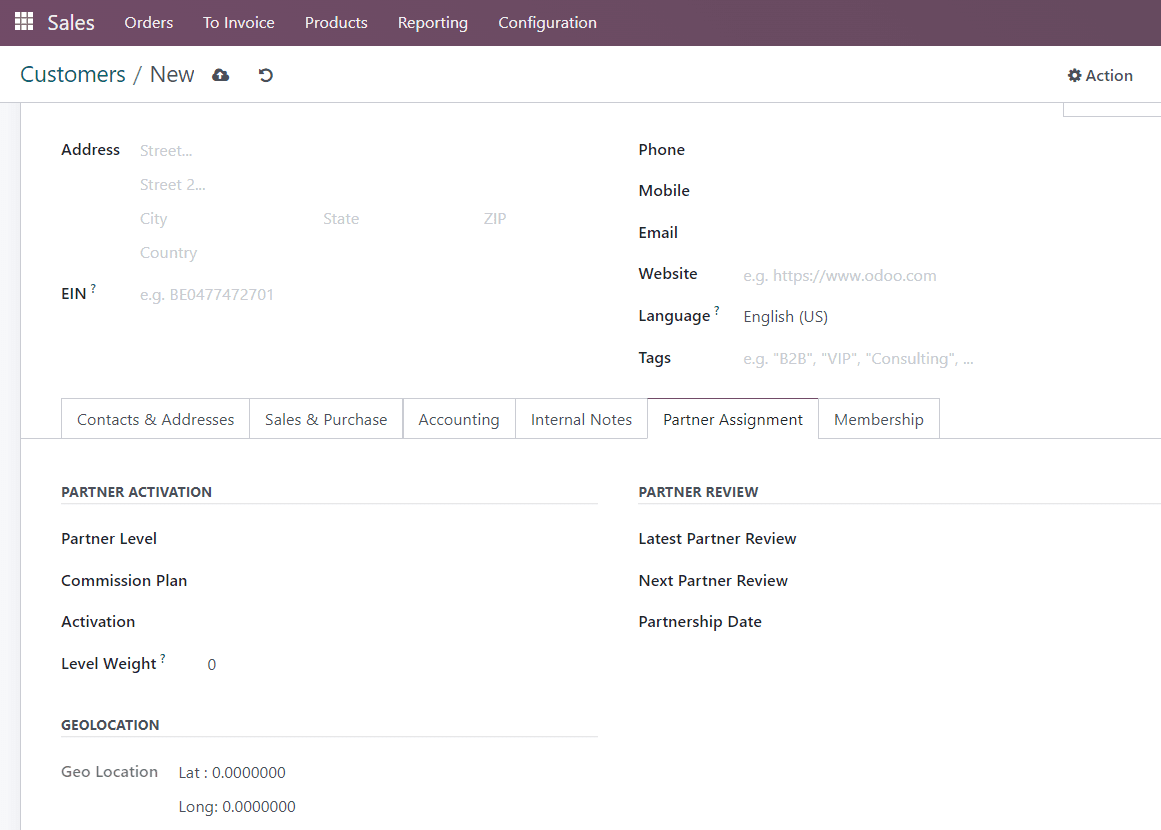
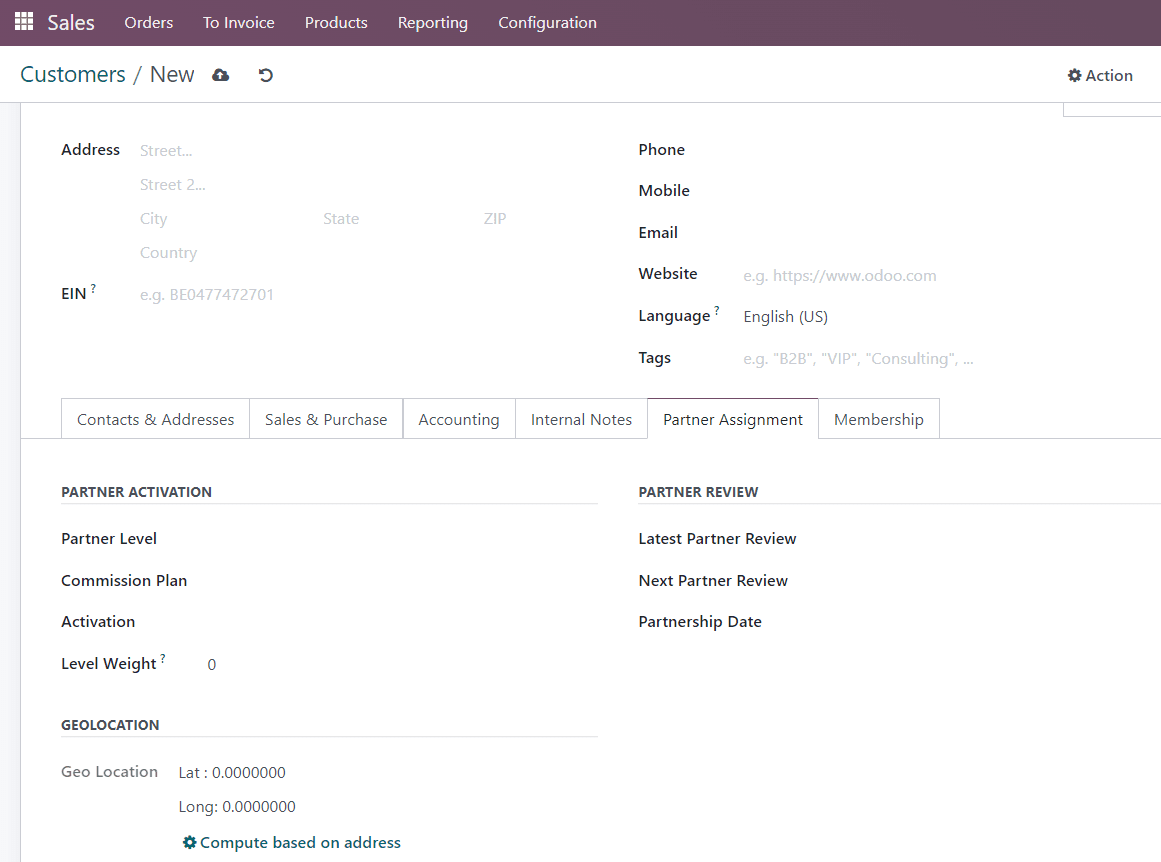
The next tab is the partner assignment tab, in the submenu Partner Activation we can select partner levels such as gold, silver, or bronze. Etc and we can give commission plan, activation, and level weight, in the Partner review submenu we can give Latest Partner Review date, Next Partner Review date, and Partnership Date.
In the Membership tab we can give the details of the customer’s membership can be added. Here there are some sub-options for membership.
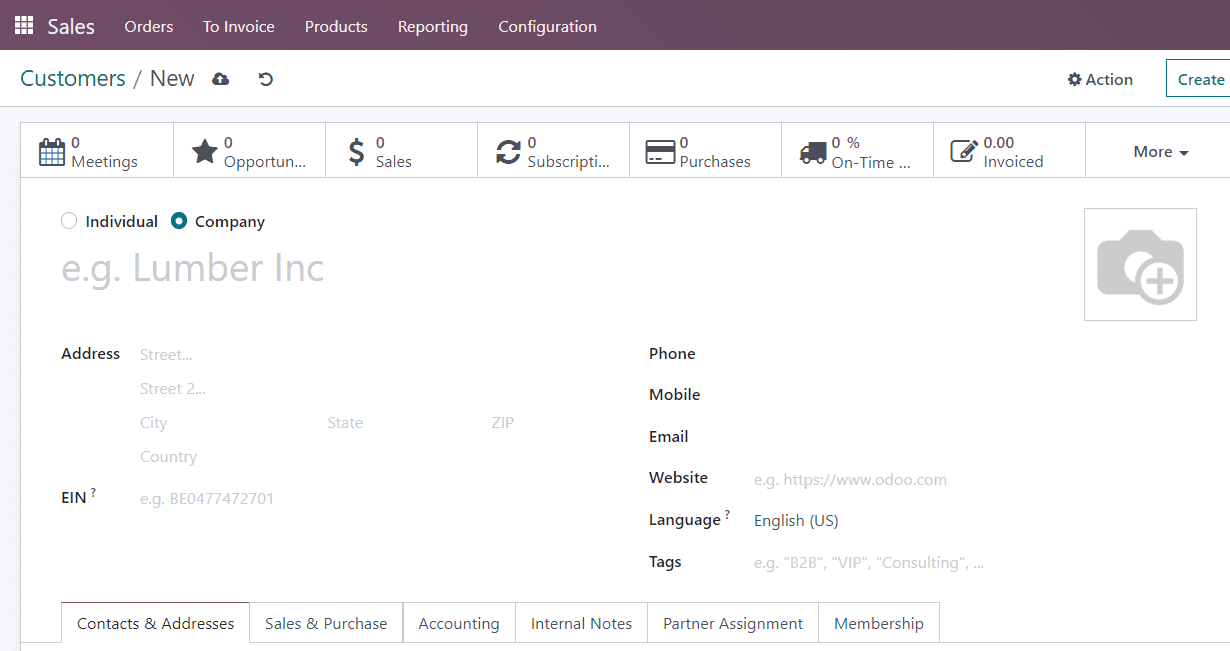
Above there is a smart button for Meetings, Opportunities, Sales, Subscriptions, Tasks, and Purchases. etc which is shown in the above image.
"Unlock the Full Potential of Your Business with Odoo ERP!"
"Get a Cost Estimate for Your ERP Project, Absolutely FREE!"
Get a Free Quote