Server action Odoo 15 | How to create Server Actions
In Odoo, ‘Actions’ can be defined as the behaviour of the system in response to the user’s actions. There are different actions namely, Server Action Odoo, Window Action, Client Action, Report Action, URL Action, and Automated Actions. In this blog, we will look into the different parameters and functionalities of ‘Server Actions’.
Server Actions in Odoo
‘Server Actions’ work on a base model and offer different actions that can be executed.
Different actions that a server action can perform include :
1. Execute Python Code
2. Create New Record
3. Update the Record
4. Execute several Actions
5. Send Email
6. Add Followers
7. Create Next Activity
8. Send SMS Text Message
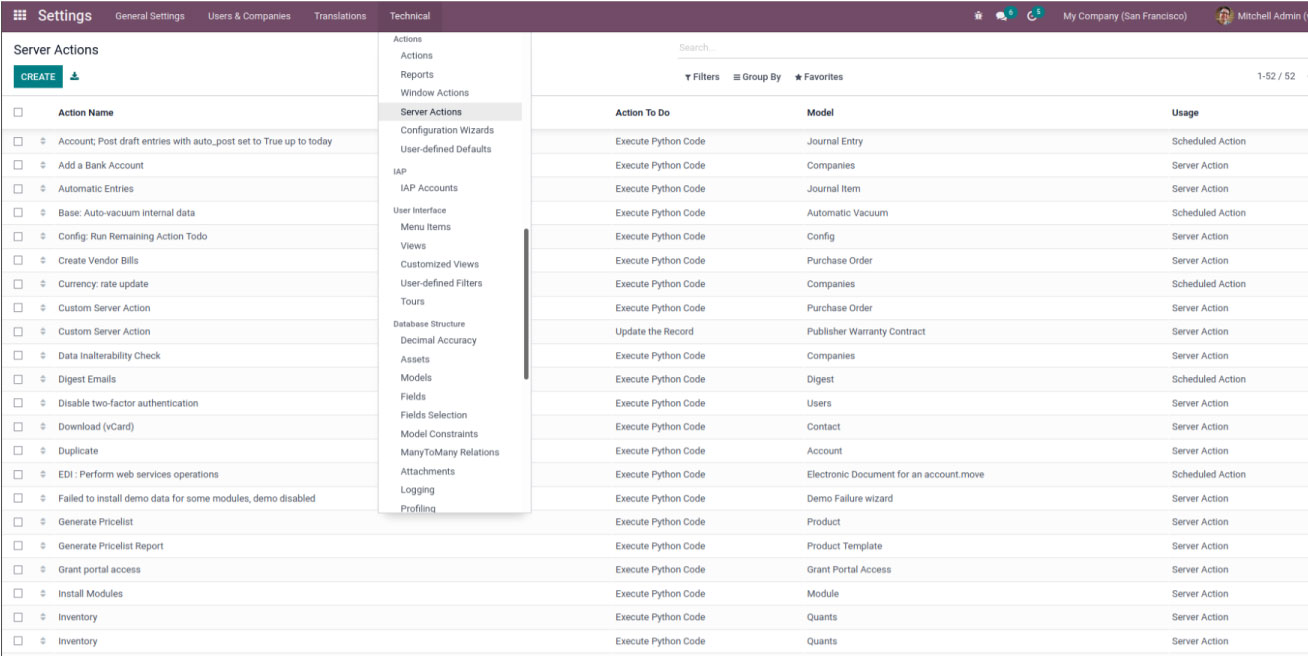
Server action in Odoo can be accessed or created from the user interface by activating the ‘Developer Mode’ and then going through the below steps –
- Settings → Technical → Actions → Server Actions
It can also create server actions via changes in custom modules.
To create a server action, firstly create a data XML file and specify the required parameters.
Example –
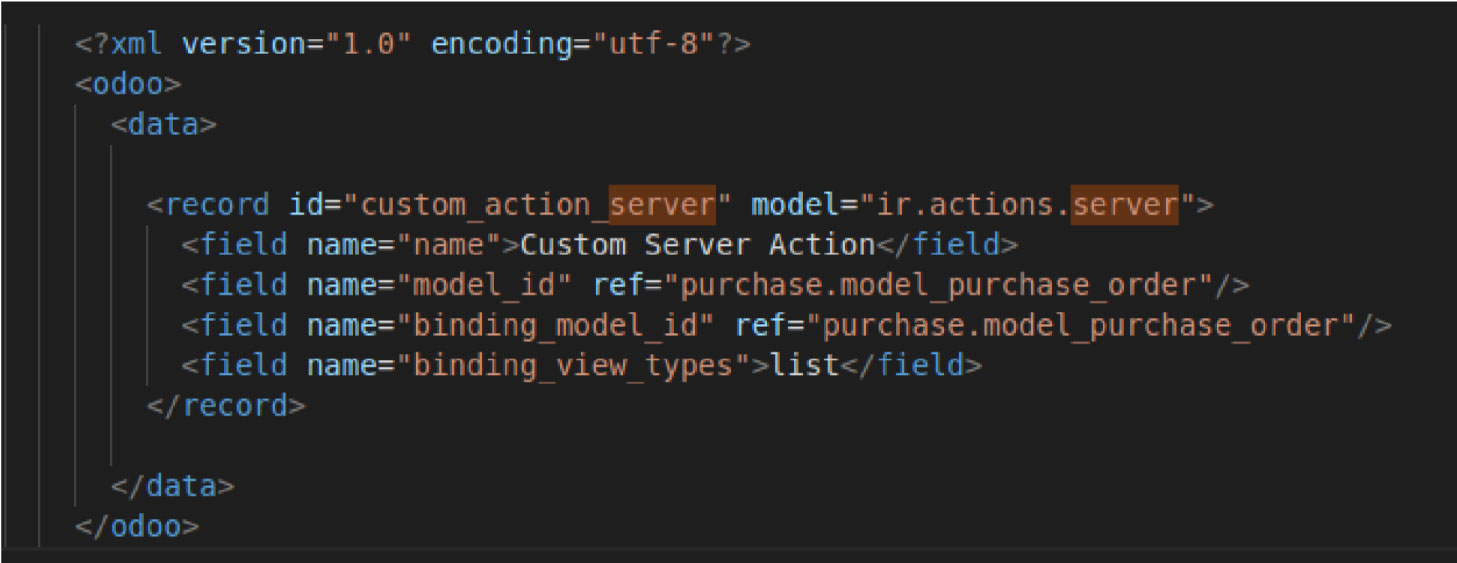
- id – unique ID given to this server action
- model – “ir.actions.server”
- name – descriptive name given to this server action which will be displayed in the user interface
- model_id/binding_model_id – model to which they applied this server action
- binding_view_types – view types for which the action appears in the contextual menu, mostly
“list” and/or “form”.
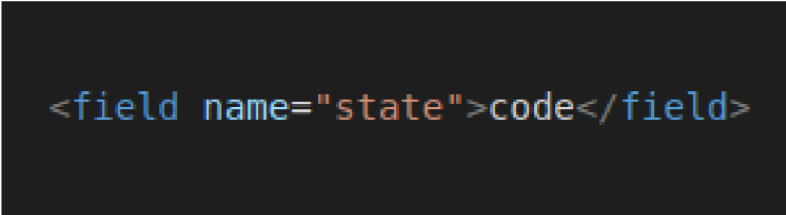
Apart from the above parameters, we need to select the required type of action. So, specify it by the ‘state’ parameter.
1. Execute Python Code
a. In this case, the ‘state’ parameter is defined as:
b. The required python code can also be defined using the ‘code’ parameter
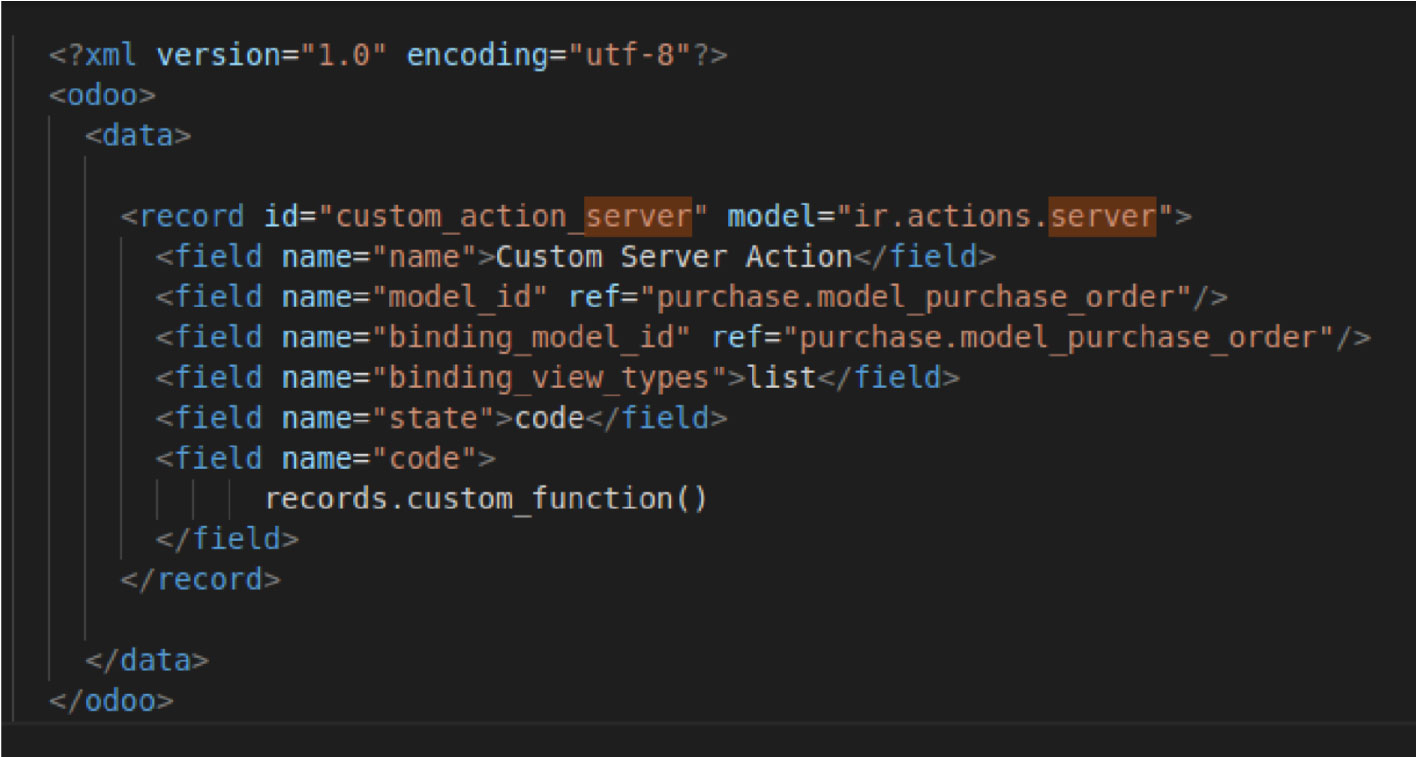
c. In this, the custom_function() in the purchase_order model will be called when executing the server action.
d. The server action will then appear in the contextual action menu in the purchase_order model list view.

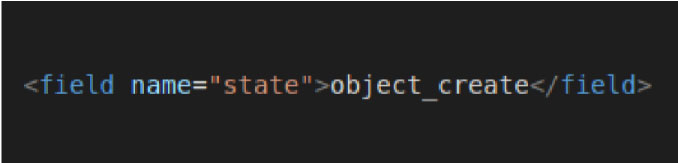
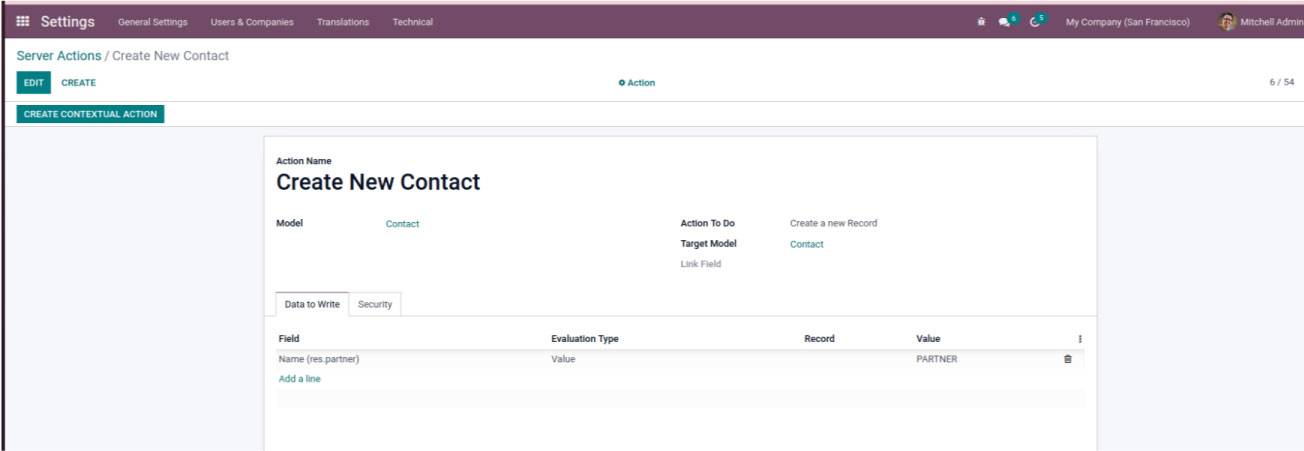
2. Create a New Record
a. In this case, the ‘state’ parameter is defined as –
b. Select the target model where the record will be created.
c. Enter required details under the ‘Data to write’ tab.
d. Click on the ‘CREATE CONTEXTUAL ACTION’ button to add the server action to the contextual action of the selected model.
3. Update the Record
a. In this case, the ‘state’ parameter is defined as:

b. Select the required model.
c. Choose the required field to be updated in the ‘Data to write’ tab.
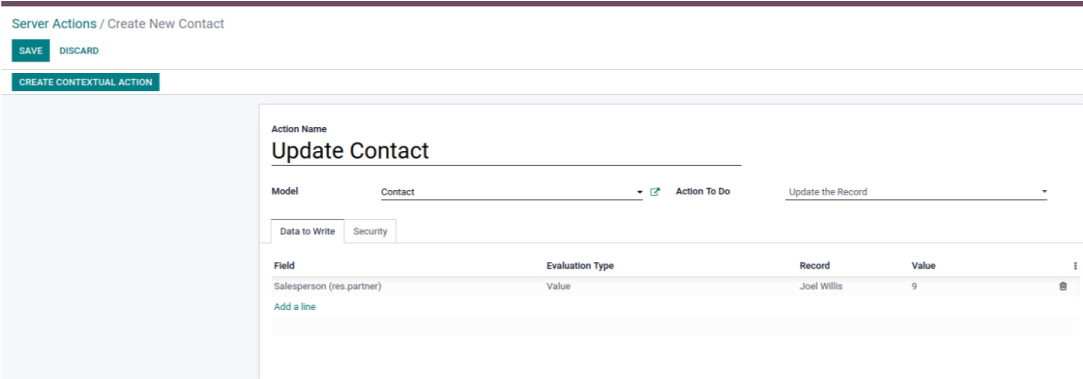
d. Click on the ‘CREATE CONTEXTUAL ACTION’ button to add the server action to the contextual action of the selected model.
4. Execute server action Odoo
a. In this case, the ‘state’ parameter is defined as:

b. Select the required model.
c. Choose the required child’s actions to be performed.
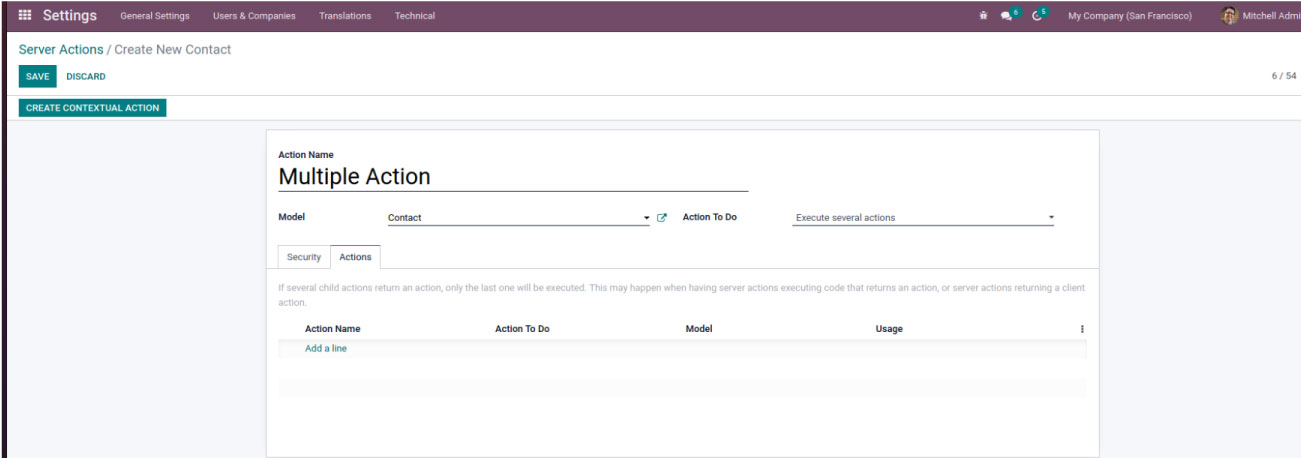
d. Click on the ‘CREATE CONTEXTUAL ACTION’ button to add the server action to the contextual action of the selected model.
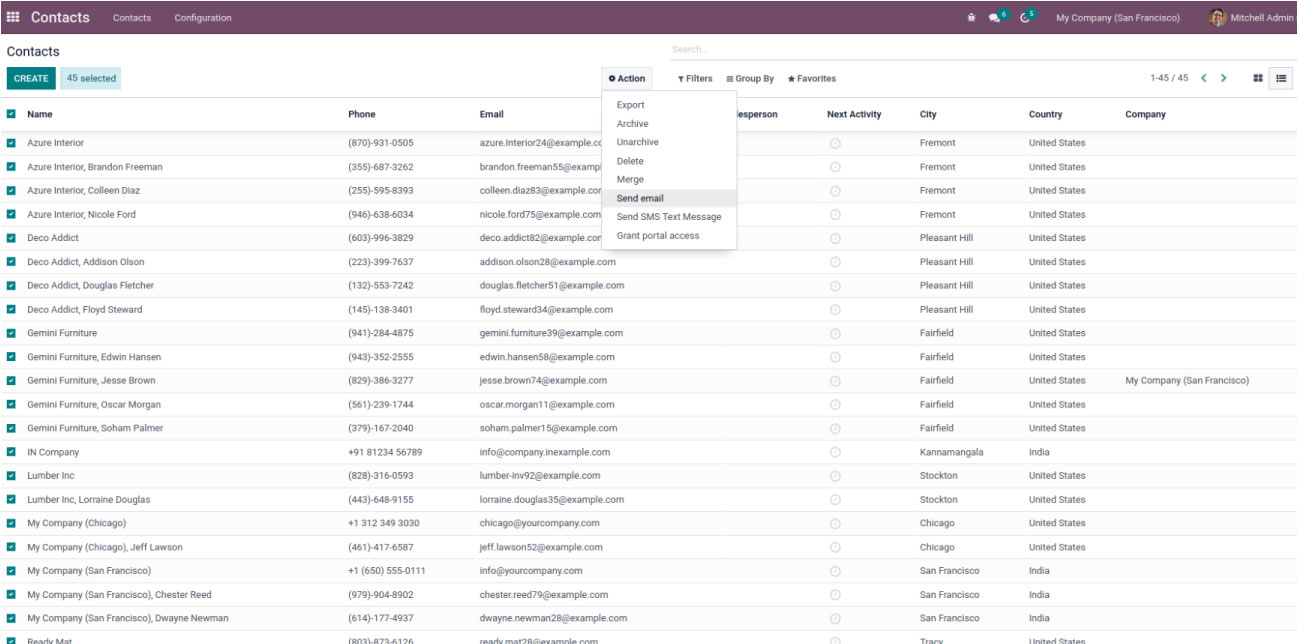
5. Send Email
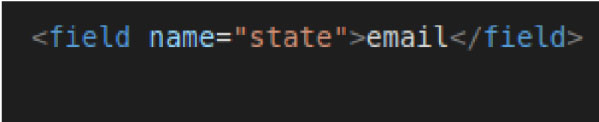
a. In this case, the ‘state’ parameter is defined as:
b. Now Select the required model and the email template.
c. This will help you send multiple emails at the same time.
Click on the ‘CREATE CONTEXTUAL ACTION’ button to add the server action to the contextual action of the selected model.
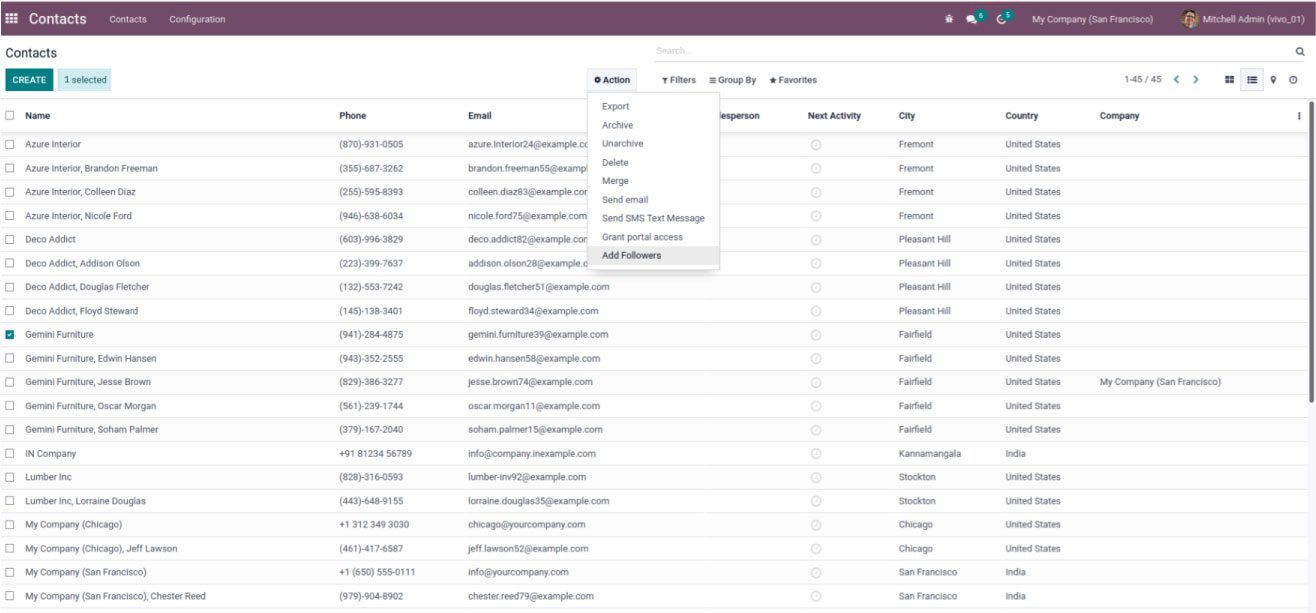
6. Add Followers
a. In this case, the ‘state’ parameter is defined as:

b. Select the required model.
c. Then select followers that need to be added to the selected model’s records.

d. Click on the ‘CREATE CONTEXTUAL ACTION’ button to add the server action to the contextual action of the selected model.
7. Create Next Activity
a. In this case, the ‘state’ parameter is defined as:

b. Select the required model.
c. Choose the next activity type.
d. You can also enter details such as summary, due date, etc
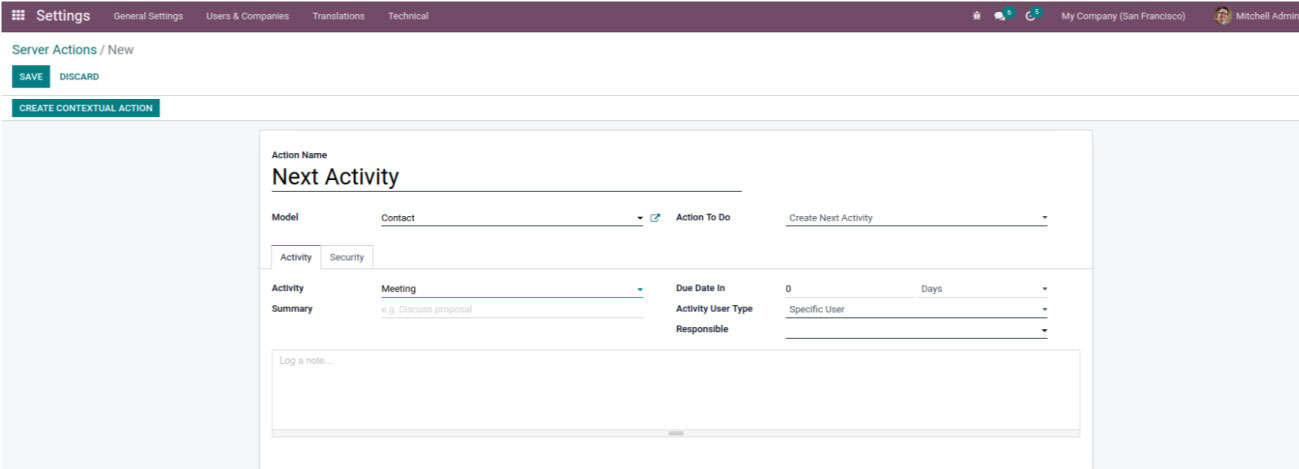
e. Click on the ‘CREATE CONTEXTUAL ACTION’ button to add the server action to the contextual action of the selected model.
8. Send an SMS Text Message
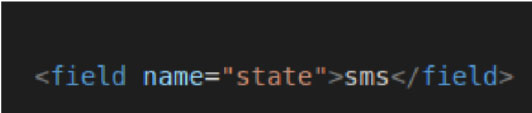
a. In this case, the ‘state’ parameter is defined as:
b. Select the required model and the SMS template.
c. Then you can select whether to log as a note.
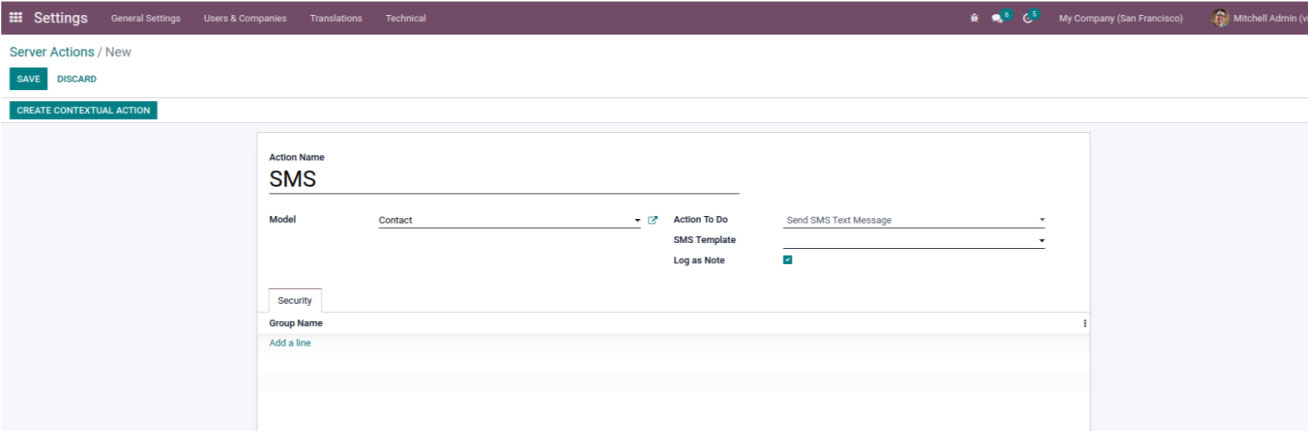
d. This will help you send bulk SMSs.
e. Click on the ‘CREATE CONTEXTUAL ACTION’ button to add the server action to the contextual action of the selected model.
Thus, using Odoo’s server actions, we can simplify our workflows to a great extent
"Unlock the Full Potential of Your Business with Odoo ERP!"
"Get a Cost Estimate for Your ERP Project, Absolutely FREE!"
Get a Free Quote