How to Activate Dropshipping in Odoo
Nowadays people are mainly using online stores to buy their products. One of the main advantages of online stores is that your products will reach the hands of many people worldwide in a short time. So these days, online stores become more popular by continuing their growth with very fewer efforts. Here comes the consideration of drop shipping.
Dropshipping is a method in which the vendor does not keep products in stock, but transfers those products directly to the customer from the supplier.
- With drop shipping, there will not be intermediary storage.
- This shipping method has many advantages in the e-commerce business.
- The delivery of products will be faster when compared to normal shipping.
- They transfer details of shipment and business orders to the manufacturer or dealer.
There will be a separate location or online store with markup price, where the products will be directly transferred to the customer at the time of sale, ie products are not physically stored.
When comes to the case of Odoo, the dropshipping becomes more simple and clear. This blog will help you learn more about the concept of dropshipping in Odoo.
First, activate the dropshipping feature.
Go to Purchase -> Configuration -> Settings -> Logistics -> Dropshipping.
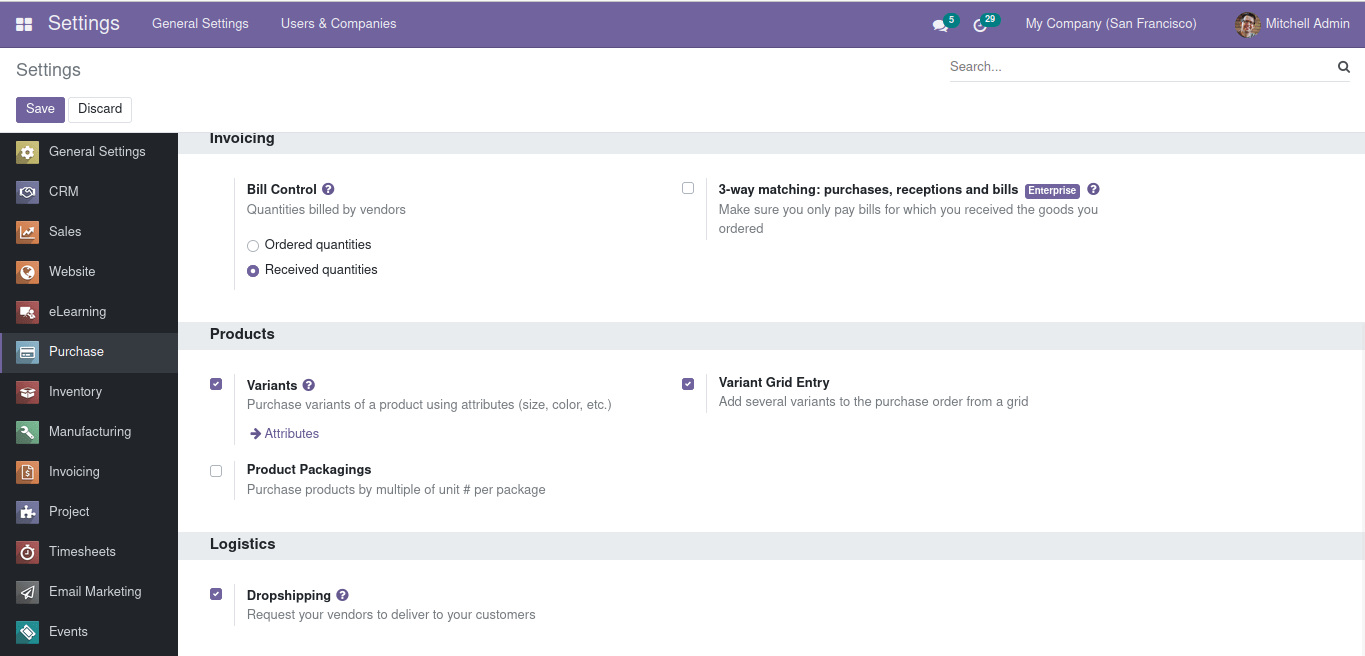
Now, the dropshipping features for the sale orders will be available to you.
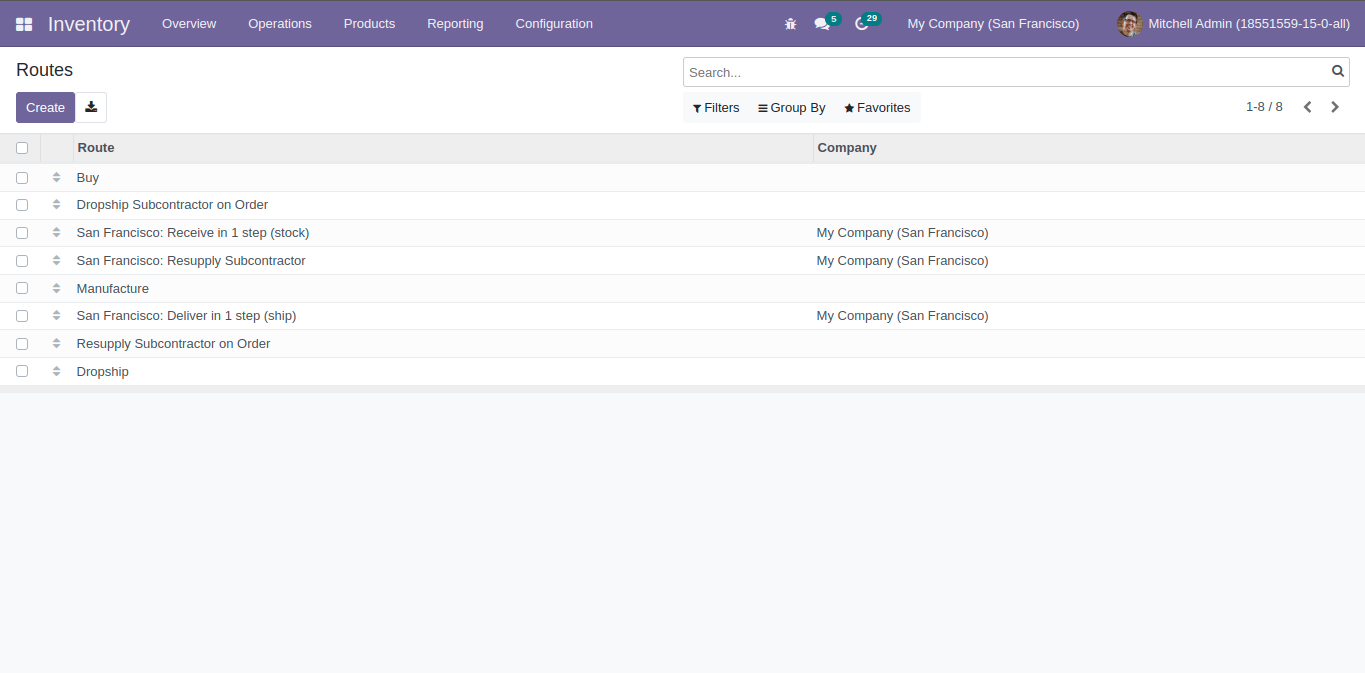
- Created a new route for Dropshipping.
While creating a product, we can see under the inventory tab, you will activate the dropship option.

You can see the Routes menu under the configuration tab in Inventory Module. You can easily create and configure new routes or can edit the already defined dropshipping route operations.
 Let’s discuss the working of dropshipping.
 Let’s discuss the working of dropshipping.
First, activate the dropship option for the respective product.
Then create a sale order with products to dropship. Under the orderlines, you can specify that product.
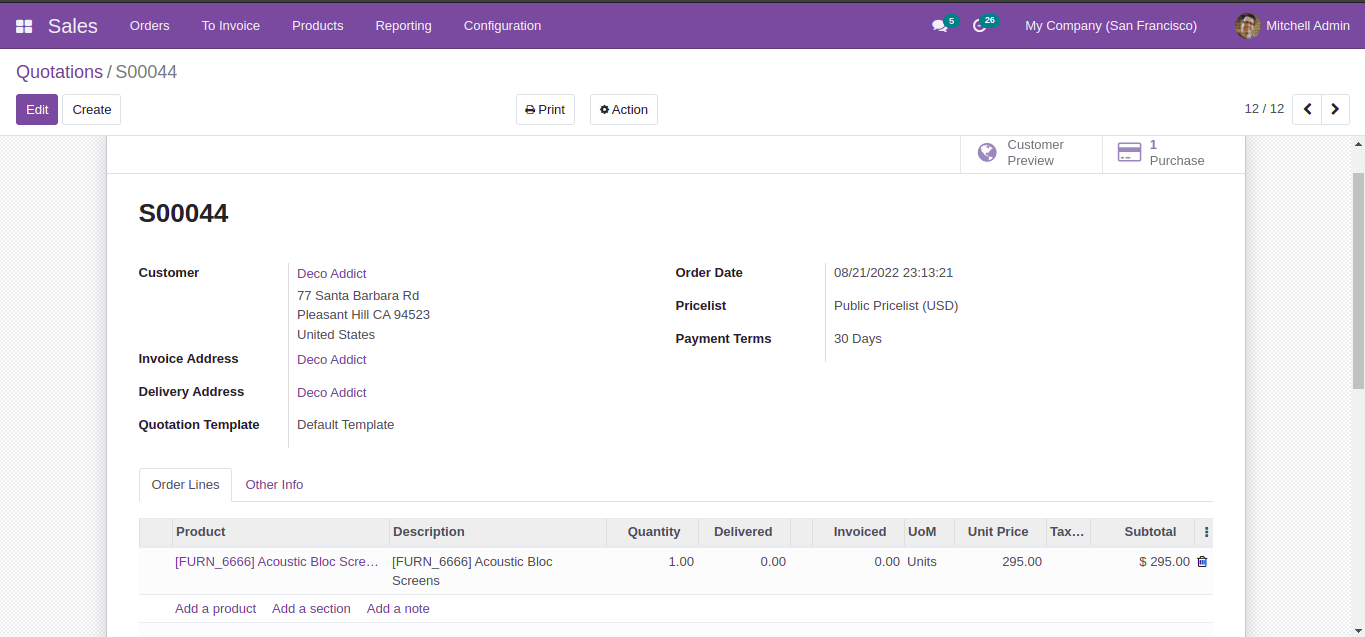
Provide the required details in the window. A request for quotation is created for the respective vendor to buy the product. By clicking on the smart tab named Purchase you can view it and it will redirect you to the Purchase RFQ window.

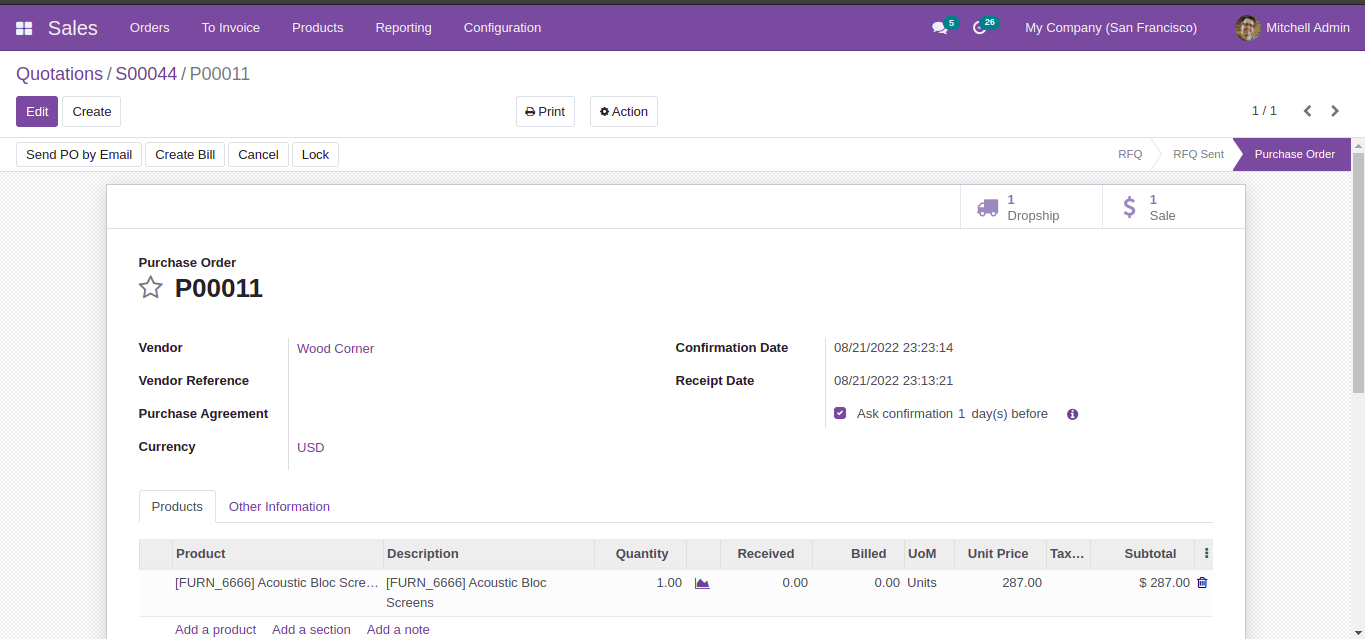
Create a purchase order by confirming the purchase rfq. It will create a transfer from the vendor directly to the customer.
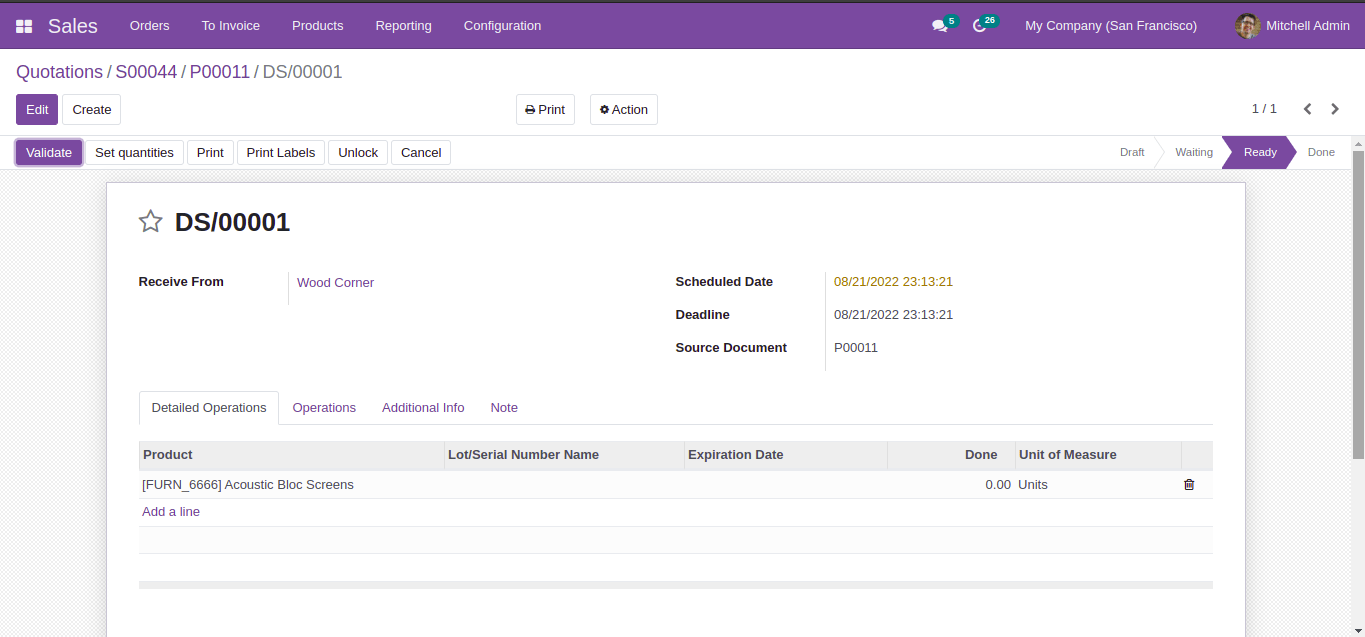
We can see a smart button named Dropship which will allow you to validate the dropship.
Click on the validate button for validating the dropship.
After validating this dropship, you can Create Bill for the purchase order and register payment. Then if we go to the Sales Order, you can see the Create Invoice Button for generating the invoice for the product to the respective customer.
After completing all these steps, the selected product will be straightly purchased from the respective vendor and the product will be delivered directly to the particular customer location.
"Unlock the Full Potential of Your Business with Odoo ERP!"
"Get a Cost Estimate for Your ERP Project, Absolutely FREE!"
Get a Free Quote