Odoo Analytic Account and Tags | Odoo15
The performance of a company manages quickly through various operations and reports. By using analytical accounting, businesses can evaluate accounting documents, interpret results, and planning reports based on these evaluations. Analytic tags can manage analytical distributions. By using Odoo 15 Accounting module, Odoo analytic account evaluates a single account without publishing a journal entry. Also, you can easily access and manage analytic accounts and tags in Odoo 15.
Odoo Analytic Account
We can set up a new analytic account for a specific product to know its expense details. The analytic account did not generate a journal entry when invoicing, and we can see a particular product payment in our analytic account. Before creating a new analytic account firstly we need access to it in the settings window.
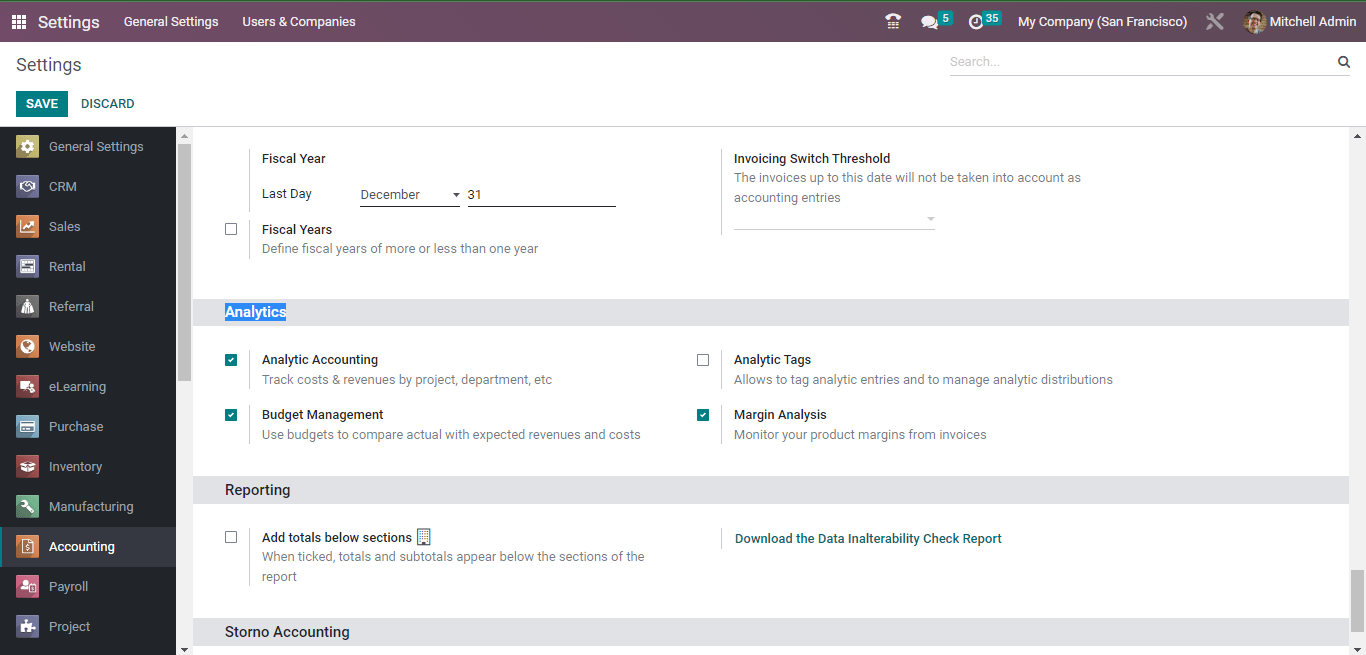
Activate the Analytic Accounting field below the Analytics section of Settings to track revenues by Project, Department, and more. Now for creating an analytic account go to the analytic account menu under configuration in the accounting module.
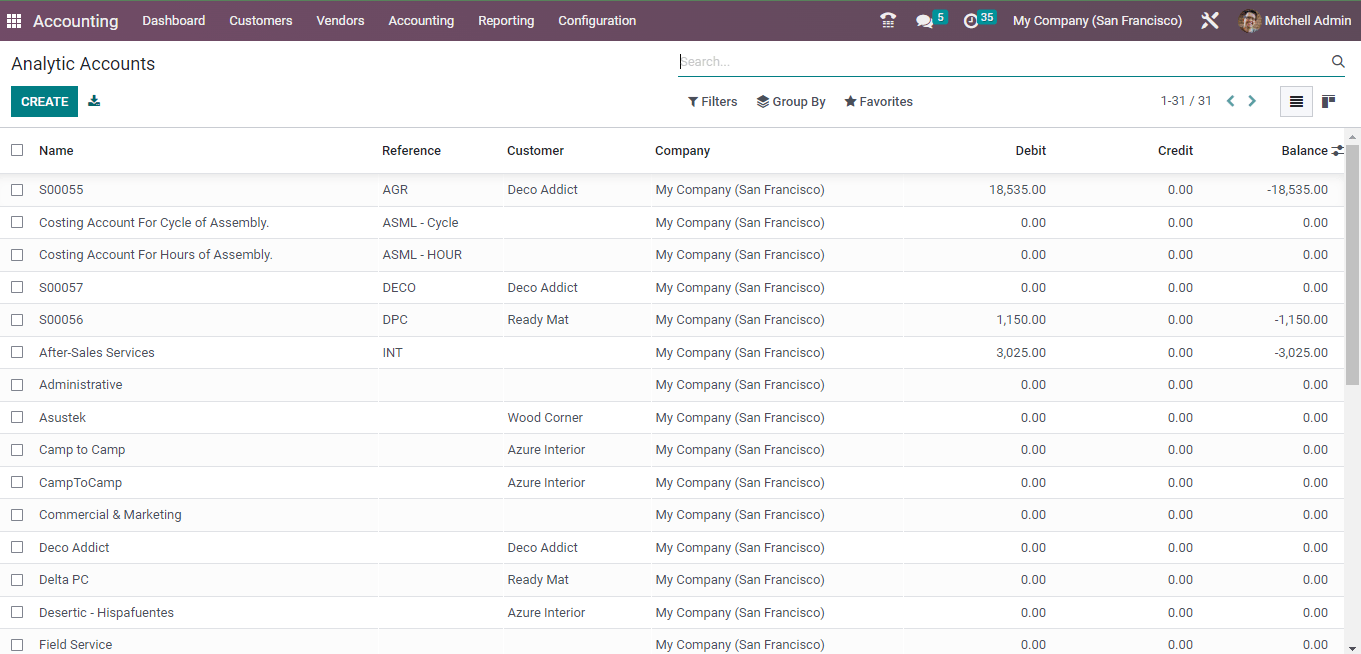
The above image shows the list view of the analytic account you have created. Click on the create button to create a new analytic account.
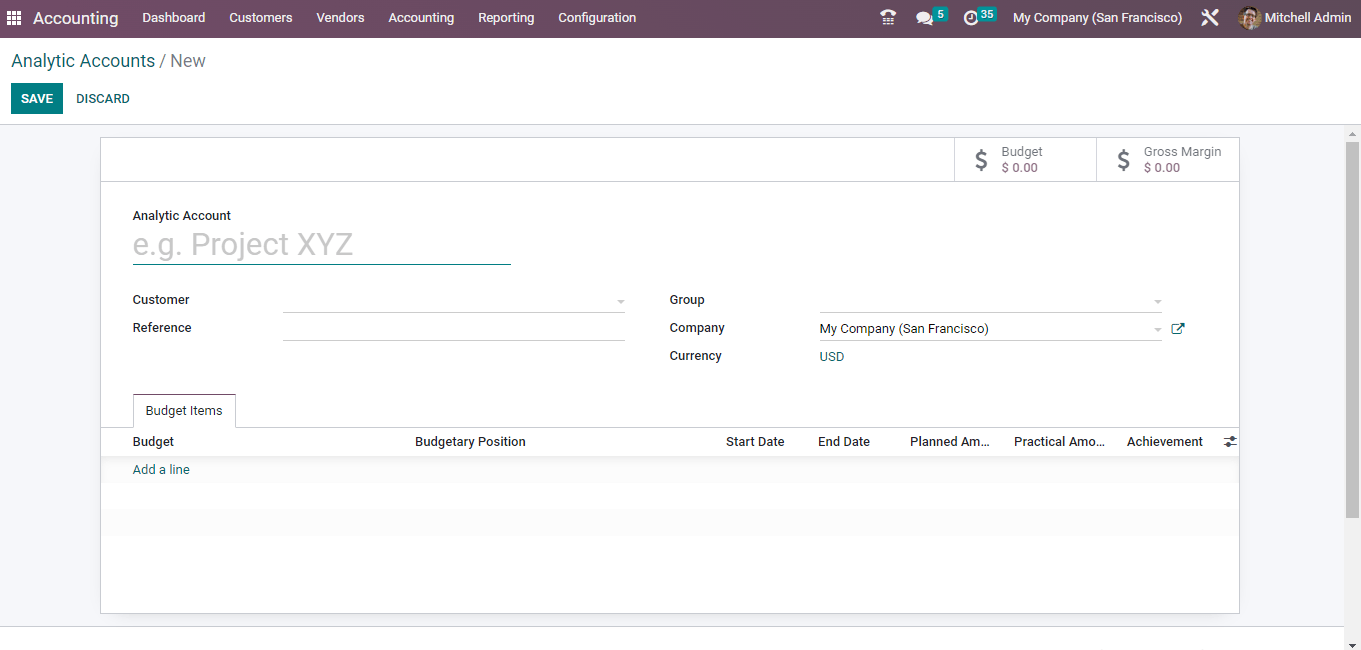 The image above shows the form view of the analytic account. You can enter the analytic account name, customer, reference, and other details.
The Group field can apply multiple analytic accounts, as shown in the screenshot below.
We can generate a new group for an analytic account from the configuration tab. For creating a new analytic group click on the analytic group menu under the configuration on the accounting module.

The above image shows the list of the analytic group. Then click on the create button to create a new analytic group.
DOWNLOAD ERP
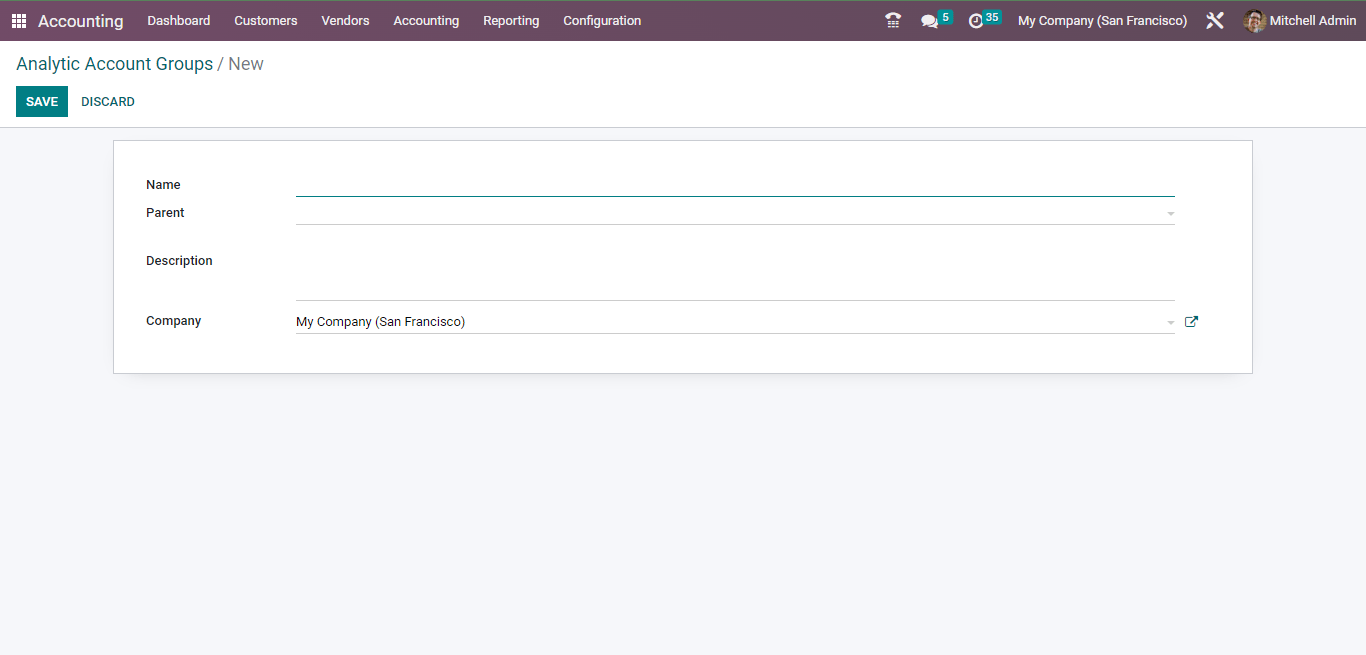
The above image shows the form view of the analytic group. Provide all the details and click on the save button. Now let’s go to the analytic account window. To apply new budget details, As shown in the screenshot above, click on Add a line option inside the Budget Items tab.

After applying all details, choose the SAVE icon to process your Analytic Account of the company. Check to see if it has marked the expense after purchasing a product from the vendor. Now let’s create a vendor bill. To create a vendor bill click on the billing menu under the accounting module.
 The above image shows the list view of the vendor bills.
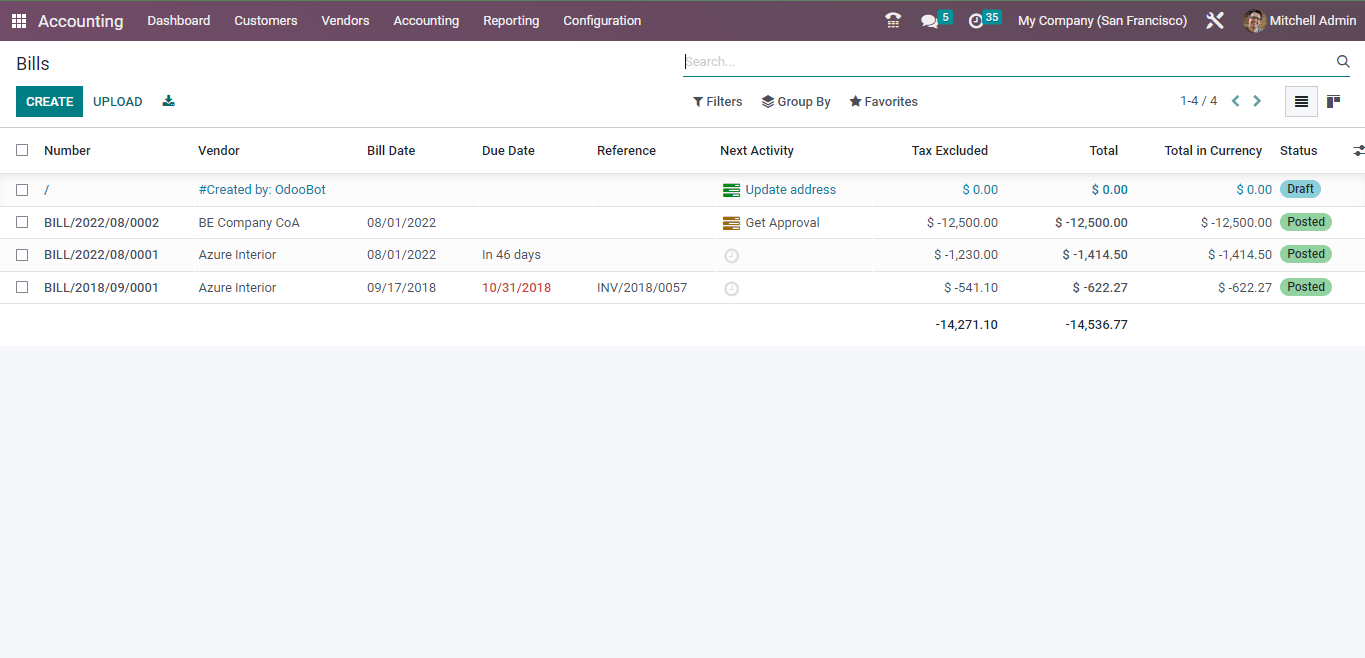 The above image shows the list view of the vendor bills.
In the Vendor Bill window, enter your Vendor, Bill Reference, and Payment Reference to set journal items as specified in the screenshot below.
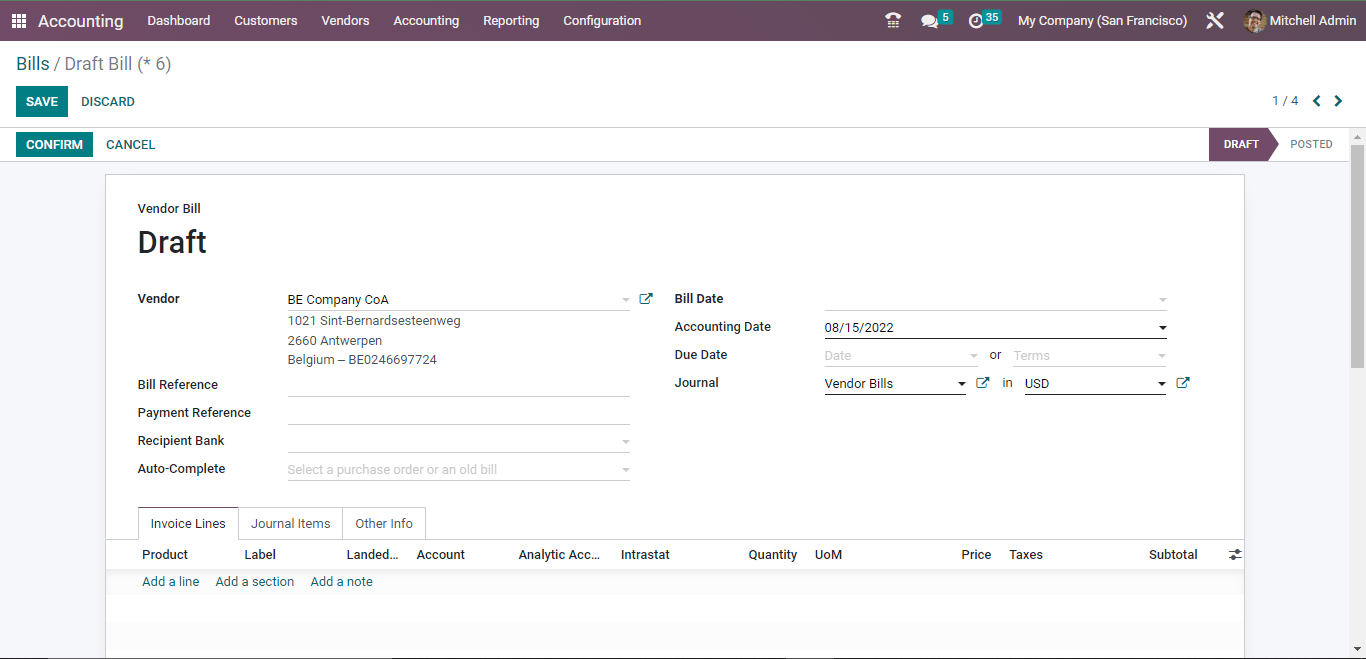
In the Bills window, select Add a line to enter invoice lines. After that, the user can choose the Project below the Analytic Account title in the invoice lines. Click on the save button after providing all the details. Then click on the confirm button to post the vendor bill you have created. Now click on the Register Payment button to create the payment against the bill.
Provide all the details and create the payment against the bill. In the Analytic Items window, we can also see that the product expense is marked. I can find the Analytic Items menu in the Configuration tab, and you can also see the expense of the product you created.
Analytic Tags
Users can also easily use analytic tags in Odoo. We must archive the analytic tag first in the settings.
After that, you can create the analytic tag.
"Unlock the Full Potential of Your Business with Odoo ERP!"
"Get a Cost Estimate for Your ERP Project, Absolutely FREE!"
Get a Free Quote