Odoo Appointment Invitations and Reminders | Calendar Module
The Calendar module in odoo15 helps you efficiently manage all schedules and activities in an organized way. This Odoo appointment module helps in recording all your business activities in an organized way and also records all the business tasks and appointments.
Most People will forget about the important meetings and dates. Odoo 15 Calendar module helps to overcome this problem by introducing reminders and appointment invitations. Also, This module helps you to manage appointment invitations and set reminders for important events. This blog will help you know how to configure appointment invitations and reminders in odoo15.
We can see both under the configuration tab of the calendar module.

Reminders
Reminders are mentioned in the meetings and calendars. It was like alarms that are set before the event starts. We can see different situations where employees forget to attend meetings and events. Reminders will be very useful in these situations.
Reminders can be notifications, text messages, and emails that will remind you about the event or meeting.
Just click on the reminders menu.
 Here we can see different details of the Calendar alarm such as Type, unit, Remind before. By clicking on anyone, we can get more details of that reminder.
By clicking on the Create button, you can easily create a new reminder.
Provide required details in the new window. We can add type as notification, email, and SMS text messages. If you choose Type Notification, you can see an option for entering an additional message which will be sent with the notification and applying duration for a reminder in the reminder before field.
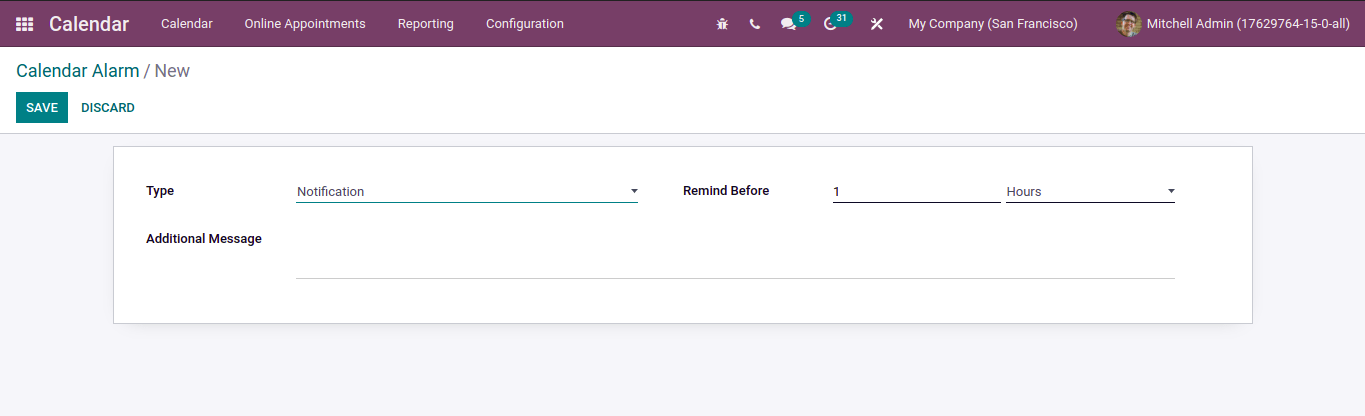
If you choose Email/SMS, we can see a field for email template and SMS template.
 By Clicking on the save button, you can create your new reminder.
Appointment invitations
- Let’s look at the appointment invitation menu. We can see all the scheduled invitations here.
- By clicking on the create button, we can create a new appointment invitation.
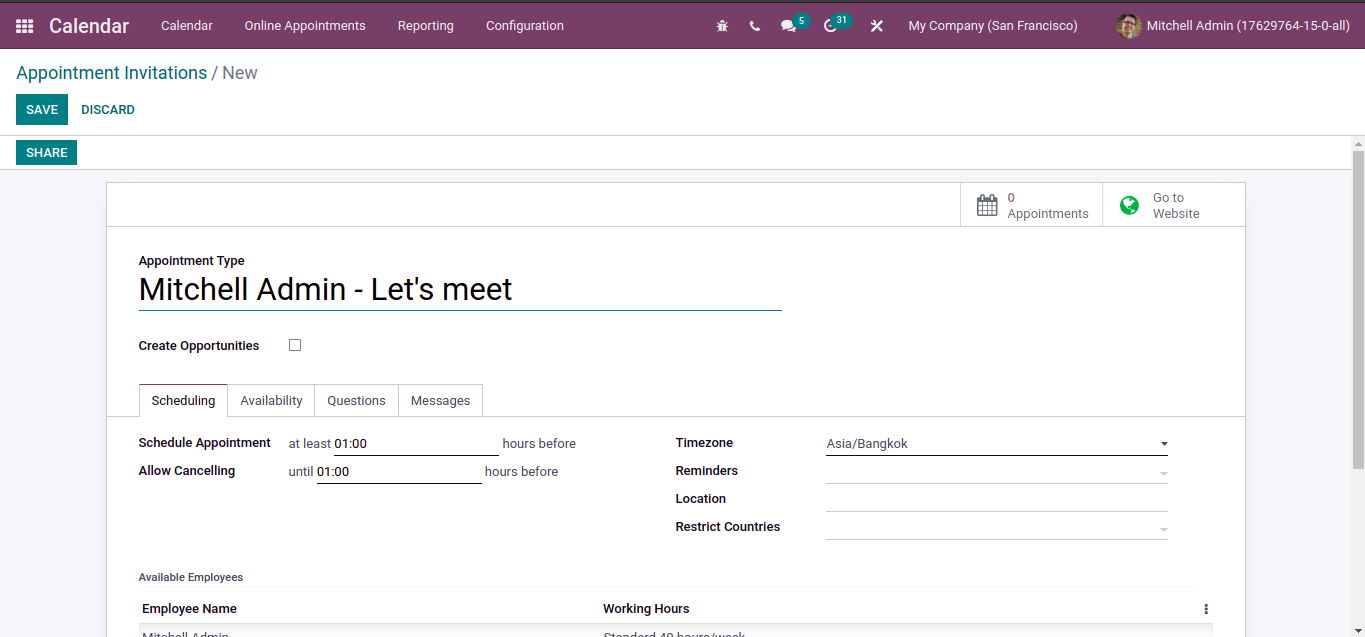
Then provide the Appointment type in the corresponding field.
Below that, we can see a create opportunities option. By activating this, we can create a new opportunity and assign it to the respective employee.
- Also, we can see different tabs here.
- The first one is the scheduling tab.
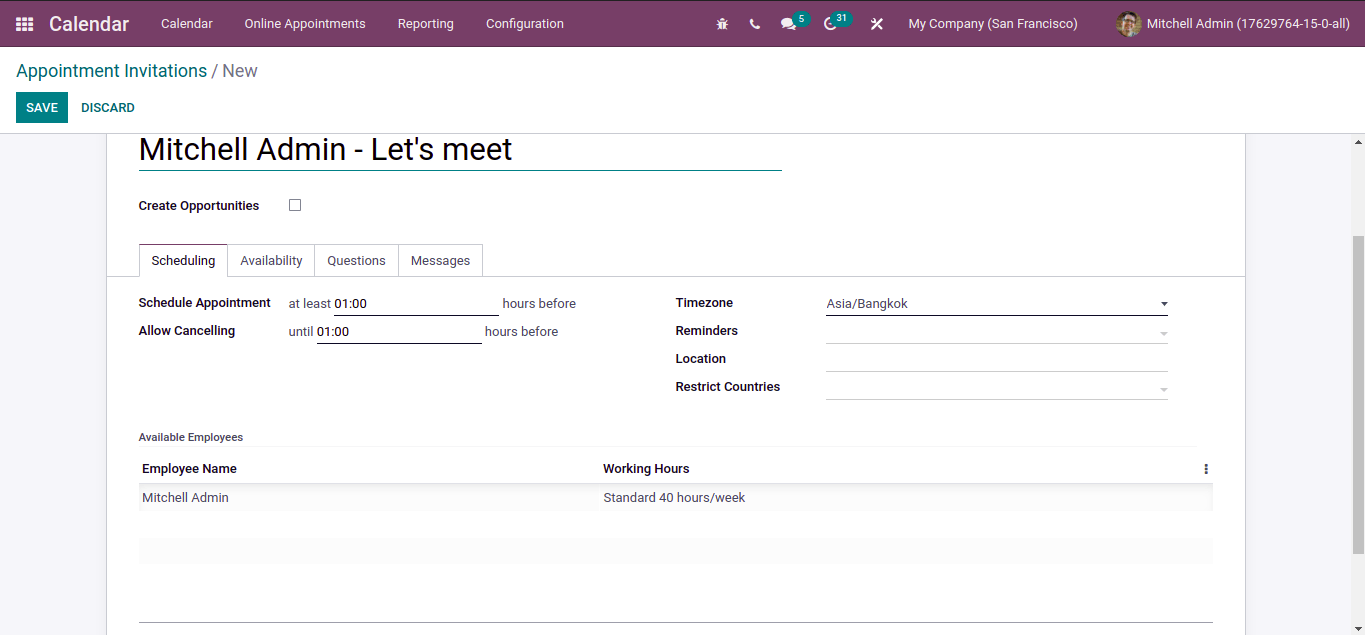
Inside it, you can see a provision for entering schedule appointment time and minimum cancellation hour in the allow canceling field. Also, we can see the options for location, time zone, and set reminders. We can see the details of the available employees below.
The next one is the Availability tab where you can enter the user availability.
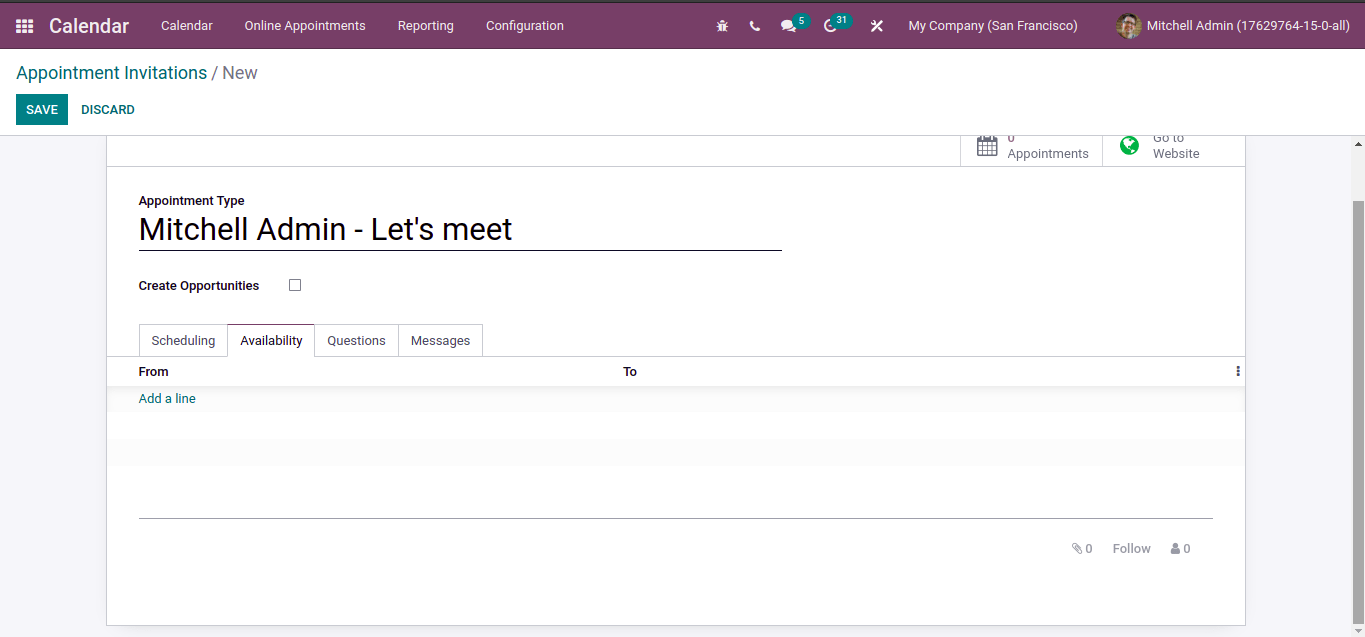
Click on the Add a line option for setting the From/To date availability of the user.
You can add questions to the customers who visit the website under Questions Tab.

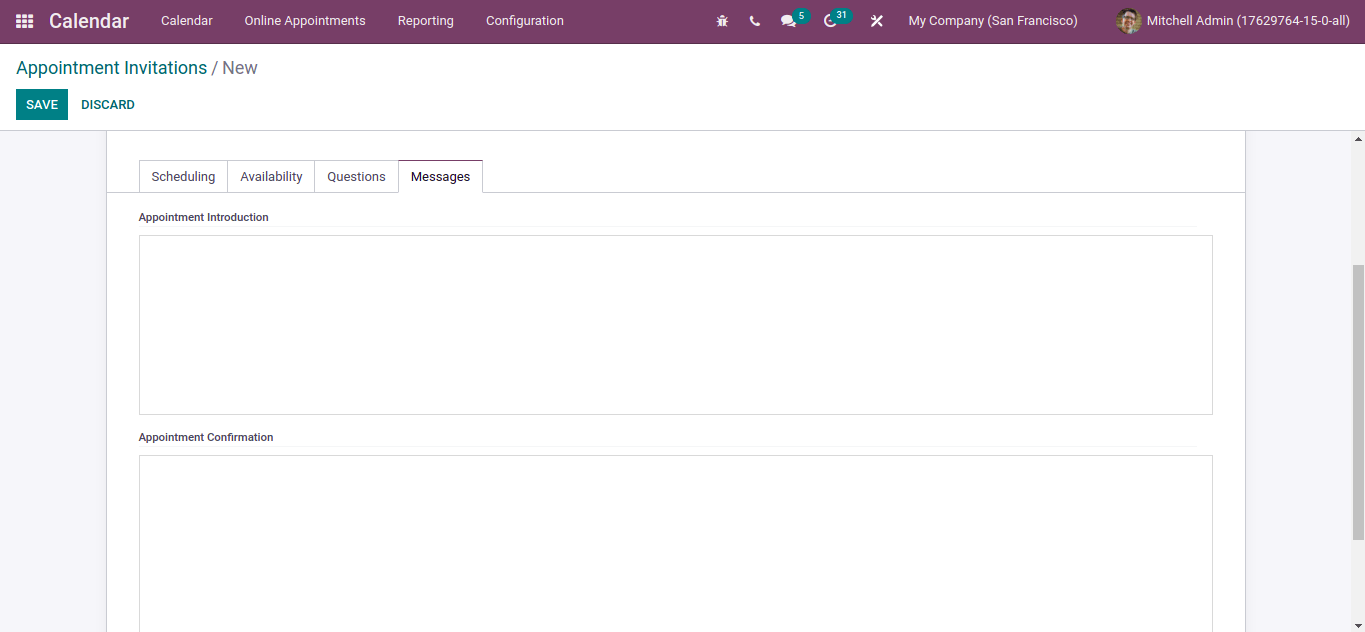
You can enter the Appointment Confirmation and Introduction under the Messages Tab.
For Publishing the Appointment on the website, Go to the Website button and select the unpublished button to publish.
And also, we can share the appointment link with the employees by clicking on the share button. We can see a window, you can add Appointments, select employees, and copy the link.
If anyone books your appointment, it will be visible in the Odoo Appointments submenu.
"Unlock the Full Potential of Your Business with Odoo ERP!"
"Get a Cost Estimate for Your ERP Project, Absolutely FREE!"
Get a Free Quote