Repair Management in Odoo15
Repairing is an essential and necessary part that would be managed for both the stored and sold products of a Company. If you give good service support to your customers in Repair services, it is convinced your customer, company rating become higher level. This repair management in odoo module helps you to deliver the repaired product in real working condition on time. Repairs module mainly for fixing issues in your sold and manufactured products by using various operations will increase customer satisfaction.
First of all, you have to install the Repair management module from Odoo –> Apps, search your module, and install. After installation, you can see the Repairs menu in Odoo. Then go to the Repairs module; you can see the below view.
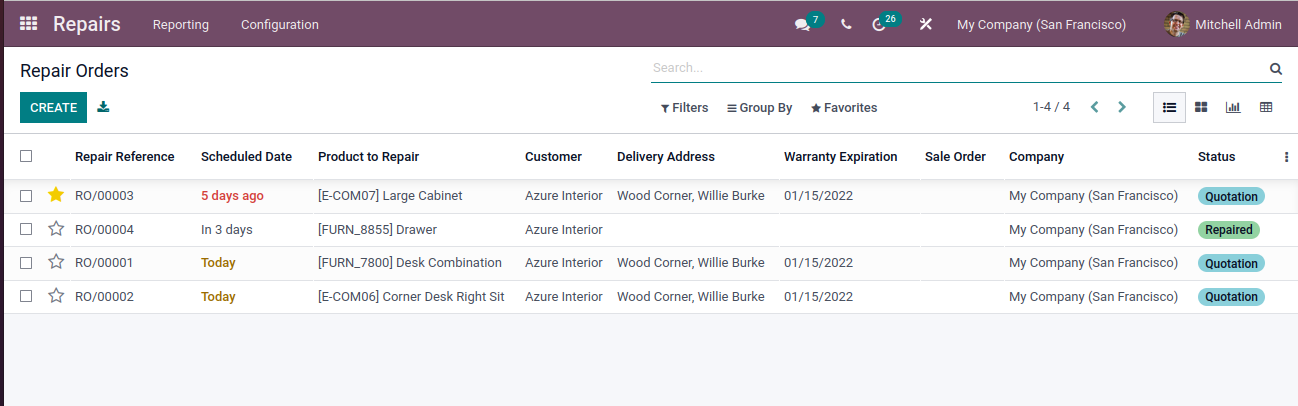
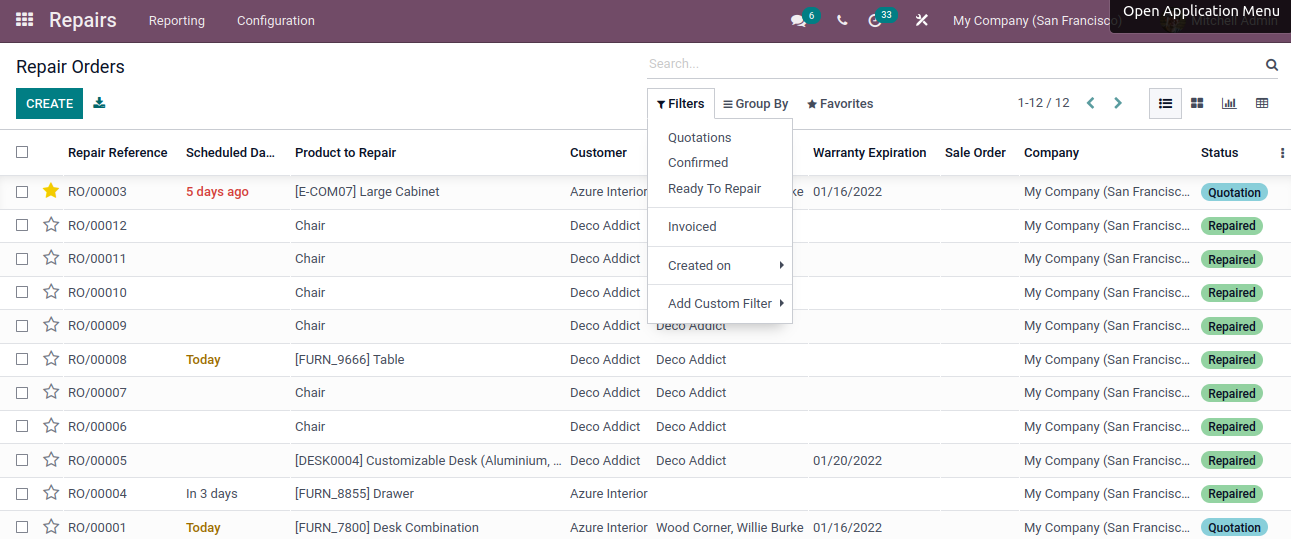
This is the list view of Odoo Repair Management. Here you can see Repair Reference, Scheduled Date, Product to Repair, Customer, etc. And also, you can see repair orders into Pivot, Graph, Kanban, etc. you can also Prioritize your repair order by clicking the Star on this view.
In Repair Orders, here you can see a CREATE button on the top left. By clicking on this button then you have to create new Repair Management order.
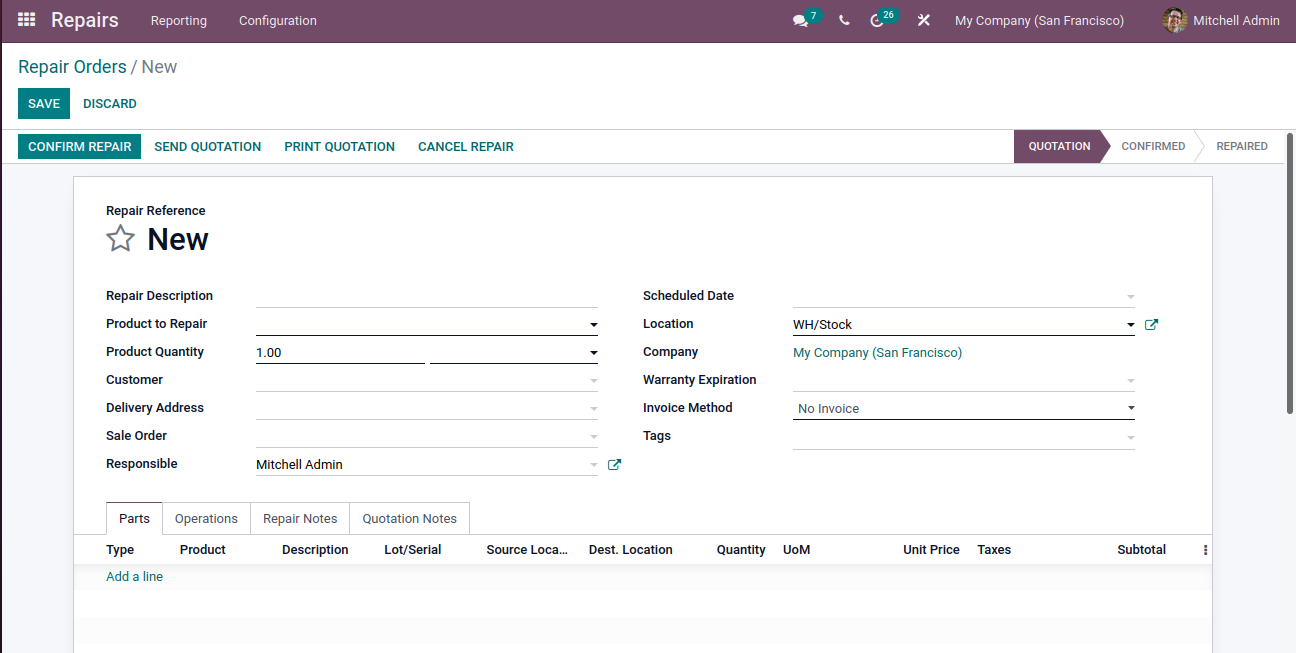
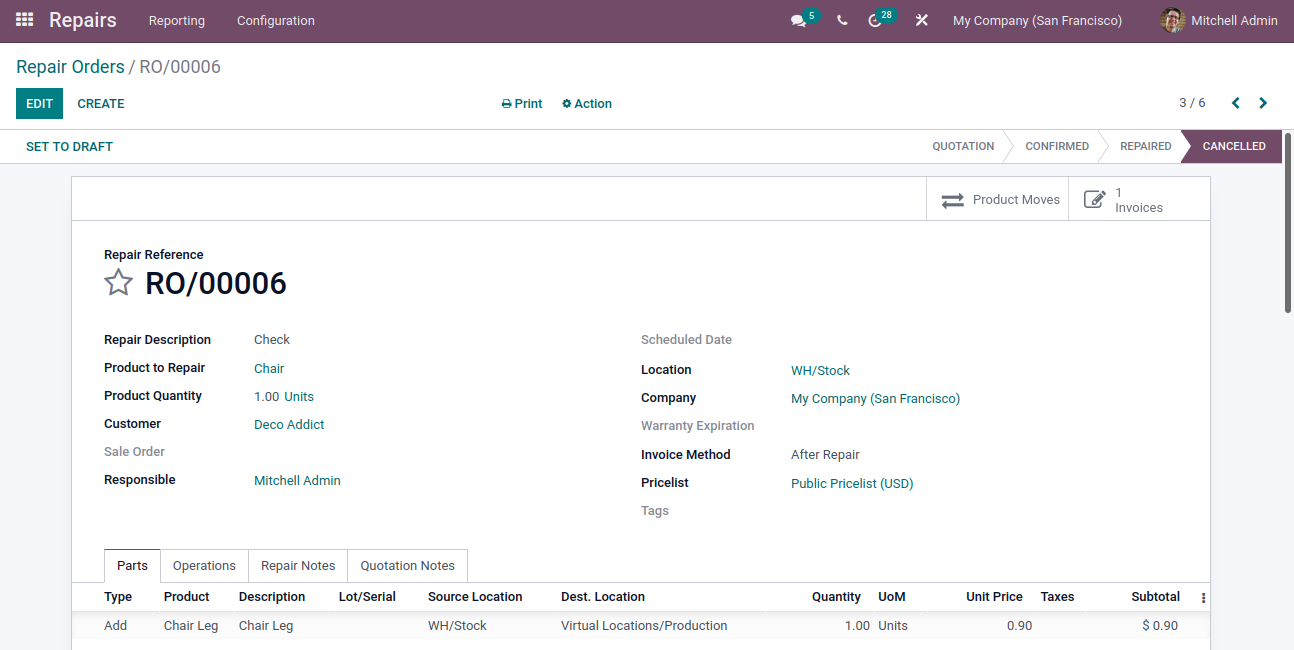
The above window is the Form view of the Odoo Repair Order. Here you can see different fields like Repair Description, Product to Repair, Customer, Product Quantity, Delivery Address, etc. So fill in the necessary fields.
Repair Description: You have to enter a brief description about the Repair Order
Product to Repair: You can specify the product, which is to be Repair
Product Quantity: You can provide the no of quantity to be Repair
Customer: Select the customer for whom the order needs to be delivered and invoiced.
Delivery Address: Enter the Customer Delivery Address
Sale Order: Provide the Sale order from which the product to be repaired comes.
Location: where the product is to repair can be stored the Company.
Invoice Method: This can be defined with 3 options No Invoice, Before Repair, and After Repair. The invoicing method can be detailed if the repair work is a paid one or not.
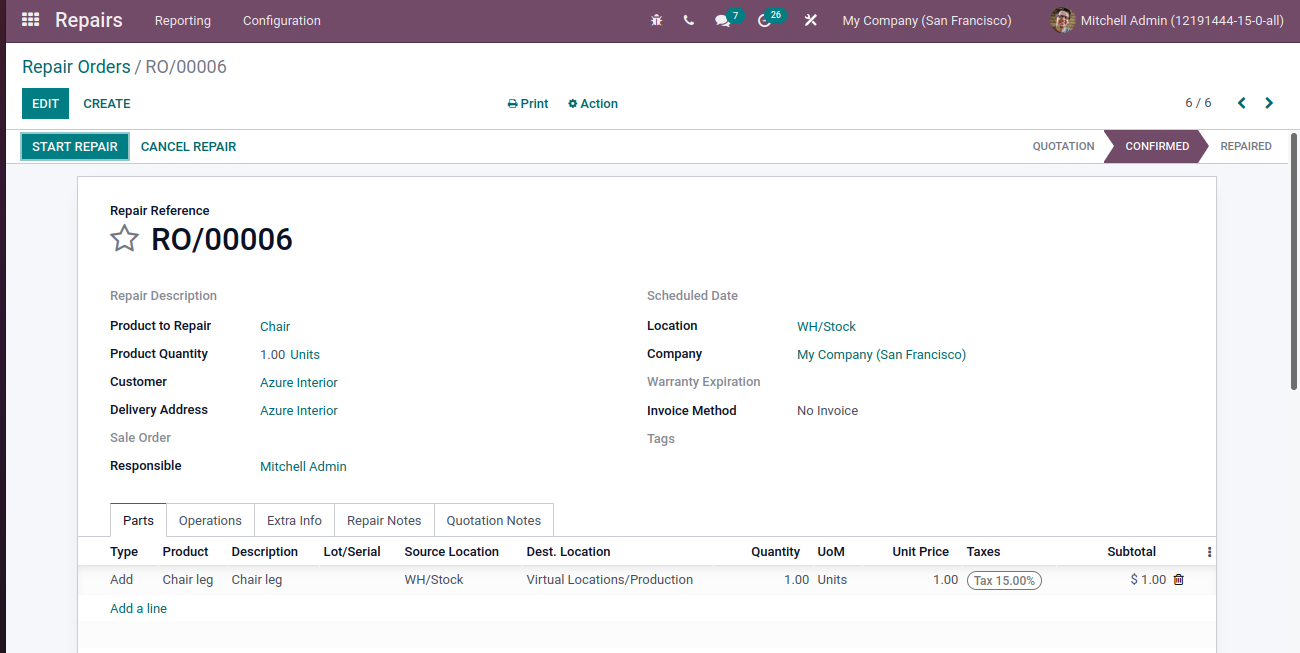
Under the ‘Parts’ Tab, You have to add details like product name, quantity, unit price, from and destination location, Tax, etc. of product parts that you have to add or remove in order to repair the damage.
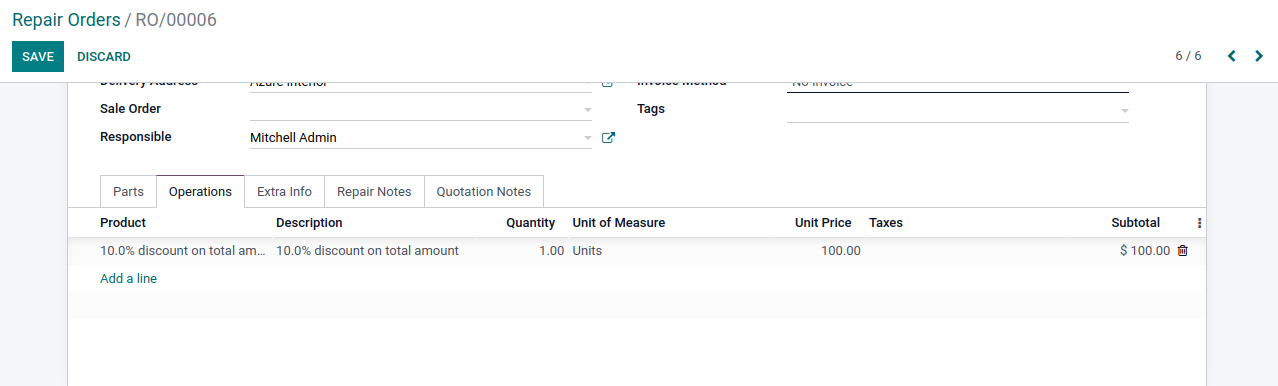
In the ‘Operation’ Tab, you can describe the charges and other operational details of the repair order.
In Repair, Quotation Notes tabs, you have to provide brief notes about Repair and Quotation. If you enter all the necessary details, then you have to SAVE the details. For example, first Repair Order is in the Quotation state, then click on CONFIRM ORDER, the Repair order will be confirmed, and state will change into Confirmed.
Then click on the START REPAIR button, then the state will be changed into Under Repair
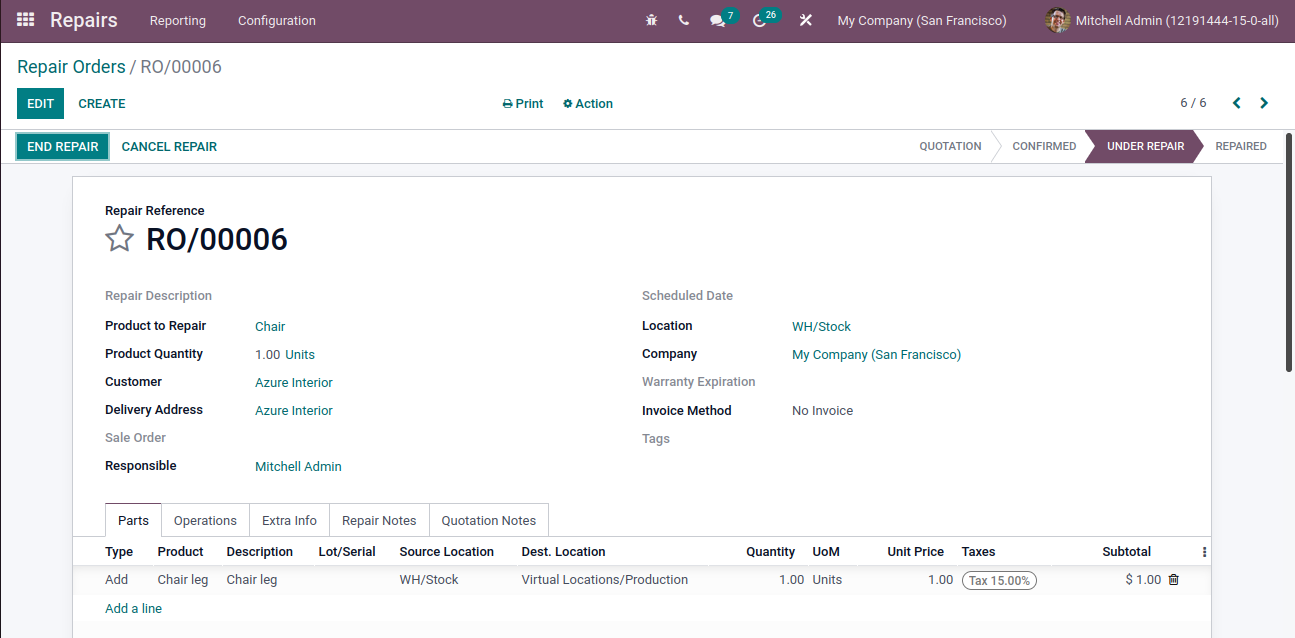
Then click on the END REPAIR button, your issued product repairing process will be Completed. In Here Invoice Method is ‘No Invoice.’So no need to create the invoice.
If the Invoice method is After Repair,
In this case, Generate invoices in the After Repair process. After clicking End Repair, the state will be changed into the ‘To Be Invoiced’ state, and you can see Create Invoice Button.
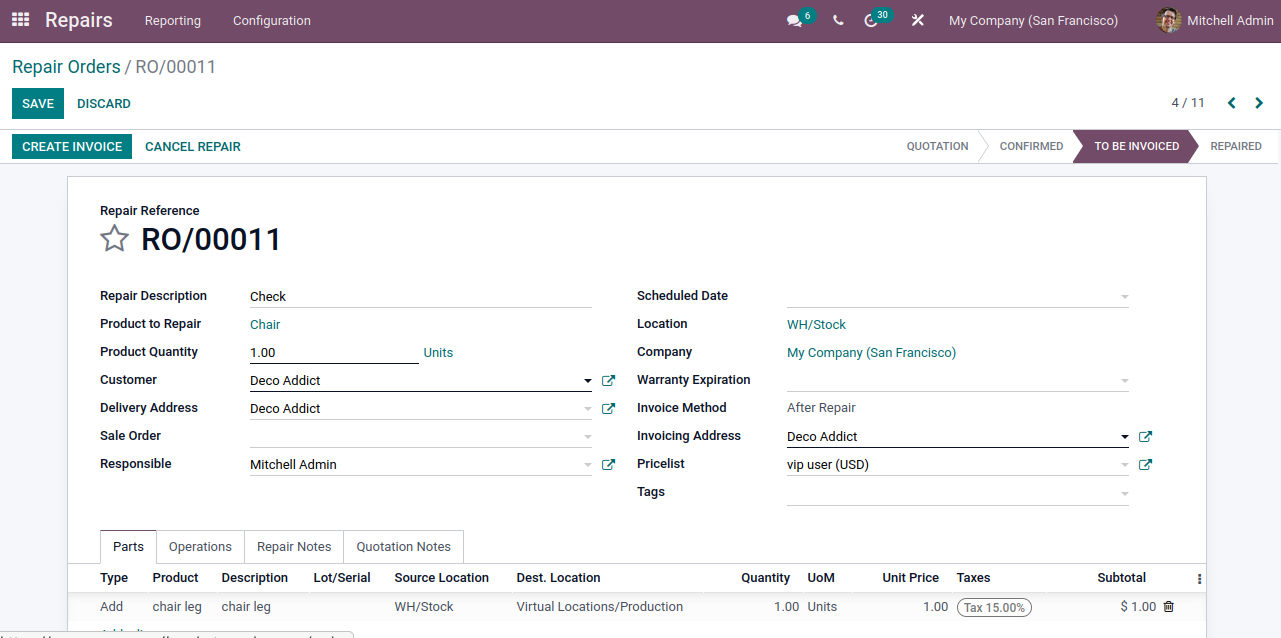
An invoice will be created in the draft state by clicking on this button, and the state becomes changed into ‘Repaired.’
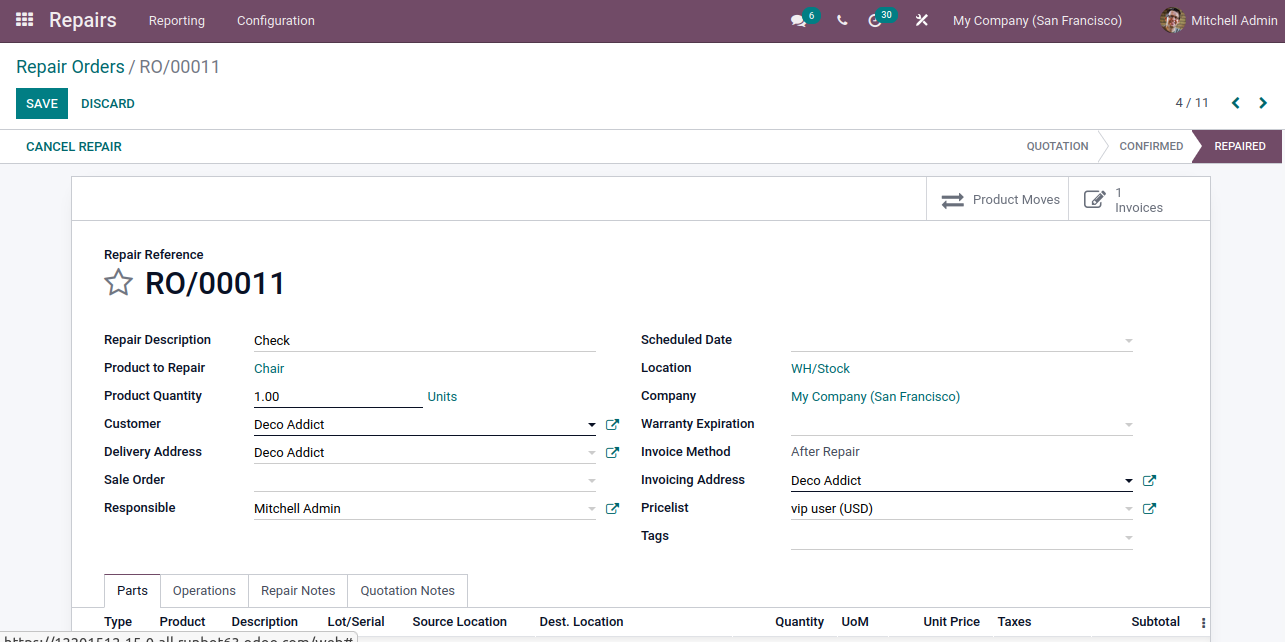
Then Click on Invoices Button
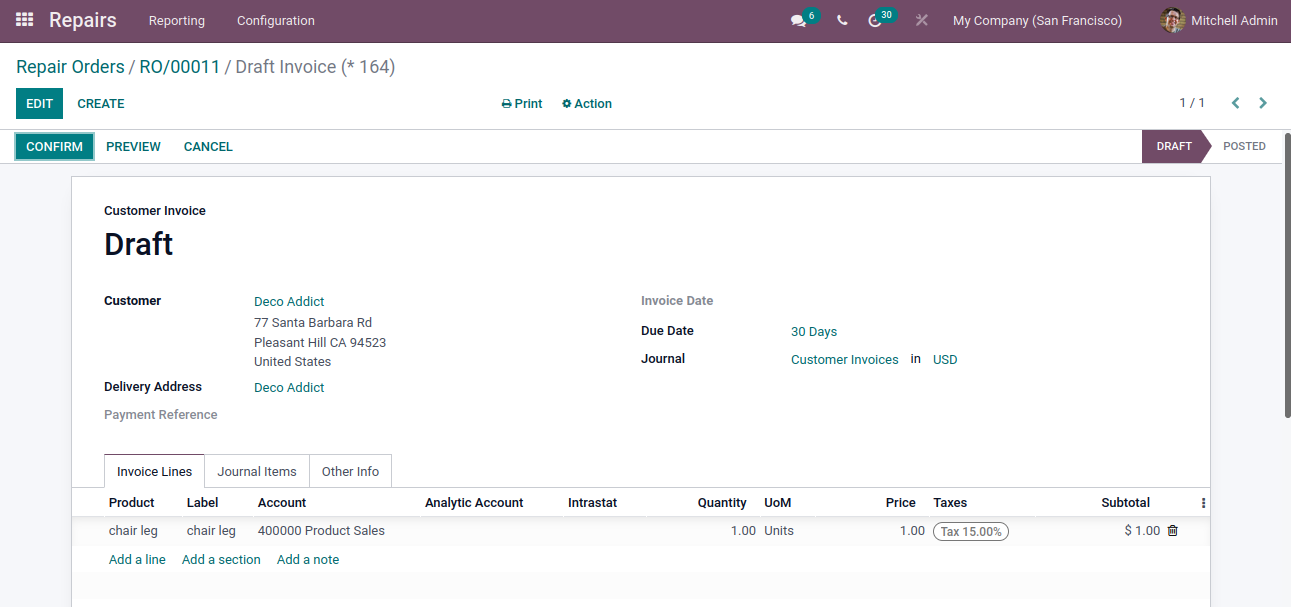
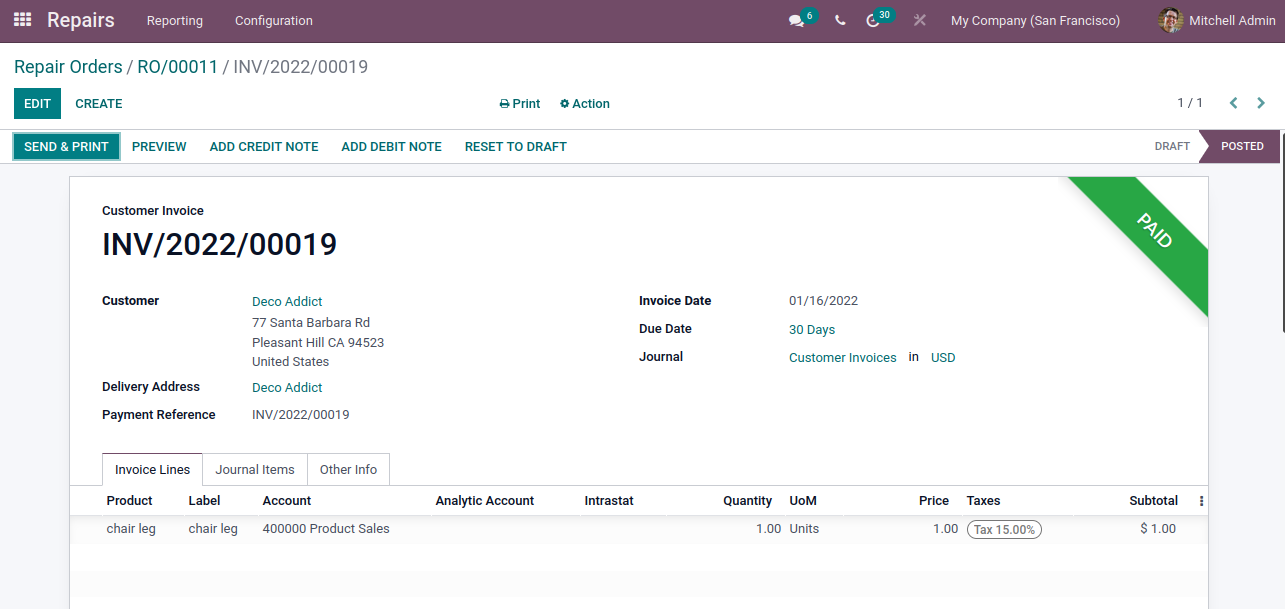
Then click on confirm button, the invoice will be posted, and the state will be changed into Posted. Now you can see a Register Payment button; by clicking, you will get a pop-up, and you can specify Journal, Payment Method, Payment Amount, etc., then Create Payment.
If Invoice Method is Before Repair, Generate invoices before Repair process,
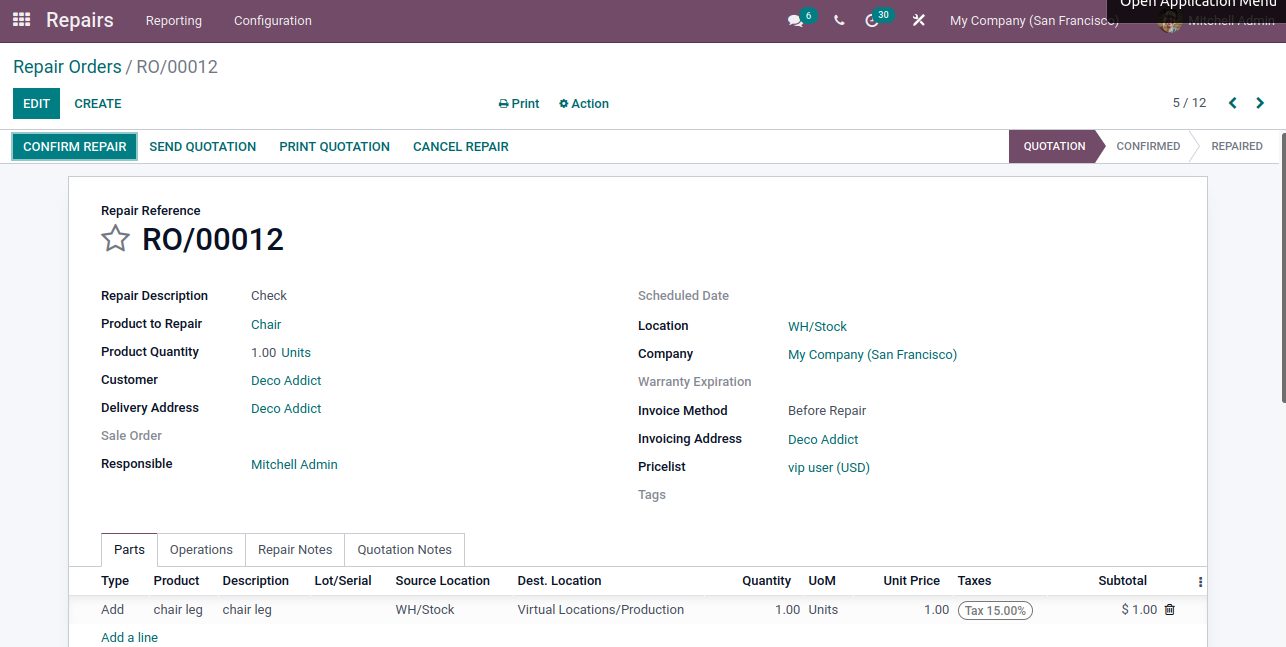
By Clicking CONFIRM REPAIR button state becomes changed into To be Invoiced state, and you see a CREATE INVOICE button. Then clicking on it, the invoice will be created, then click on it, and the state becomes changed into ‘Ready to repair.’
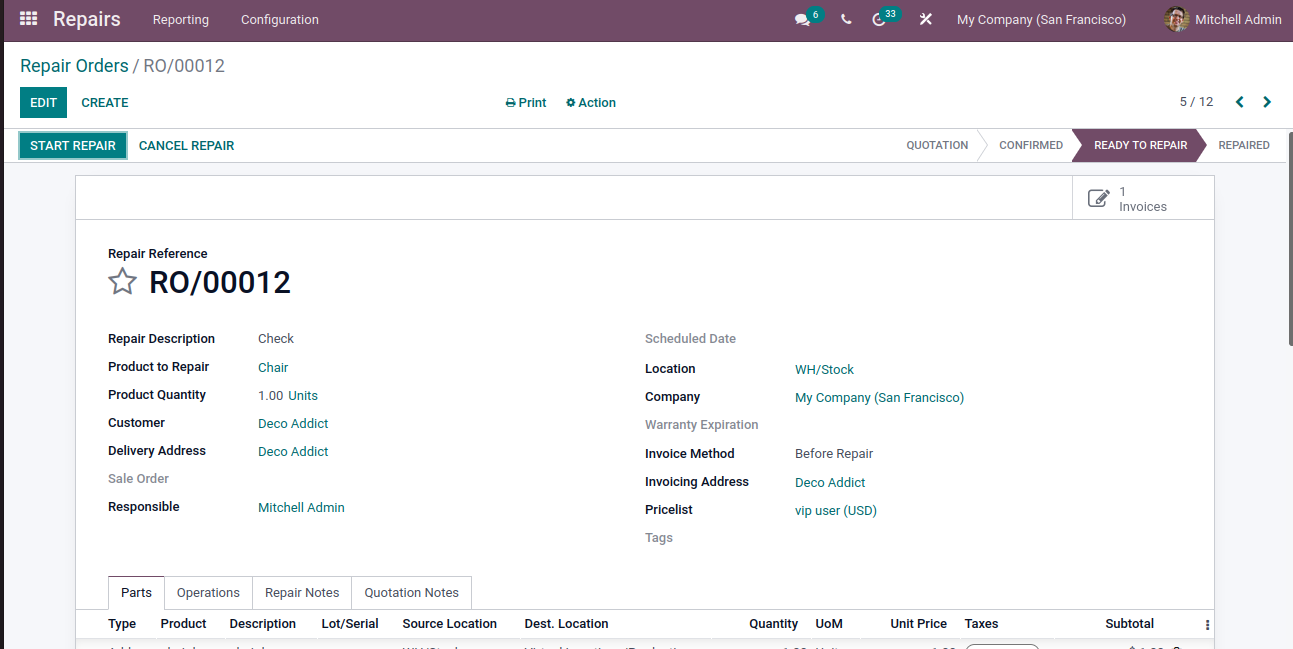
After creating the invoice, you can see the START REPAIR button, which will grant you to start your repairing process. It is the same as the After Repair Process.
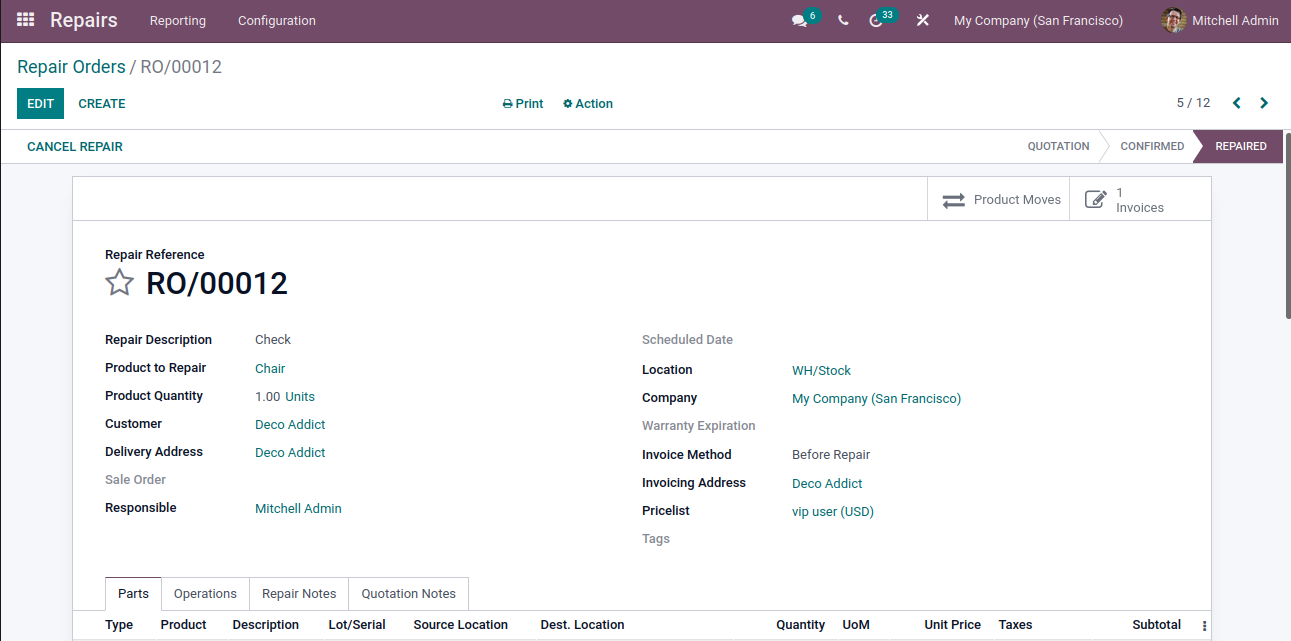
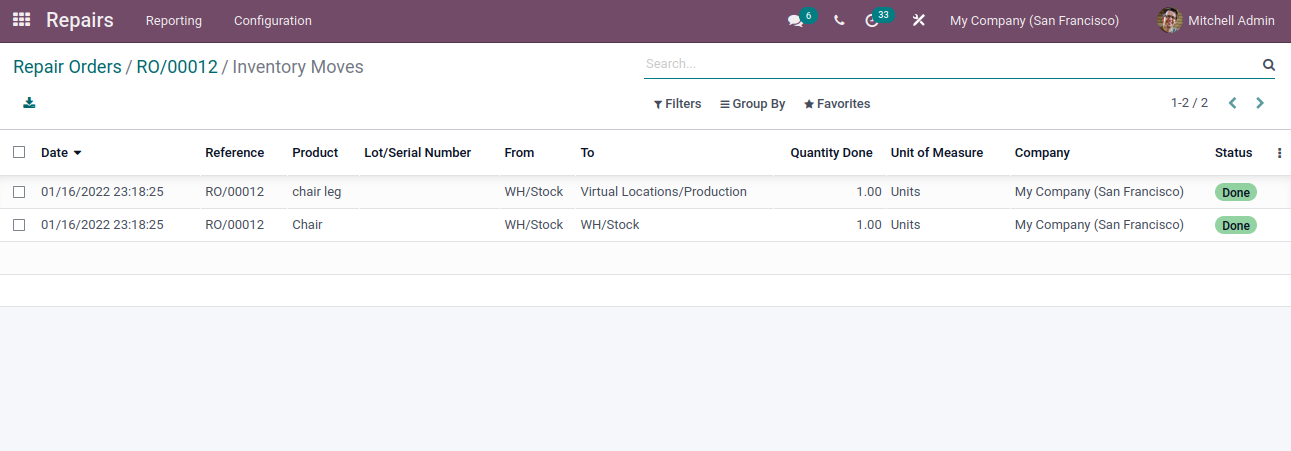
In Repaired State, you can see product moves. Click on Product Moves
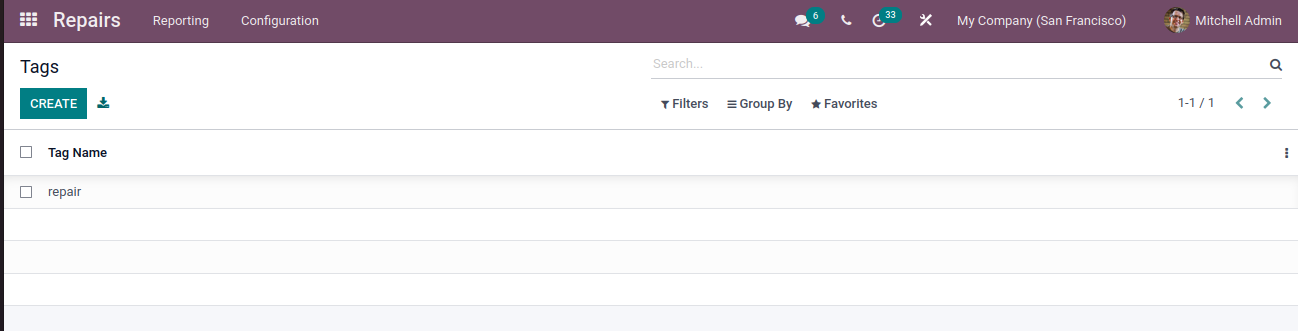
Under Configuration Menu, you have to enter Repair Order Tags.
Configuration –> Repair Order Tags
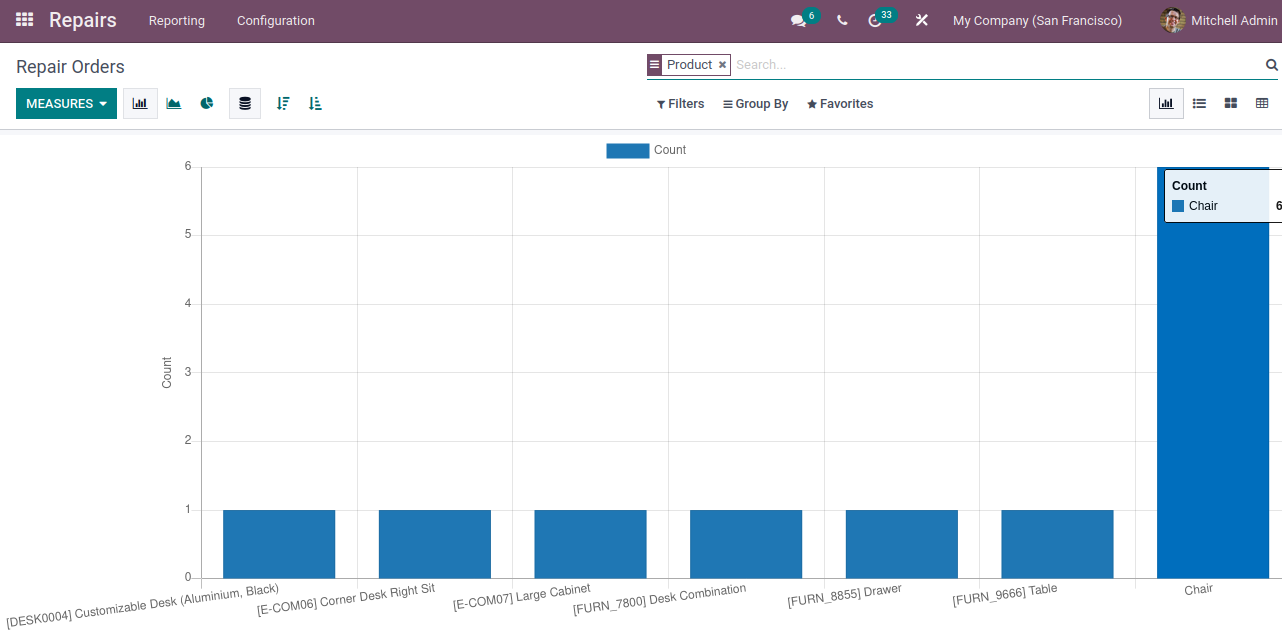
Under Reporting Menu, you can see the analysis of all Repair Orders.
Under Repair order list view, you can see filters, Group by, and add favorites in the list view.
By Selecting some records in the list view, you can see 3 options Export, Delete and Create Invoices
DOWNLOAD Odoo 15
We’re available by phone or email, with a 24-hour response time in case you need immediate Odoo erp support. For more details, Call us on +91 88912 49995 or +91 70250 75566 email us at info@bassaminfotech.com
"Unlock the Full Potential of Your Business with Odoo ERP!"
"Get a Cost Estimate for Your ERP Project, Absolutely FREE!"
Get a Free Quote