Work Entries in Odoo 15 Payroll Application
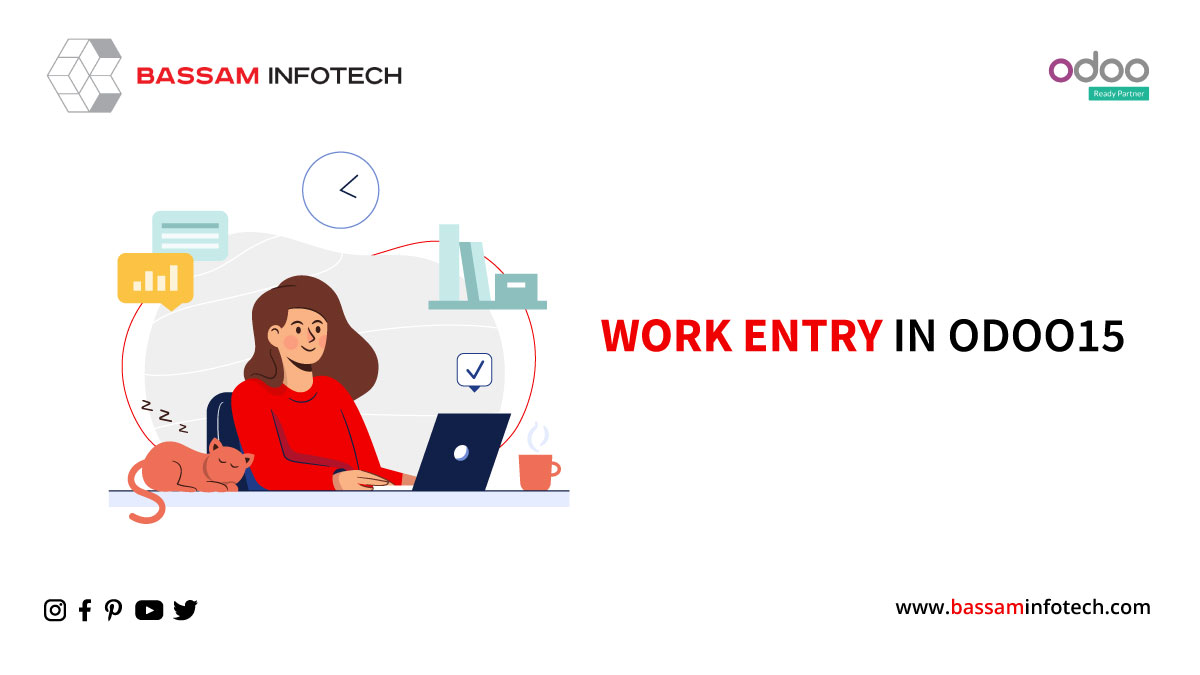
Work Entries record the scheduled work time of an employee. It includes all the employee’s scheduled work, leaves entries, and other commitments. Work entries simplify the payroll management system in Odoo 15. Work entries gather attendance days and time off of your employee. Odoo generates work entries automatically based on the working schedule mentioned in the employee contract.
Configure work entry types
To configure work entry types, navigate to the payroll application in Odoo 15, then.
CONFIGURATION > WORK ENTRIES > WORK ENTRY TYPES
In this menu, users can see all the work entries that are configured in the system. In addition, users can edit or create new work entries from this menu.
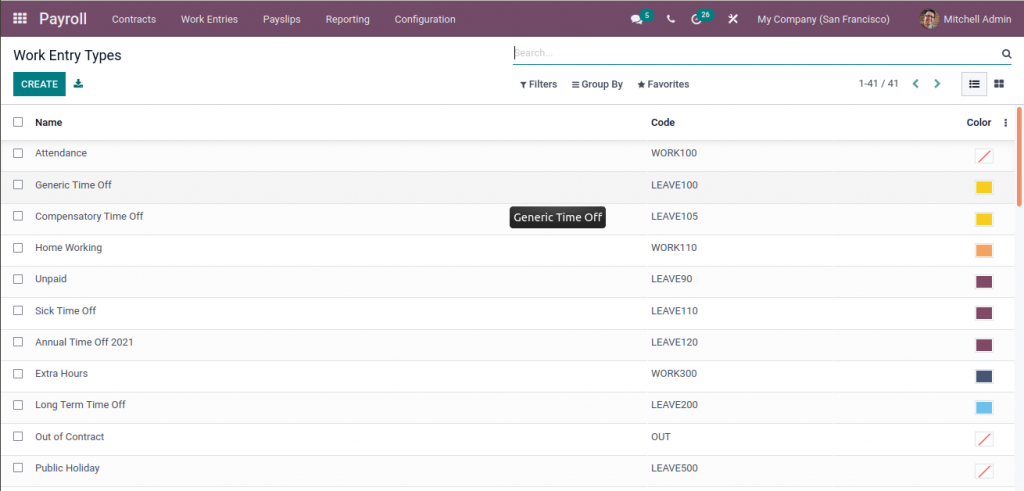
Click on the CREATE button to create a new work entry type in Odoo.

Work Entry Type Name: Give a name for work entry.
Code: Create a short code for this Work Entry Type.
Sequence: Specify a sequence number, if desired.
Time Off: Check this box if this Work Entry Type is related to time off. If checked, you can see other options related to the time off work entry type.
Unforeseen Absence: Check this box if this Work Entry Type represents an unforeseen absence.
Display in Payslip
Rounding: Choose whether to round to a full day, a half-day, or not to round at all.
Work Entries
Click on the work entries menu in the Odoo payroll application to see work entries. Here, You will find a Gantt chart showing your employees’ work schedules. It includes all the employee’s work, leaves, and other commitments.
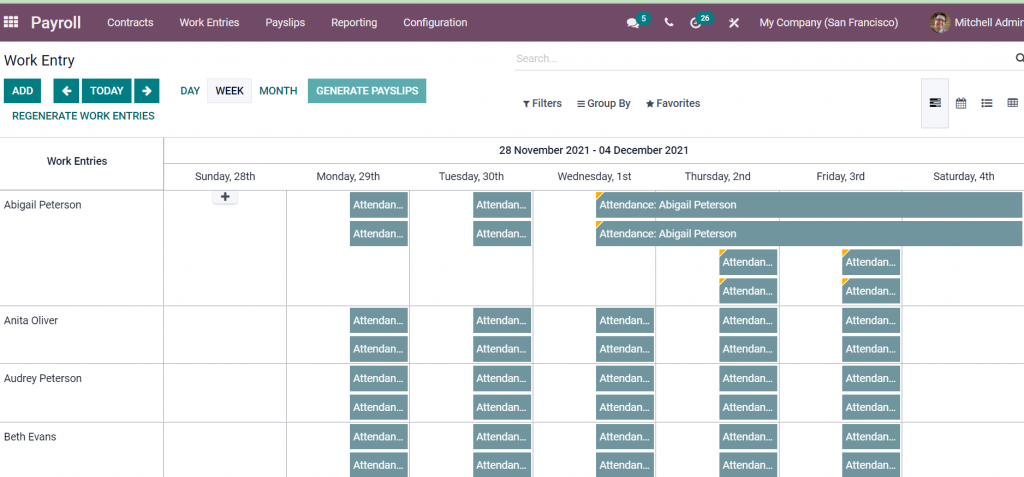
Multiple filters are available in the Gantt view. For example, users can view day-wise and month-wise work entries and filter work entries.
Work entries with a yellow triangle on top show conflicts in work entry. Conflict can occur in work entry most times, such as
- Multiple work entries are created in Odoo for the same period for an employee
- There is leave to be approved or refused at the same time for an employee.
- The work entry type is not defined in the work entry.
Entries with grey on the top left show validated work entries in the system.
Entries without triangles show work entries in the draft state.
Validate Work Entry:
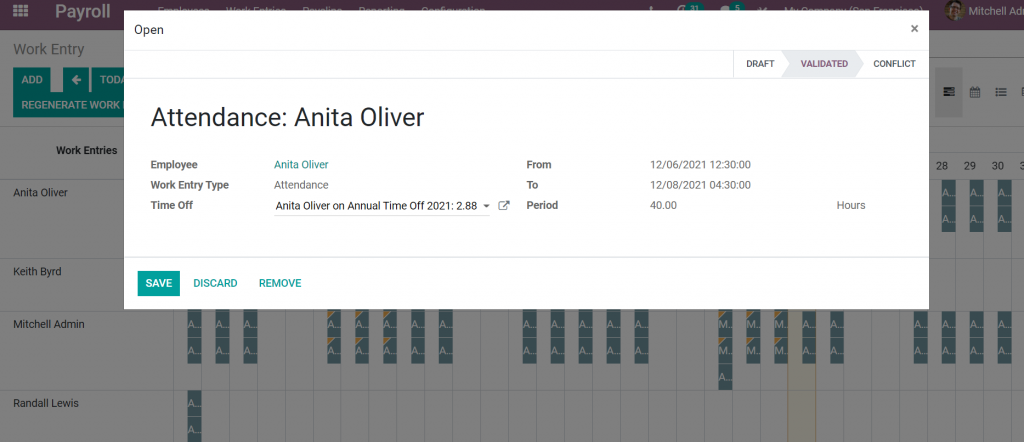
To validate a Work Entry in the Gantt view, select the work entered the Gantt view and then click on the VALIDATED stage on the top right. Finally, click on the SAVE button to save changes on that work entry when you’re done.
For validating multiple works, entries switch to list view, then select the draft or conflict records which you want to validate and change the state column to VALIDATED state.
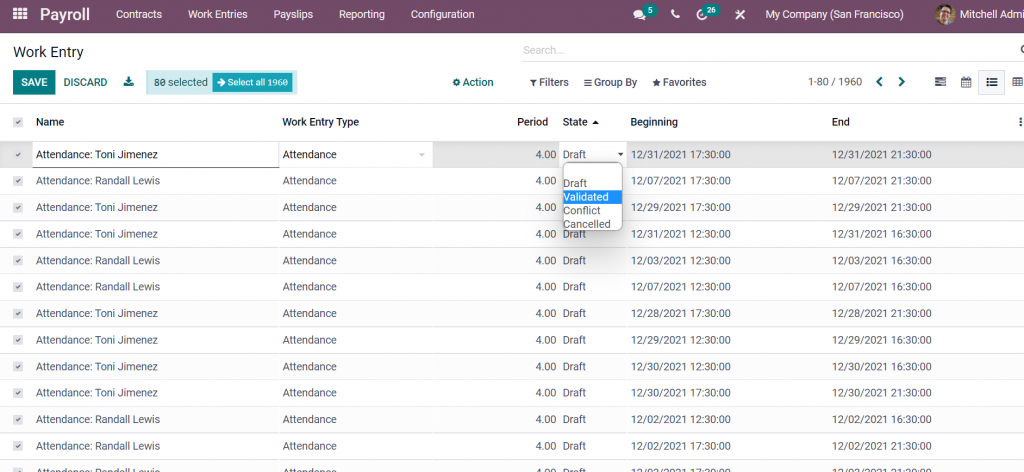
Then, Confirm the change on the pop-up window.
Validated work entry will be shown in Gantt view with a grey triangle in the top left corner.
Generating work entries:
Odoo will automatically generate work entries when a new contract is created against an employee. In addition, Odoo generates work entries based on the start date, end date, and working schedule of an employee.
For regenerating work entries, click on the REGENERATE WORK ENTRIES button.
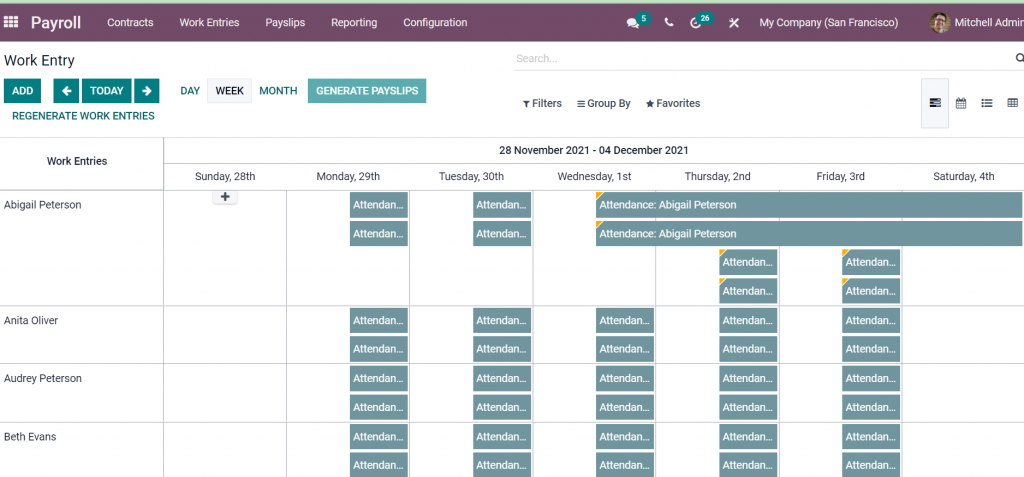
To create a new work entry, click on the ADD button.
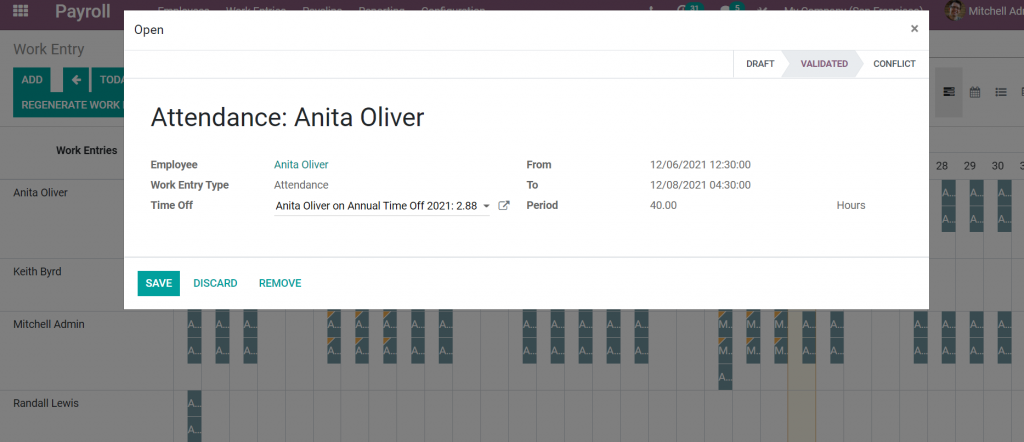
Fill in the following information:
Work Entry Name: Specify a name for the work entry.
Employee: Specify the name of the employee.
Work Entry Type: Select a work entry type from the drop-down.
From: Enter the start date or start time of the employee’s work.
To/Period: Enter either the end date or end time of the employee’s work.
Conflicts:
If you create a Work Entry that conflicts with an existing one, It will be saved and appear in the Gantt view with a yellow triangle at the top left corner.
To display only conflicting work entries, click on the CONFLICTS menu on work entries.
Conflicts in work entry can occur because of many reasons. To view the reason for conflicts in work entry, click on the work entry record. On the top of the record, you can see the reason this entry is in a conflict state.
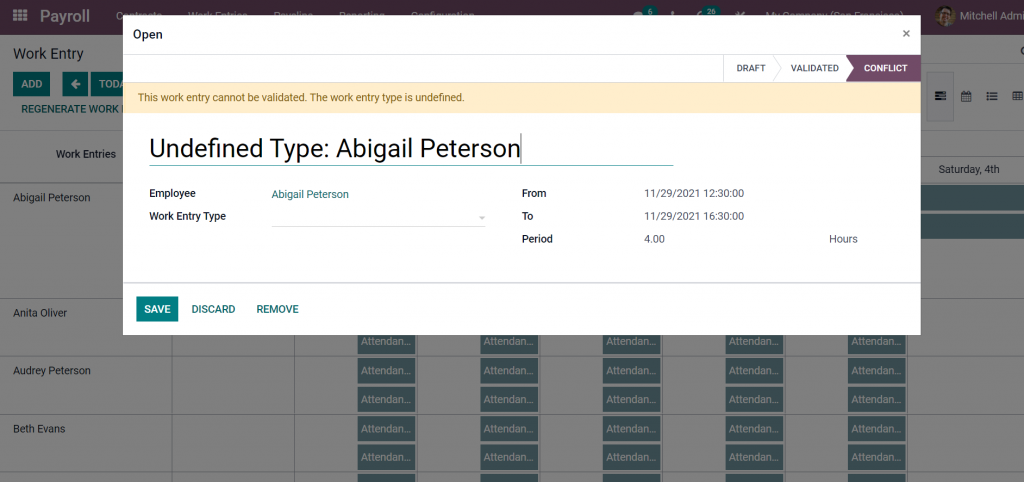
Based on the reason in the work entry, you can solve the issues in the work entry so that they can be easily validated. In order to generate a payslip, the conflicting entries must be corrected. Odoo will check all work entries of employees when generating their payslips and notify users if there is a conflict in work entry.
Generate payslips from work entry:
To generate a payslip from the work entry, click on the GENERATE PAYSLIPS button in the top left corner.
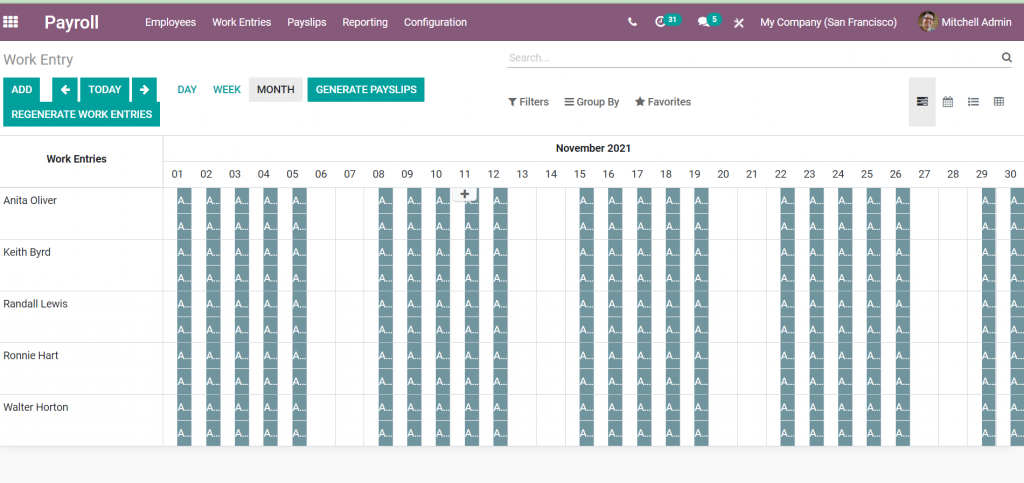
After clicking on the GENERATE PAYSLIPS button, you will be redirected to the payslip batch page with all the employee’s payslips verified.
GENERATE PAYSLIPS button will be disabled if there is a conflicting work entry in that month or week.
DOWNLOAD odoo payroll Application
We’re available by phone or email, with a 24-hour response time in case you need immediate Odoo support. For more details, Call us on +91 88912 49995 or +91 70250 75566 email us at info@bassaminfotech.com
"Unlock the Full Potential of Your Business with Odoo ERP!"
"Get a Cost Estimate for Your ERP Project, Absolutely FREE!"
Get a Free Quote