Workflow of Sales Module in Odoo 16
Odoo provides us with a sales module for managing the operations of sales to provide the best and most efficient way of handling sales. You can adjust and customize the Sales module according to your needs of the work and projects. It also allows for features like direct sending of invoices, making easy follow-up of quotations and sales orders possible.
This blog will provide the basic workflow of using the Sales module in Odoo 16 starting from creating a quotation to the completion of the sale.
Odoo Sales Module Workflow
When you open the sales module of Odoo, you will be taken to the list of all the quotations ever made. So first, we have to make a quotation to provide an offer for your customers.

You can create a new quotation by clicking the New button by going to the Quotation menu under the Orders tab in the sales module or by clicking the button provided directly when opening the Sales module. The button will take you to a form for creating a new quotation. You can fill in the details like the customer name, invoice address, delivery address, date of the quotation, expiry date of the quotation, price list, and payment terms. The list of customers will be pre-loaded within the form if you have added them as customers.
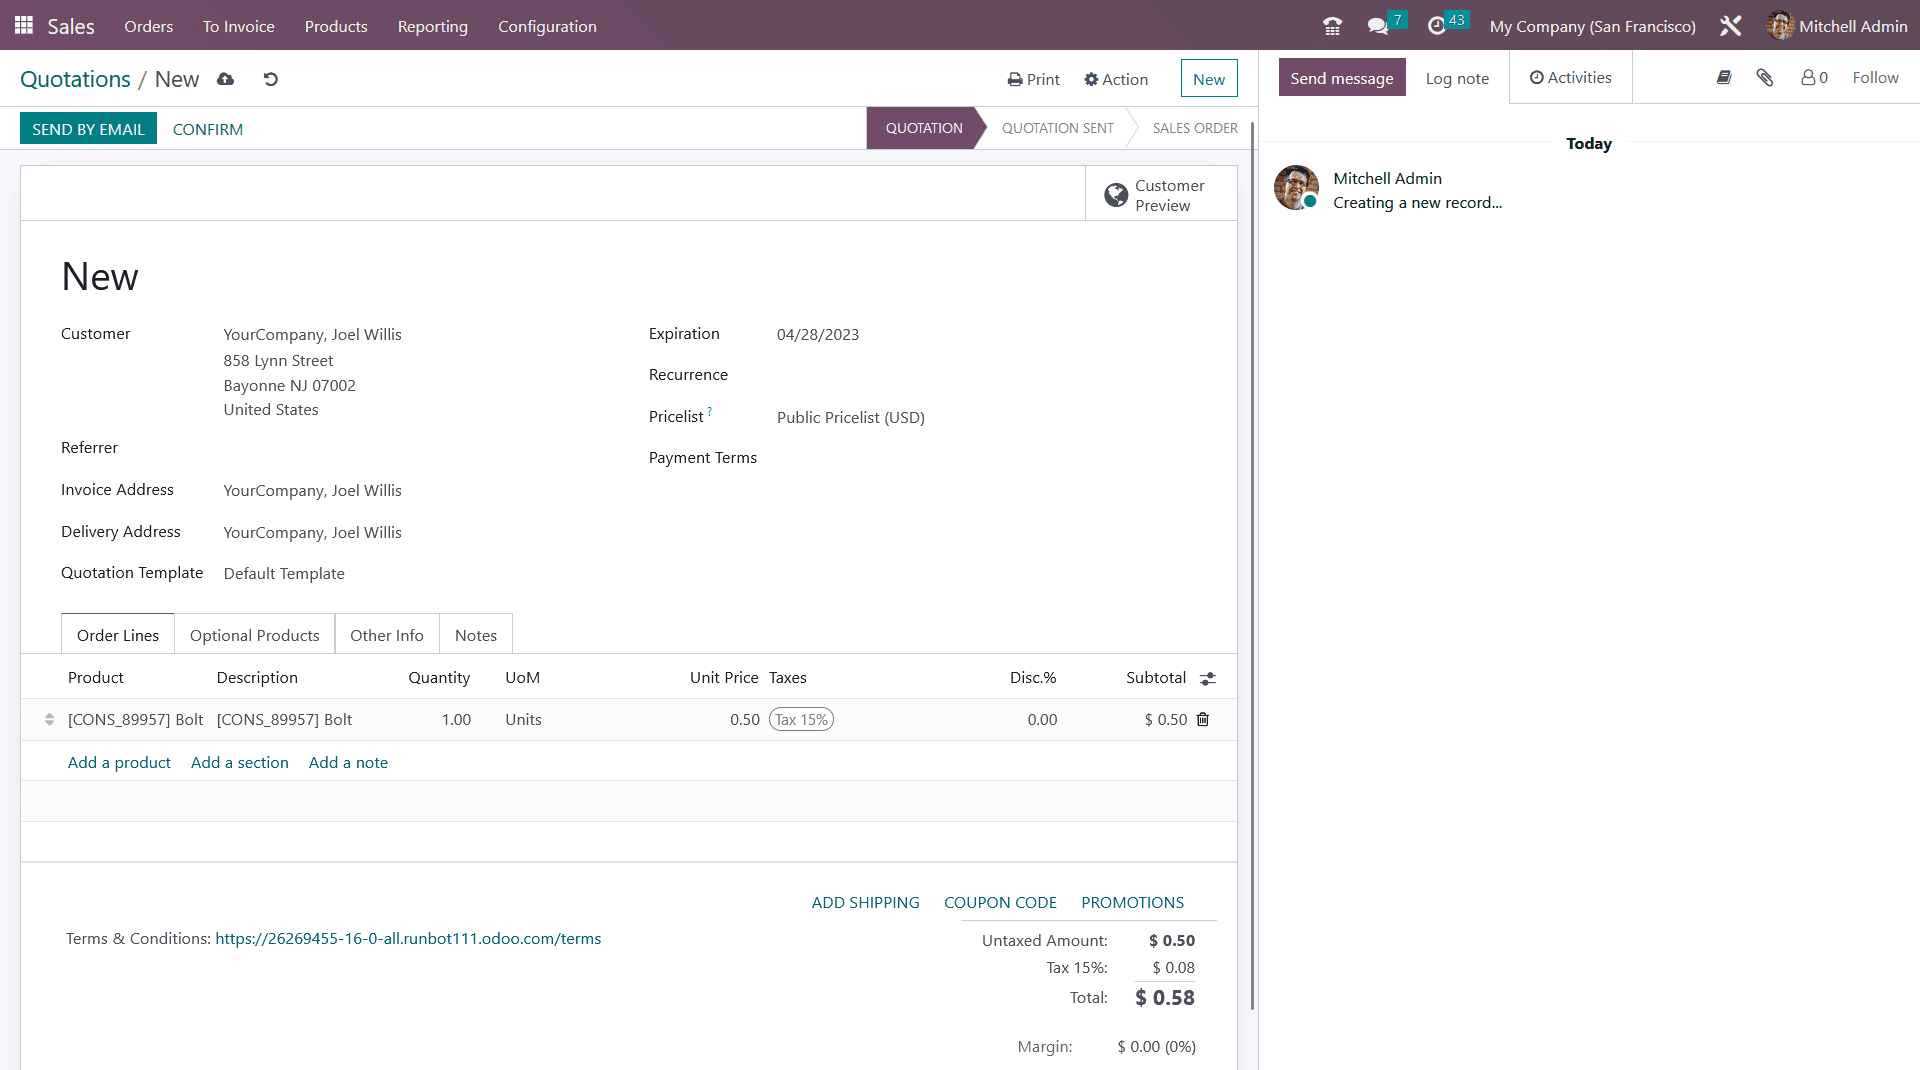
In the order line, you have the option to add the products you would like to propose the offer to. Additional details of the product like description, the number of items, unit price, discount, and unit of measurement can be added. Details of the product will be already added when selecting the product but you have access to edit the values.
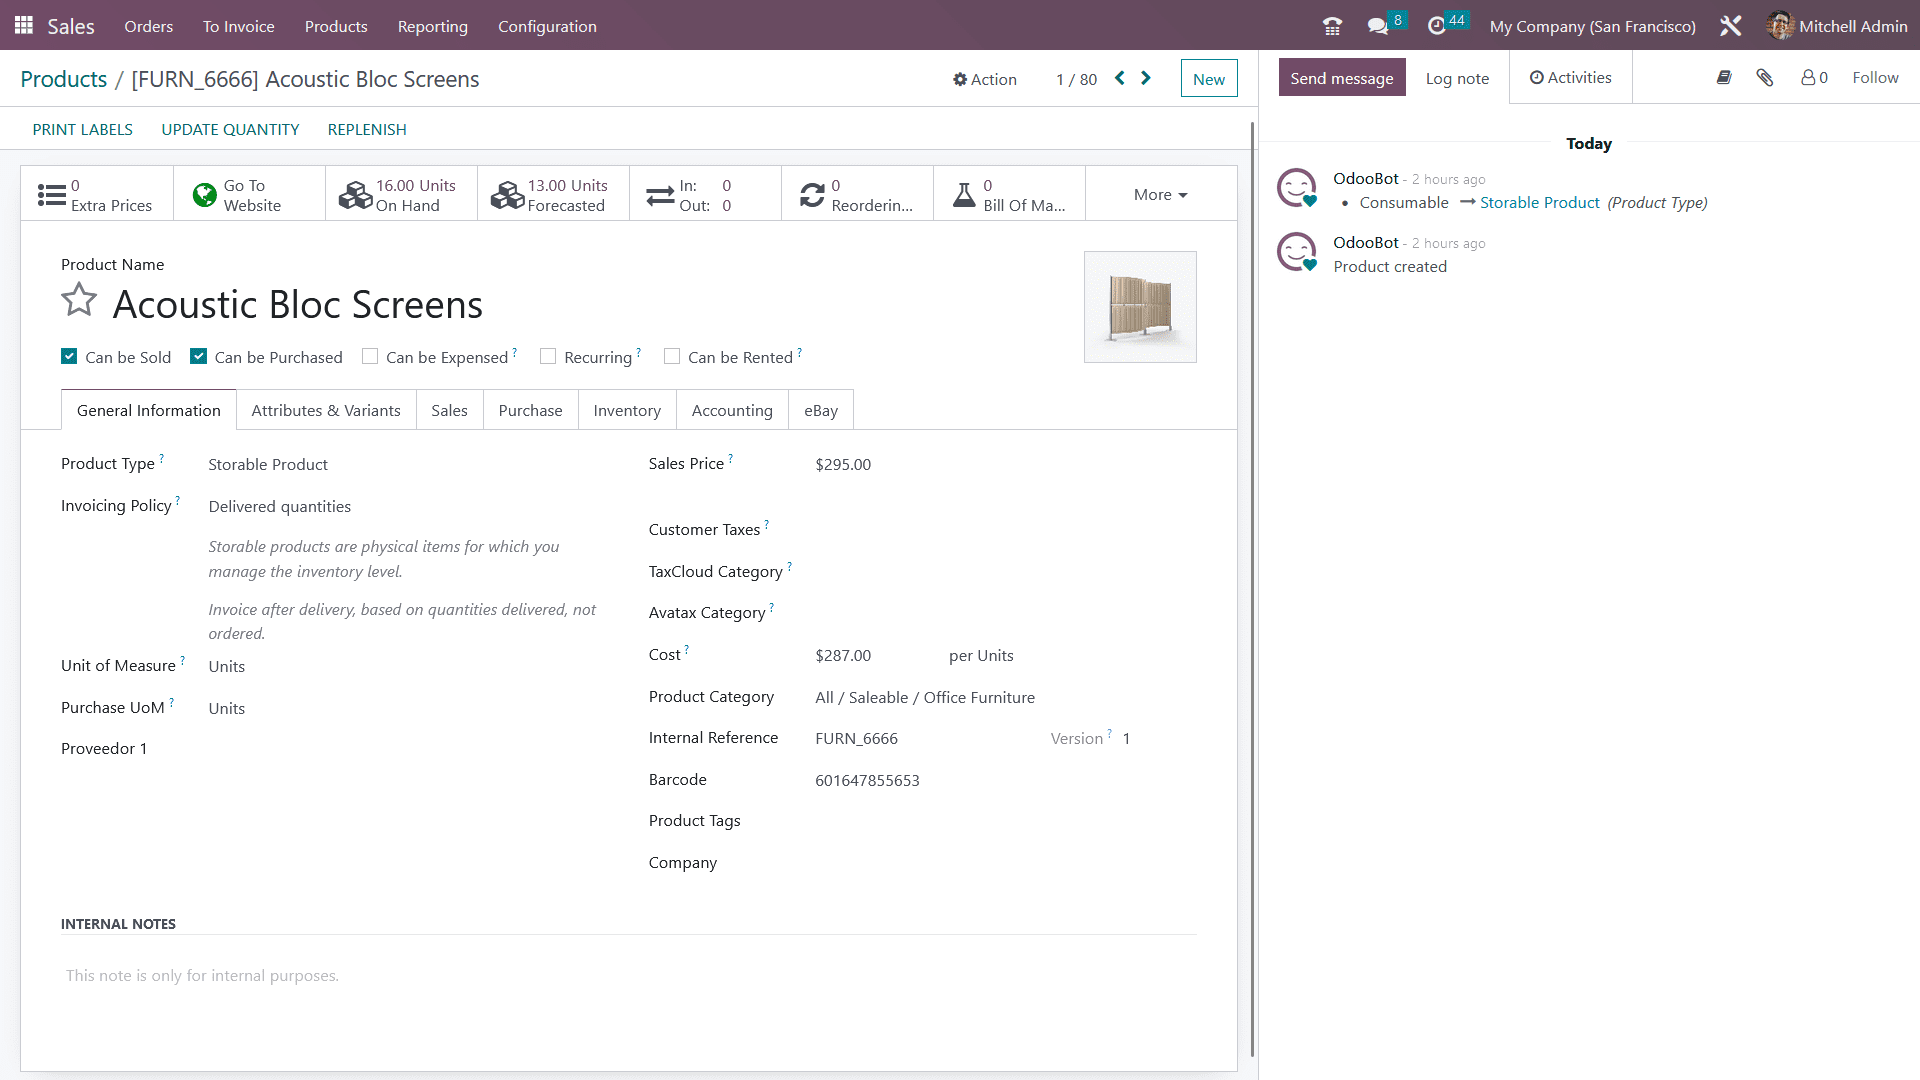
Create New Products
You can view all the products available in the products option under the products tab. All the details related to the product like name, product type, product category, unit of measurement, cost, in-hand quantity, the reordering rules of the product stock, etc can be viewed. You can also see the variants of the products under the product variants option in the products tab of the sales module. Create a new product by clicking on the create button, filling in the details, and clicking on save.

After completion of inputting the information, you can save and send the quotation to the customers. You can send the quotation by email or also the option to send a Pro-Forma invoice. You can see the activity related to the record in the chatter. When the quotation is sent to the customers, the state will be changed to the Quotation sent.
Odoo Sales Orders Workflow
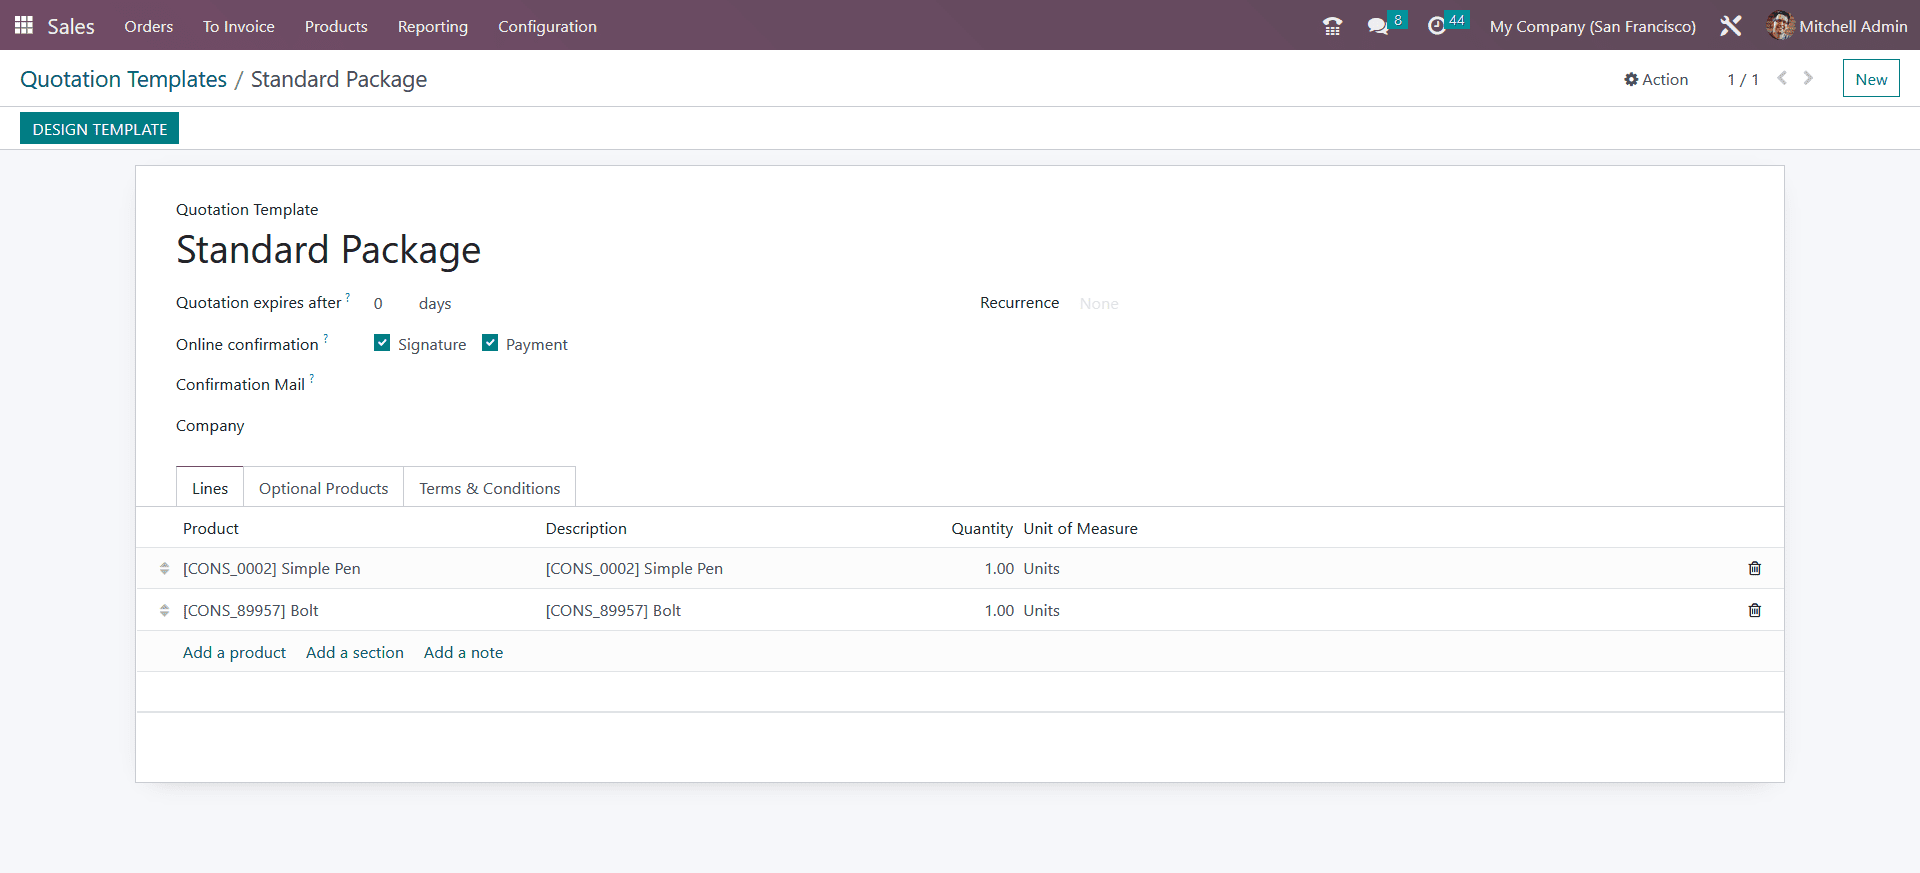
You also have the option to make a quotation template where you can design a template while making a new quotation. You can see all the quotation templates in the Quotation template option under the Configuration of the Sales tab and create a new one from there. When making a new template, insert the name for the template and select the products you want to load when selecting the template while creating the quotation. You can then design the template how to present it to the user on the website.
After the user confirms the quotation, you can click on the confirm option to convert it into a sales order and start the process of manufacture and delivery. The state is then changed into a Sales Order. Remember that the delivery smart button will only be visible when products are added to the quotation.
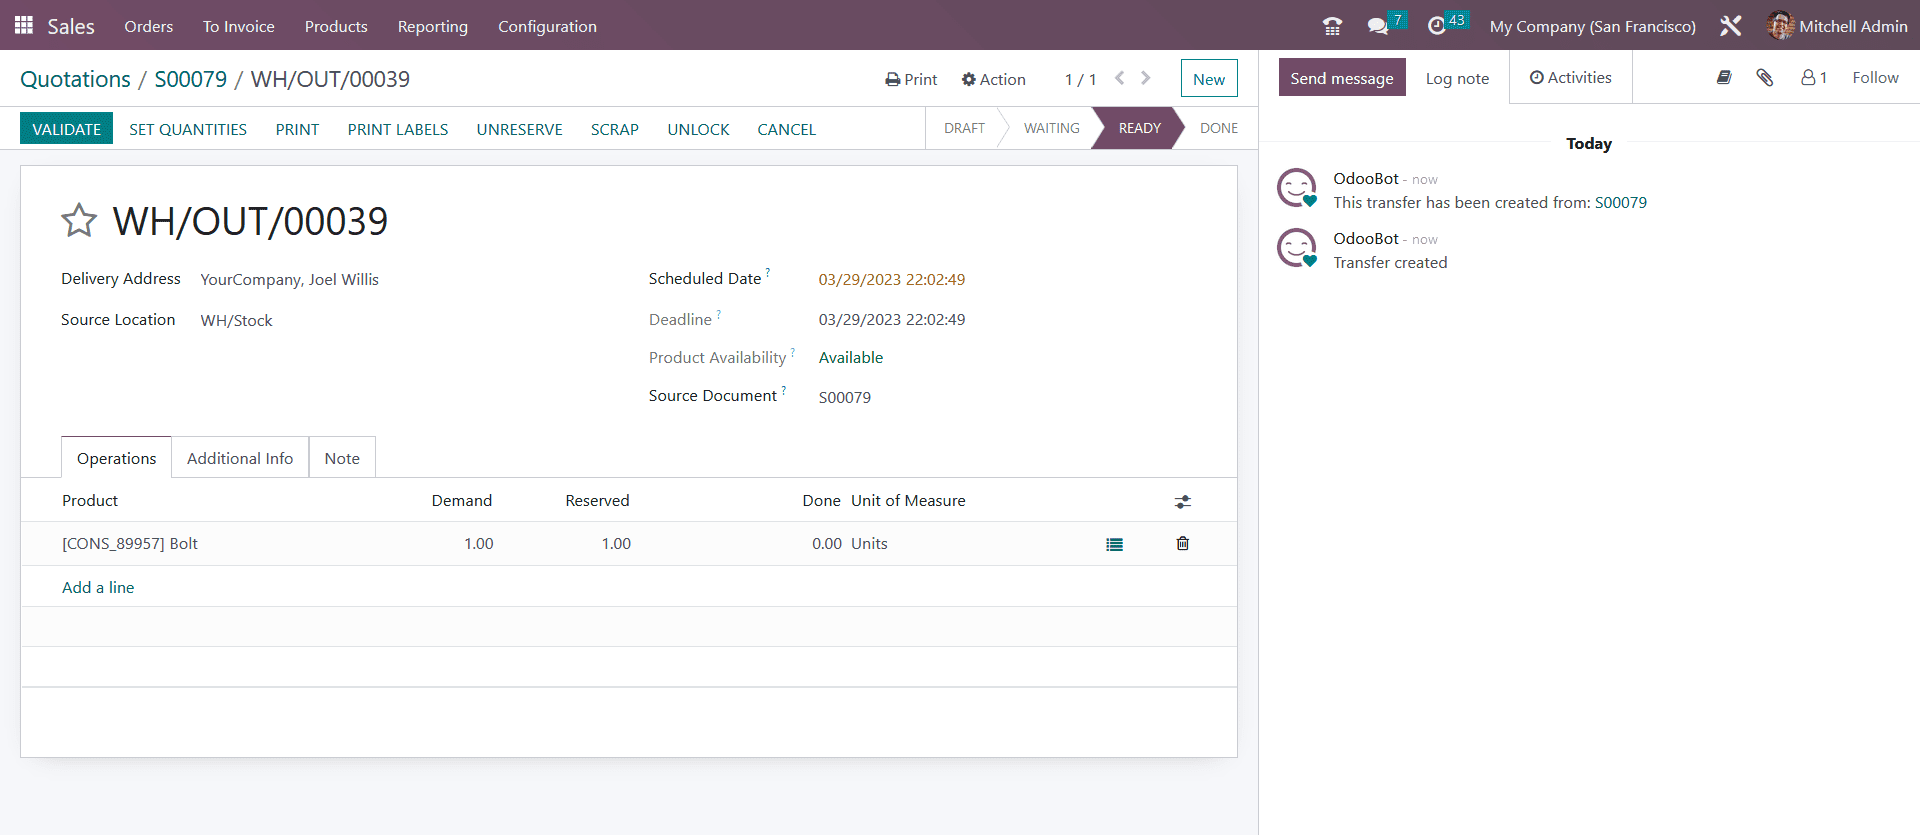
When you click on the smart button with a truck icon that appears on the top right of the sheet. And you will be taken to the page to view the delivery details of the product confirmed. You can confirm the products on that page and also the option to add more to the delivery.

On the page, click on the validate button for confirmation of the shipping.
You can either deliver all the products in the order at the same time or the option to create a back order where it will be taken as another delivery.
After confirming the delivery, click the invoice button to create an invoice for the sale order. You have the option to make a regular invoice or you can make a down payment with a percentage or a fixed amount. After clicking on the Create Invoice button, you can see the draft created for the invoice. View and confirm the details in the invoice and click on the confirm button.

After confirming the invoice, we can see the Register payment button is visible. We can click on the Register payment button if the customer has done the payment. You also have the option to add the credit note with Add Credit note button, add a debit note and also reset the invoice to the draft option.

With ERP support from Odoo 16, sales management can become an effective, efficient, and profitable process in every way. Manage your daily sales activities like quotations, reports, templates, products, configurations, transfers, invoices, and many more services with Odoo 16 sales module.
DOWNLOAD ERP
"Unlock the Full Potential of Your Business with Odoo ERP!"
"Get a Cost Estimate for Your ERP Project, Absolutely FREE!"
Get a Free Quote