Configure the Outgoing Mail Server in Odoo 17

Odoo utilizes its mail servers for database functions. So it is easy to configure and work with outgoing and incoming emails without additional configuration. Further configuration would be necessary only in cases where large batches of mass emails necessitate an external mail server. By default, odoo allows a subscribed system to send with a limit of 200 emails per day. You can utilize the chatterbox available under forms such as in the main apps like sale, purchase, CRM, etc to send messages in the chatterbox which will be forwarded or sent to the followers of that record via email system. A reply provided by the followers of the record will also be updated in the chatterbox and further replies are relied on to others by notification. So this blog will help you to configure an outgoing mail server in odoo 17.
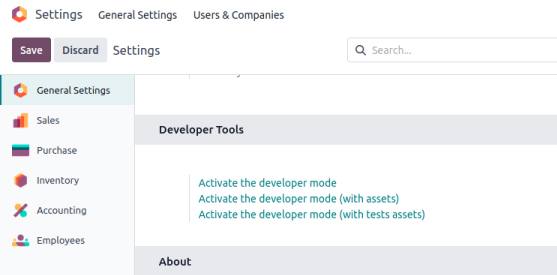
Firstly, activate the developer mode available at the bottom page in General Settings.
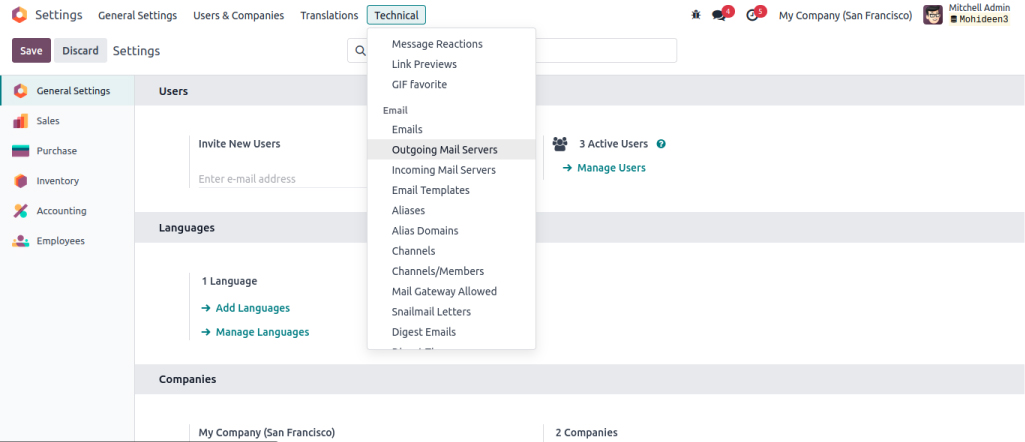
Select the Outgoing Mail Server option under the technical tab which should be visible after developer mode activation.
Now, the Outgoing Mail Server Menu will be open. We need to set up an app password for our mail server for it to work successfully. For reference, Zoho is being used here. You can set up app passwords for other accounts like Google also and Now, go to your Zoho account or Google account system you have. In Zoho, under the security tab, select the app password option and select the generate new app password option.
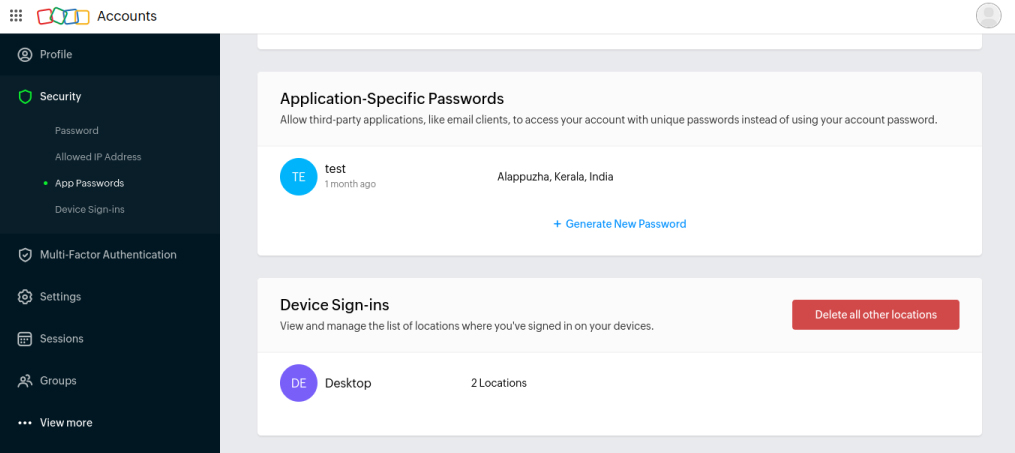
App password option under Zoho
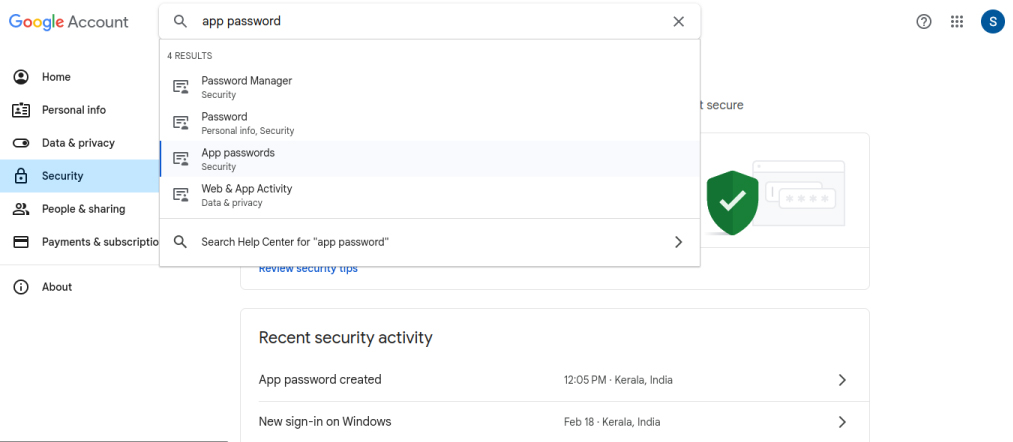
App password option under Google.
After typing in a name for your app password, a unique password will be generated for you. Copy and save that app password somewhere temporarily and go to your outgoing mail server menu in Odoo. Now, click on Create a new outgoing mail server and fill in the form just like in the image below.
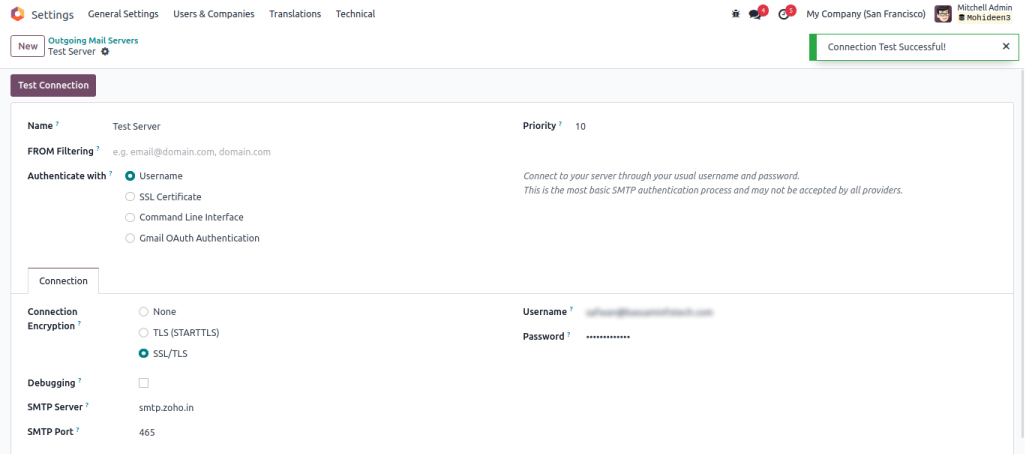
Now paste the copied app password in the password field and give your mail account ID (example@gmail.com) under username, Now save the record and test the connection. If the system shows the popup of a successful connection, your outgoing mail server has been implemented. If you’re using your Gmail account, the SMTP server would be smtp.gmail.com, and the port is 465 for SMTP Port. This mail server setup authentication is based on the username. You can also use other methods like SSL certificate, Command Line Interface, and Gmail OAuth Authentication to correctly implement a mail system into your odoo for easy communication between odoo and clients.
"Unlock the Full Potential of Your Business with Odoo ERP!"
"Get a Cost Estimate for Your ERP Project, Absolutely FREE!"
Get a Free Quote