Mailing List in Odoo 17
One of the quickest means for organizations to communicate with suppliers, clients, potential customers, staff, and bank managers is through business emails. They facilitate global communication and are recognized for their brevity, speed, cost-effectiveness, personalized touch, and professionalism, making them an invaluable means of connection. And obvious enough Odoo provided this feature efficiently for best business transactions. Sending emails to multiple clients or partners by using mailing lists is very useful when curating content for specific groups of people who already share similar interests. Using mailing lists proves advantageous for companies transitioning from another system and possessing an existing audience.
Additionally, empowering the audience with the ability to ‘unsubscribe’ from mailings contributes to fostering positive customer relations. Odoo granting recipients control over the content they receive or opt out from maintains good business practices. So let’s see how to set up a mailing list in Odoo.
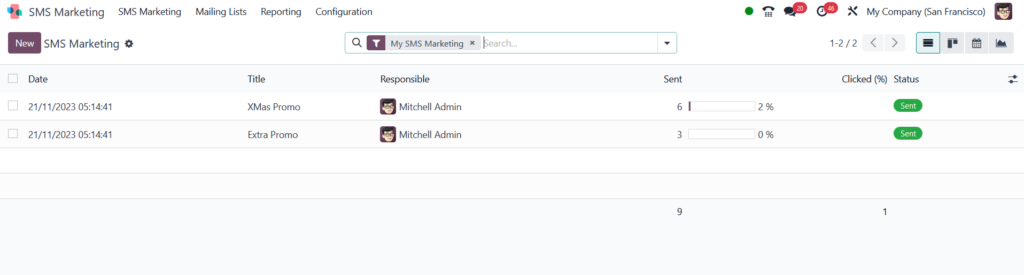
First, open your Odoo app and go to the SMS Marketing module. You can also see the mailing list option in the module’s menu tab.
You’ll see a submenu for the mailing list. Click on it.
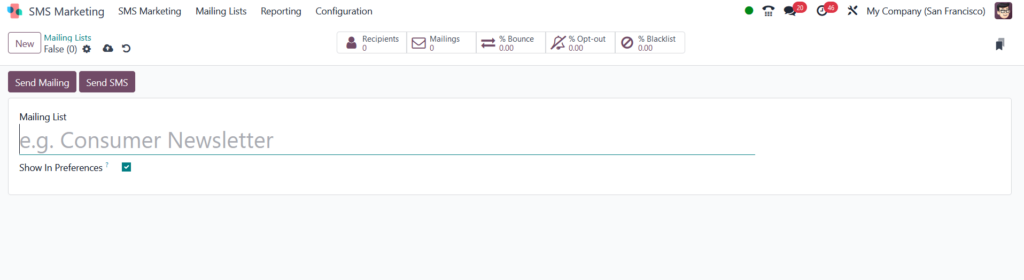
Click on the Create option in the Mailing List Window. After doing it, you’ll see different kinds of templates that could be used. Activate the Show in preference button to make recipients access the mailing list via the Subscription Management page provides them the opportunity to modify their subscription preferences whenever necessary. Click on save and go to the mailing list dashboard to view your newly created record.

To modify or personalize the mailing list, choose your list from the primary Mailing Lists, which will open the mailing list detail form.
At the top section of the mailing list detail form, several analytical smart buttons showcase statistics for various metrics connected to the mailing list Recipients, Mailings, Bounce, % Opt-Out, and % Blacklist. To edit or make alterations to any of these components, simply click the relevant smart button to access a separate page presenting detailed data linked to the mailing list.
Mailing List Contacts
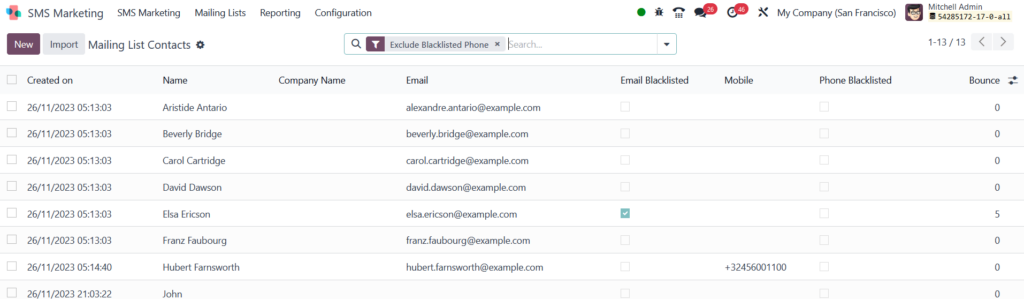
You can access the mailing list contacts under the Mailing list menu tab and click on the mailing list contacts submenu. It will reveal all created contacts. You can create a new contact for mailing by clicking on the create button. Also, Odoo initially displays the Mailing List Contacts page with the default filter “Exclude Blacklisted Phone” in the search bar. This setting ensures that only contact details of individuals willing to receive communications and mailings are presented.
Odoo SMS Marketing offers a Blacklist feature, empowering recipients to include their phone numbers in a list for discontinuing communications or mailings. This feature functions as an unsubscribe process: when customers click “Unsubscribe” through their Subscription Management page, they are automatically added to the blacklist. Additionally, customers can be manually added to the blacklist when required.

You can access the blacklist menu under the Configuration tab. Click on Create or New button and add a phone number to add a blacklist. Furthermore, you can unblacklist the number later by clicking on the option later on.
"Unlock the Full Potential of Your Business with Odoo ERP!"
"Get a Cost Estimate for Your ERP Project, Absolutely FREE!"
Get a Free Quote