Odoo Documents Module | Odoo 15 Document Management System

Regardless of how big or small, any business relies on documents to function, but if you still use paper for all your contracts and files, you are needlessly extending your cause. Hence, going paperless will save you time and money. A lot of money is lost when purchasing paper and ink. Keeping file cabinets takes up a lot of space. Employees’ productivity decreases when they have to search for lost files. That’s why we are going paperless thanks to the Odoo 15 Document App.
We can remotely access the file using this document app in Odoo 15. Everything happens in the same place, from employee communication to approval processes. So we always have the most up-to-date records. This way, we save time and money, and the records are always up to date and can be accessed from anywhere with a simple application called Documents in Odoo 15.
The Odoo Documents Module is sorted, filtered, and grouped under various factors. From employee documents to finance documents can be accessed in the documents module. This way, users could more easily navigate between departments. In addition, this documents module helps you to efficiently store the data in different forms such as Photos, Videos, and URLs and supports PDF forms.
We will explore the configuration and management of the Odoo 15 Documents Module through this blog. Let’s see…
To get the module, you can install the module from Odoo 15. Then, click on the Document menu icon to access the Dashboard window of the module, as shown below.
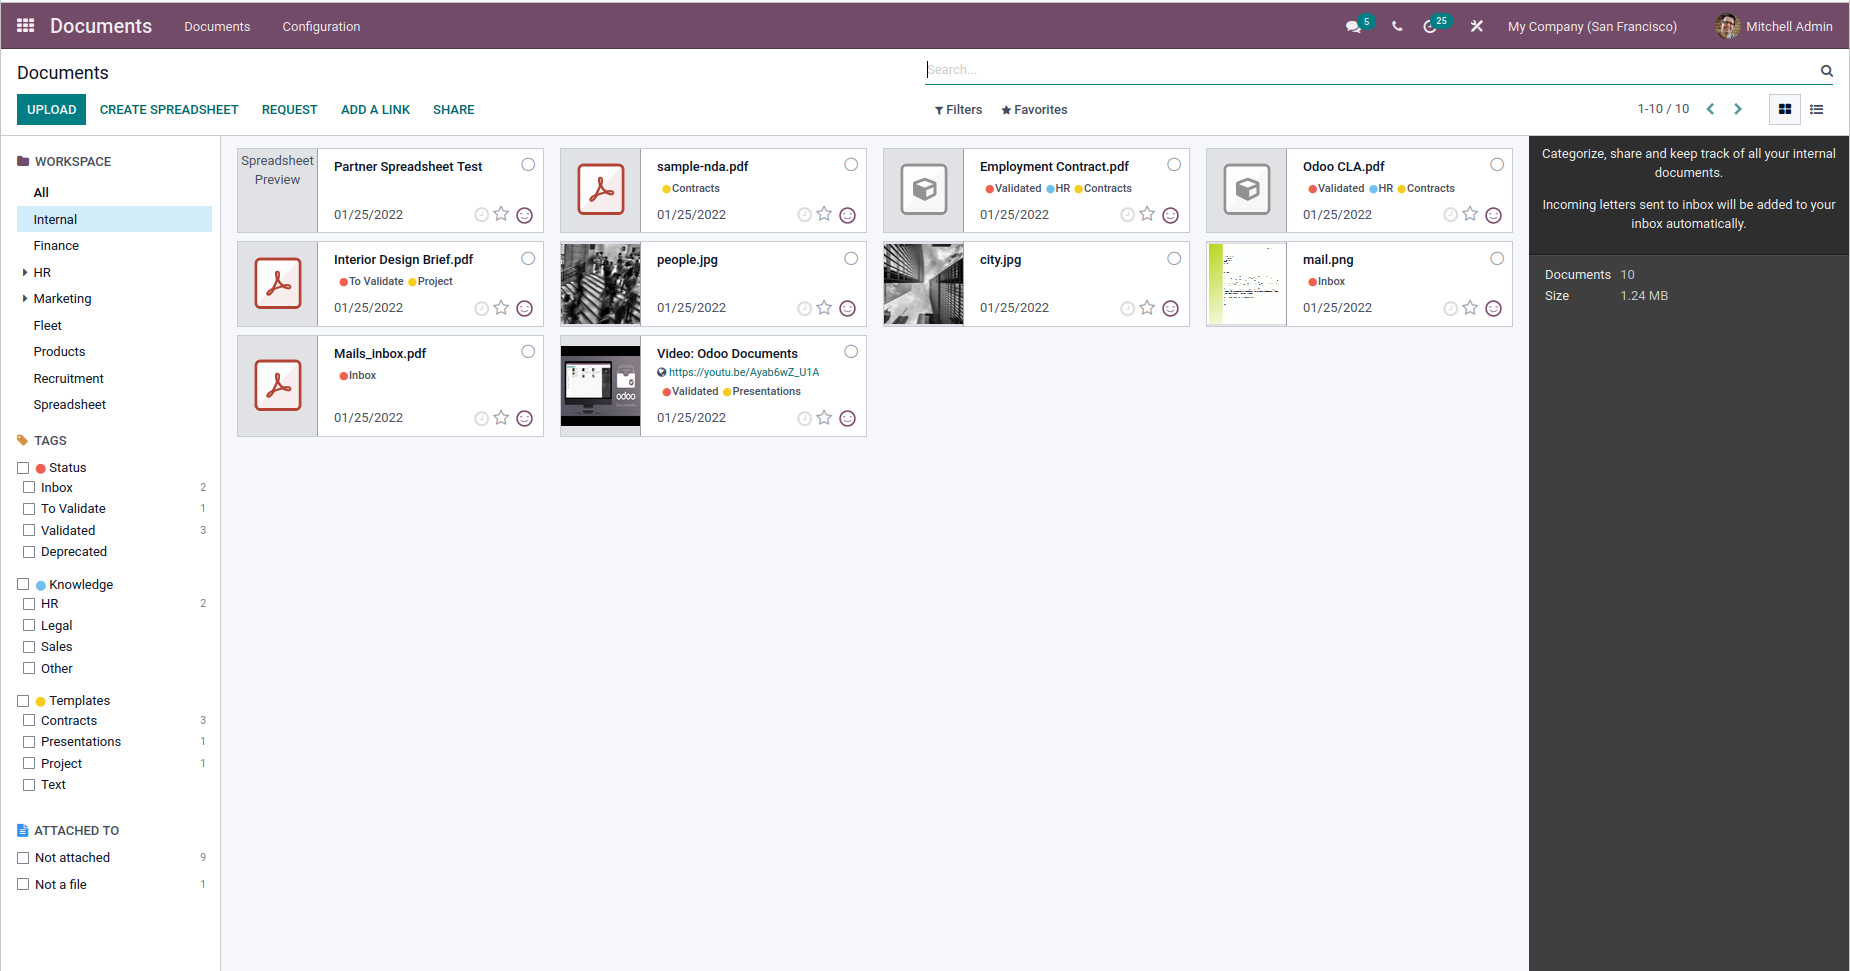
As you can see in the above image, the Odoo Documents dashboard window contains the kanban view of all types of documents recorded in your system.
Now, the Odoo app is structured around two key concepts:
1) WORKSPACE
2) TAGS
You can see the Workspace details on the left portion of the window. This module allows you to arrange your documents based on their workspace and their categories such as Internal, Finance, HR, Marketing, fleets, Products, Recruitment, Spreadsheet, etc… and when you select the All option, the whole types of files will be displayed. Also, it is possible to use tags inside of each workspace; thus, you identify your documents easily. And remember that documents can be any type of file, which is very convenient for us…
Inside of each workspace, you can add different tags to add another level of convenience to your documents. Tags are organized by categories like status, inbox, and Validate, as shown above. So we can apply these to any documents from this workspace, such as Invoices.
Let’s see how to add and remove the Tags from documents
Let’s go ahead and click a document type, which means select a type of file that exists in your documents application, as shown below.
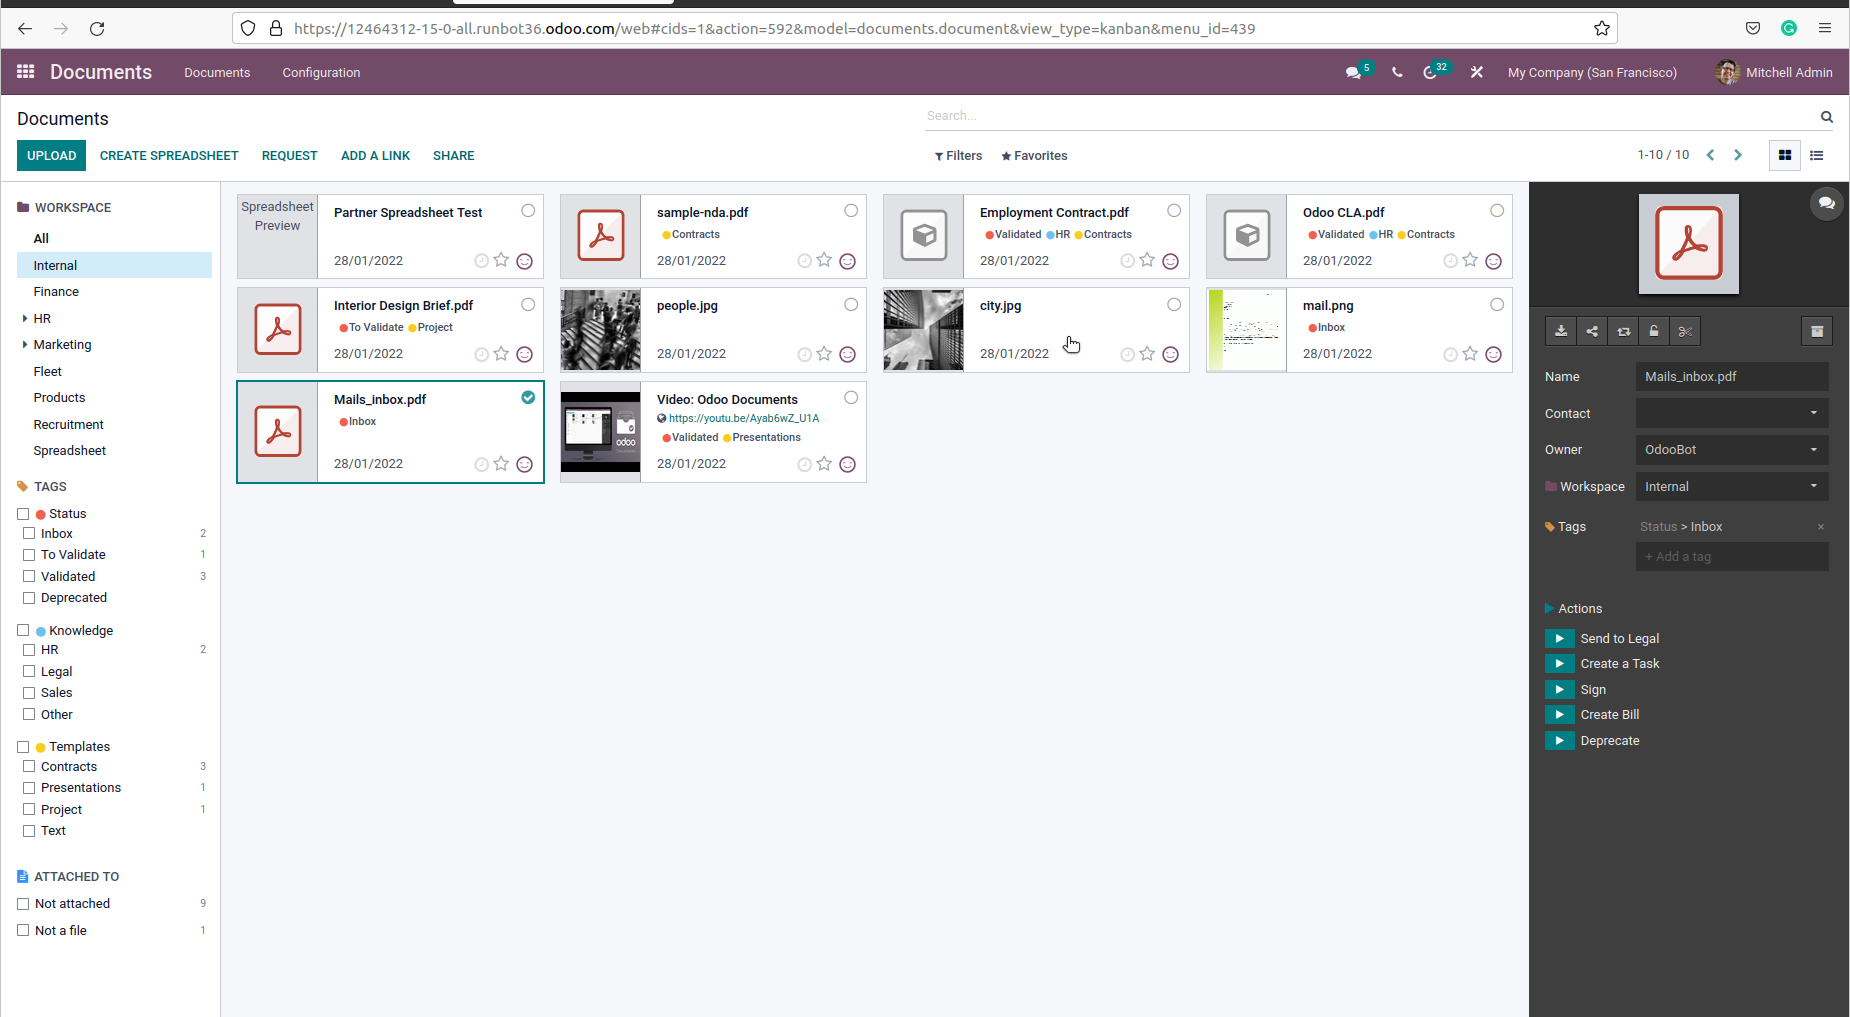
On the right-hand side, you can see a black screen where we can make changes for the selected document type. For example, you can make the documents from the’ Inbox’ tag to the ‘To Validate’ tag. For that, you only need to click the tag option shown on the right side of your screen, where you can add a tag. As shown below, I have changed it into the ‘To Validate’ tag. There we can see that my document type has changed the “inbox” tag to confirm. Likewise, you can add any type of tags into your file type with only just one click using Odoo 15 Documents module thus, the files are organized clearly and neatly.
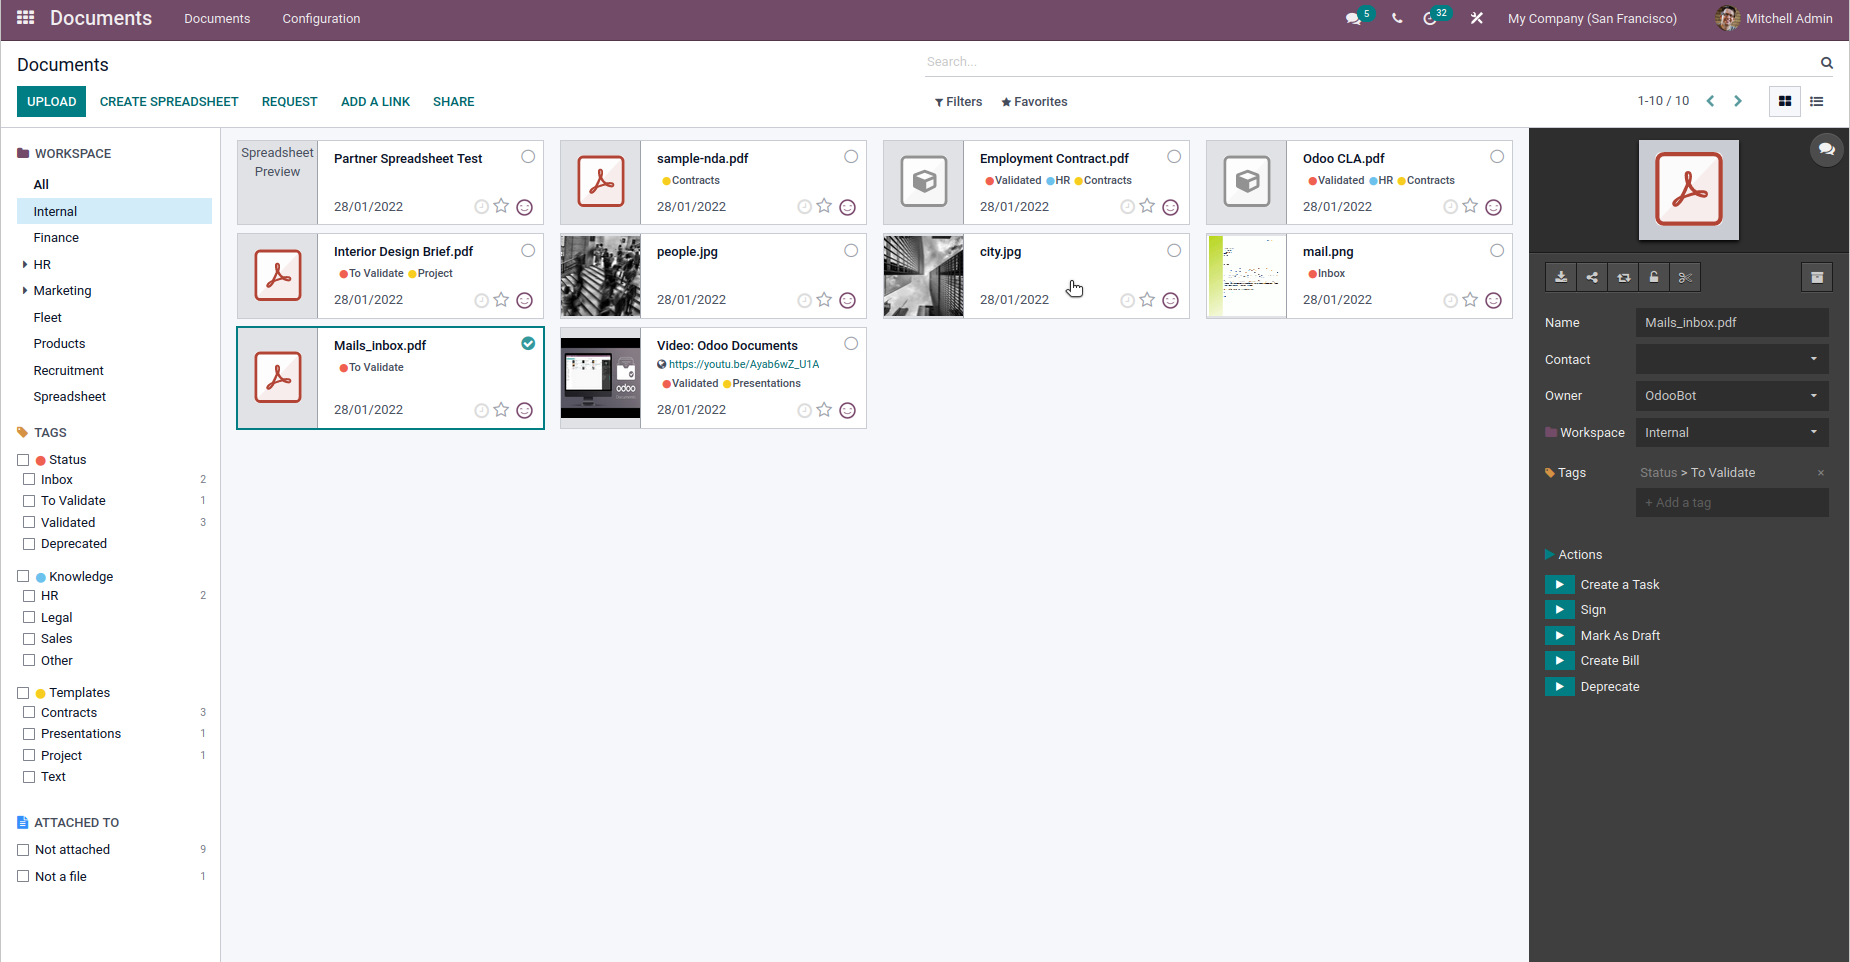
Alright, on the right-hand side, you will also be able to see many more options to manage different things.
Let’s see,
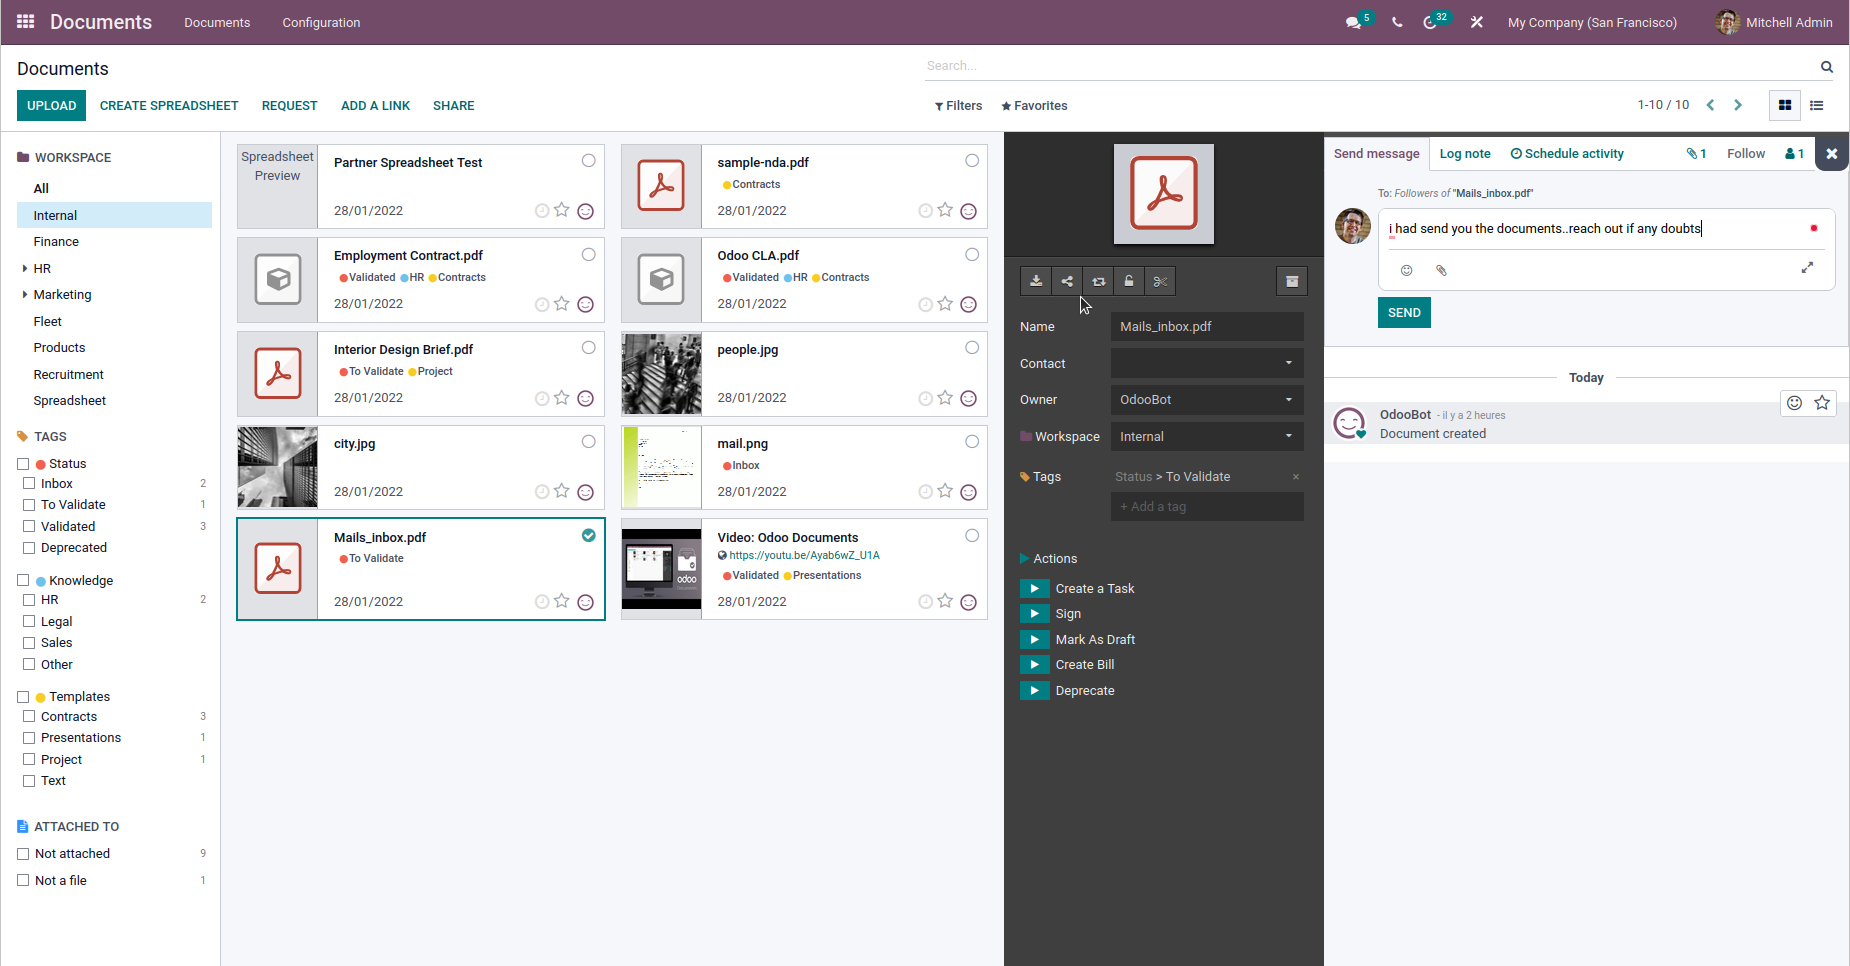
Chatbox:-(open chatter)
The Chatbox is termed ‘Open Chatter,’ shown at the right top of the black screen. When you click that, you will be able to see different options in chatter. The most important feature of chatter is to send messages. Yes, that’s it, the option ‘send the message.’ Here you will be able to send a message to those who follow these documents. So you can easily communicate with your colleagues by using this option. You can also add a ‘log note’ also you can schedule the activities. Also can check who and all follow the documents. The following picture will show how it works. So take a look…
There are some more options on the black screen shown above…
Options like ‘Download’ where you can download the selected files. Then ‘share this selection’ to share the selected files. Also, remember you can share the files with a person who is outside your company. There is a ‘Replace’ option to replace the files. ‘Lock’ is available here to lock the files, but this lock option does not lock the files. So activating this does not lock the files, but it serves as a warning to your colleagues, let them know that you are working on it and they shouldn’t work on it. We can also use the ‘Split’ option to split the files if you have a bundle of pages in your file.
Finally, you have an ‘Archive’ option to archive the files, and it will be hidden from view, but don’t worry, the file will be safe in archived files. To retrieve the file from archived, you can click on the ‘filters–> Archived’ then files appear and then ‘Unarchive’ it. For that, you will see a green-colored option, click on that, and then the file reappears in the original view. You can also delete it permanently by clicking the ‘delete ‘option. Take a look at the below picture to understand the UnArchive option…
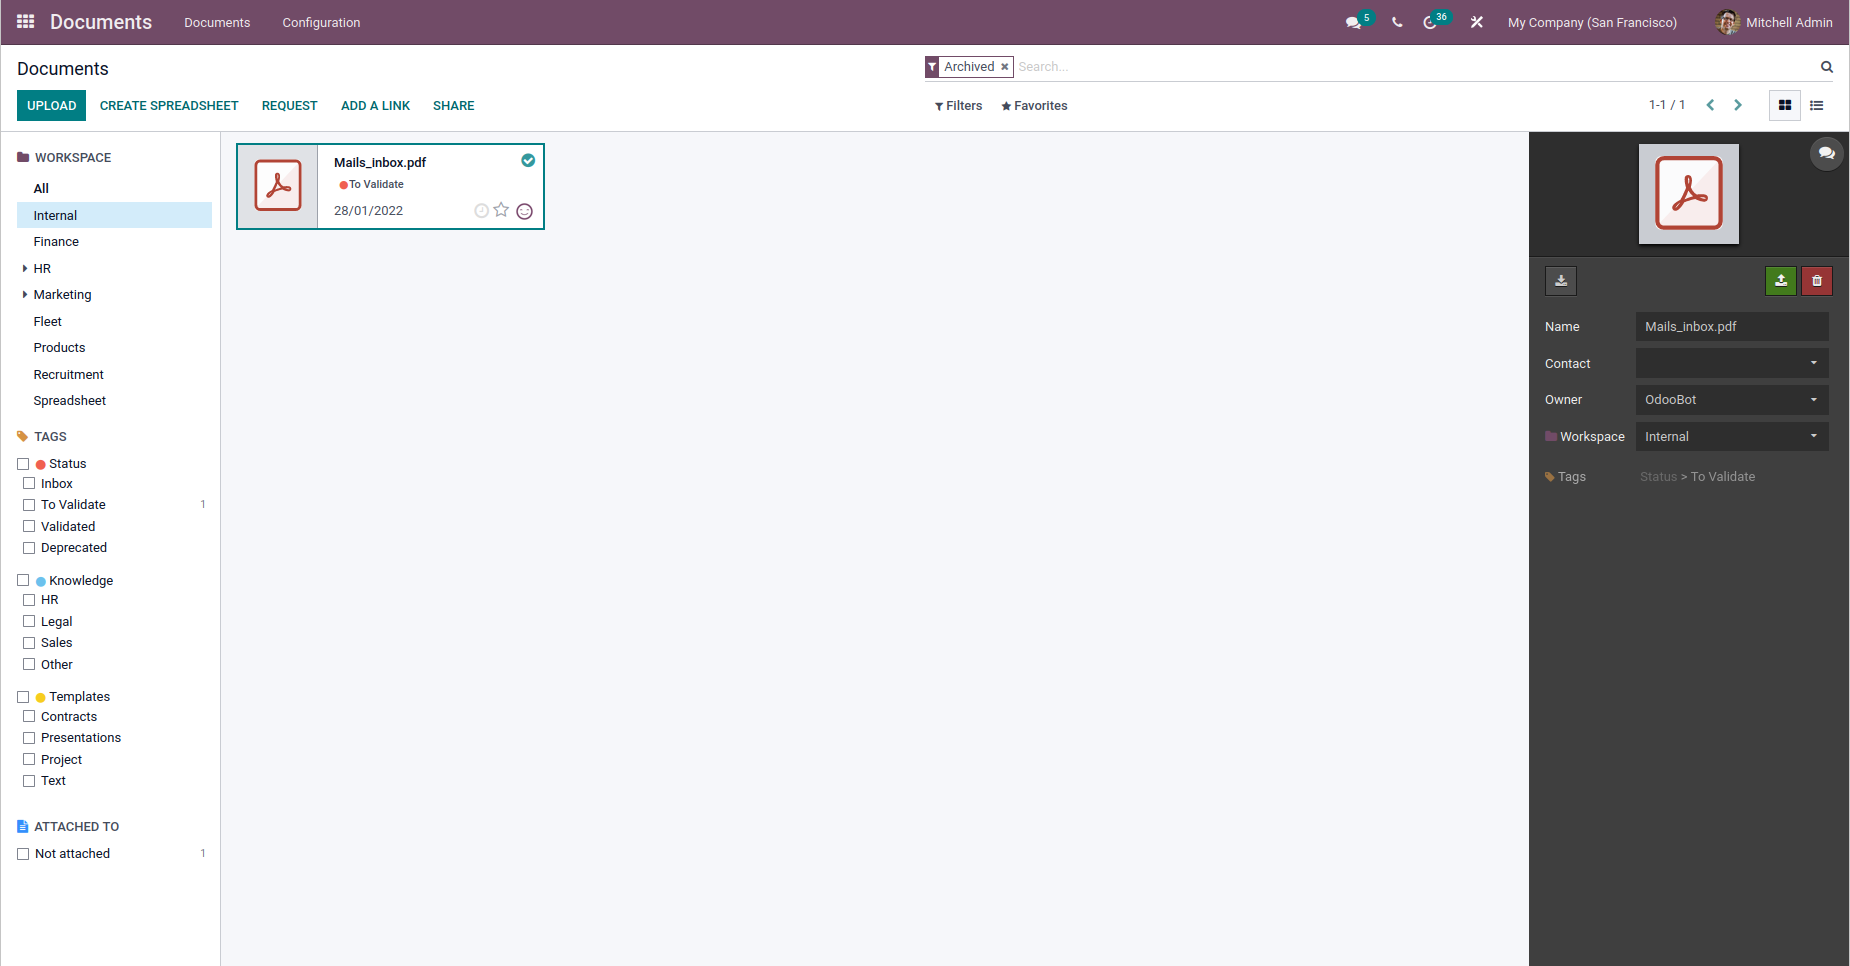
You can also modify the selected file details. On the right side, you can see the options like Name, Contact, Owner, Workspace, etc…there, you can make changes to the files. By default, the owner will be the person/company that uploads the files.
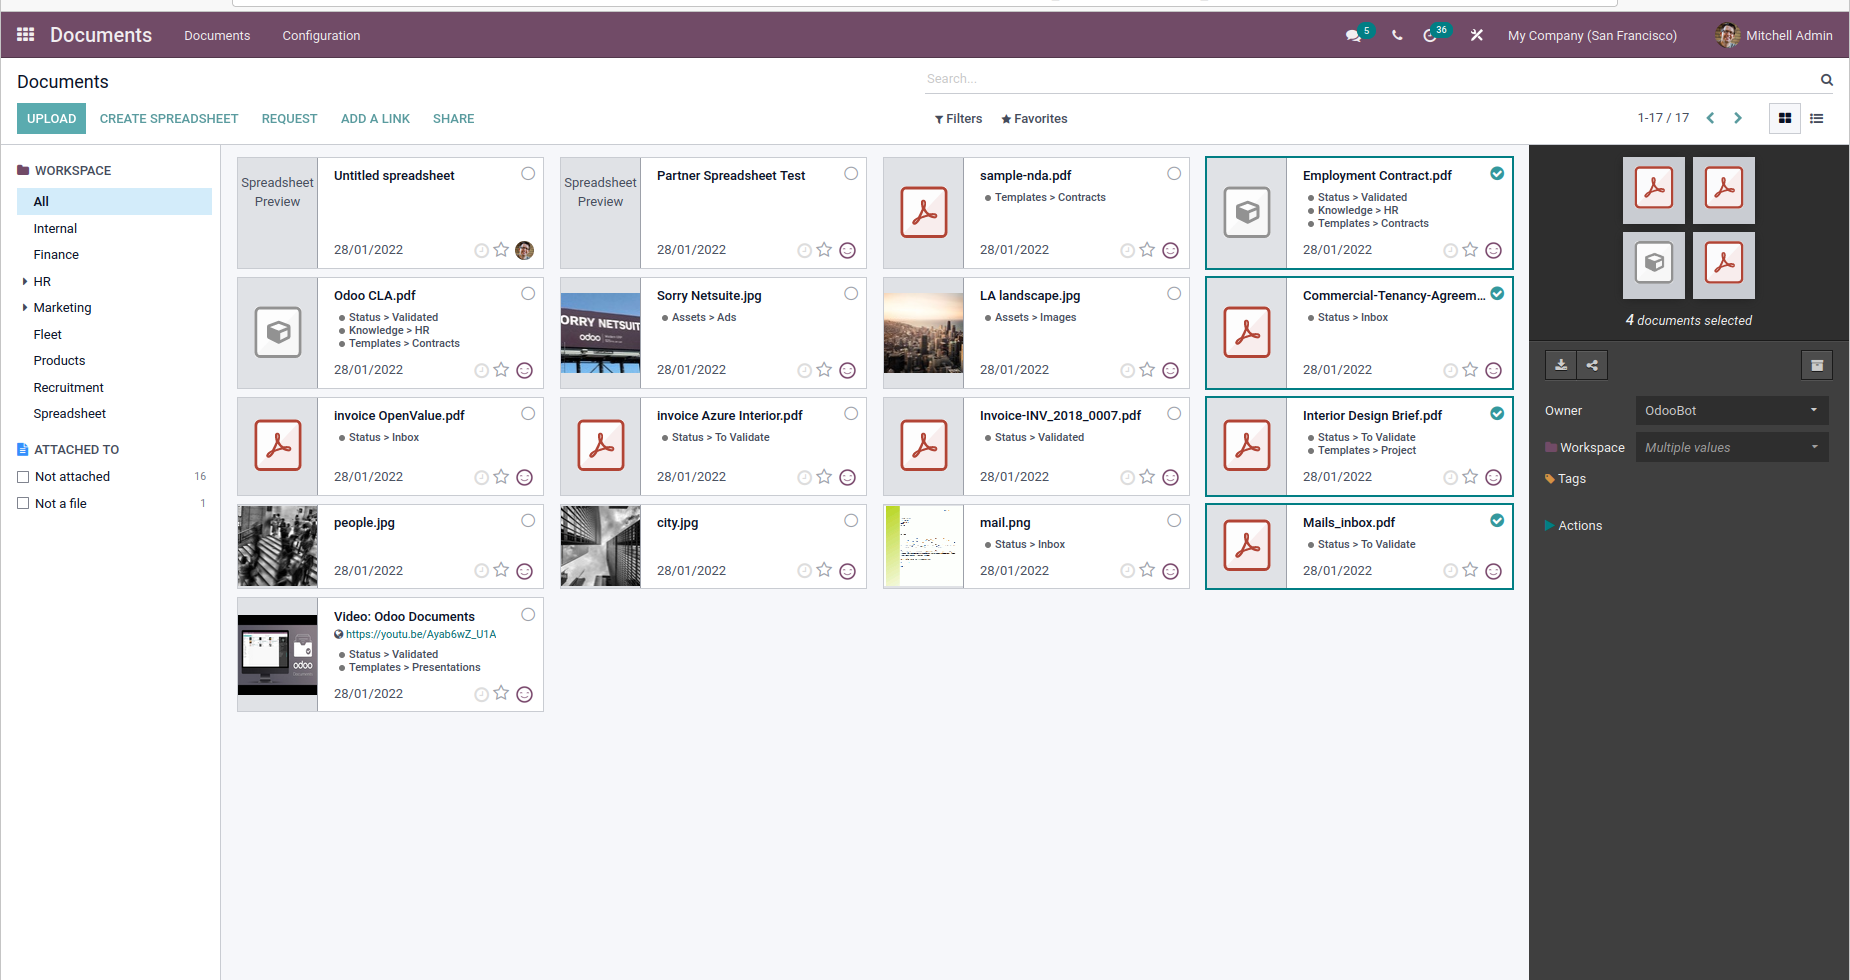
Also, we can select multiple files instead of one for modification. When multiple files have been selected, the options for modifications are lesser than a single file selected. That is, you can see below that I had selected 4 documents at a time. There only download, share, and archive options are available. And also, the modification we can make is to the Owner, Workspaces, Tags, and Actions.
On the left side of your screen, You can also view just the files with these specific tags. There is an option to select a tag and you will be able to see the specified tagged file types.
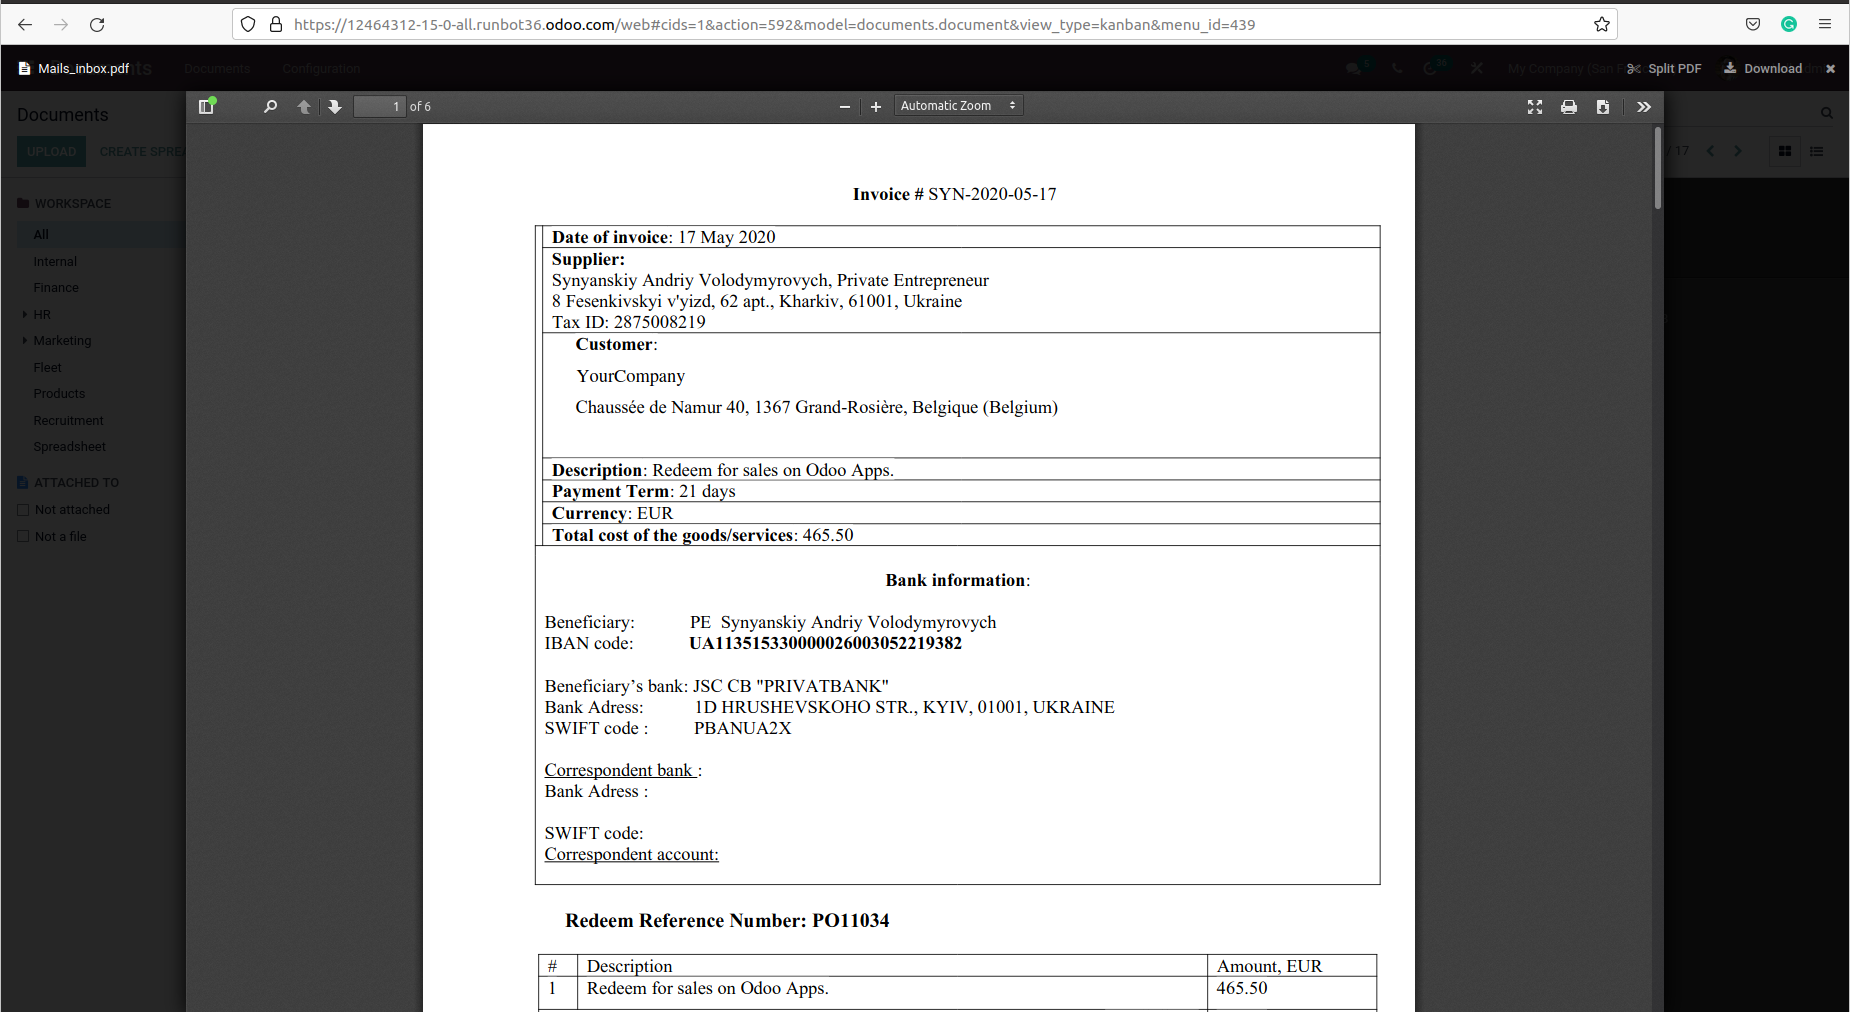
Now to preview the files, you don’t have to download the files but just click the file’s thumbnail symbol on the left side or right side and you will be able to see your file as shown below.
Let us see how to create a New Workspace,
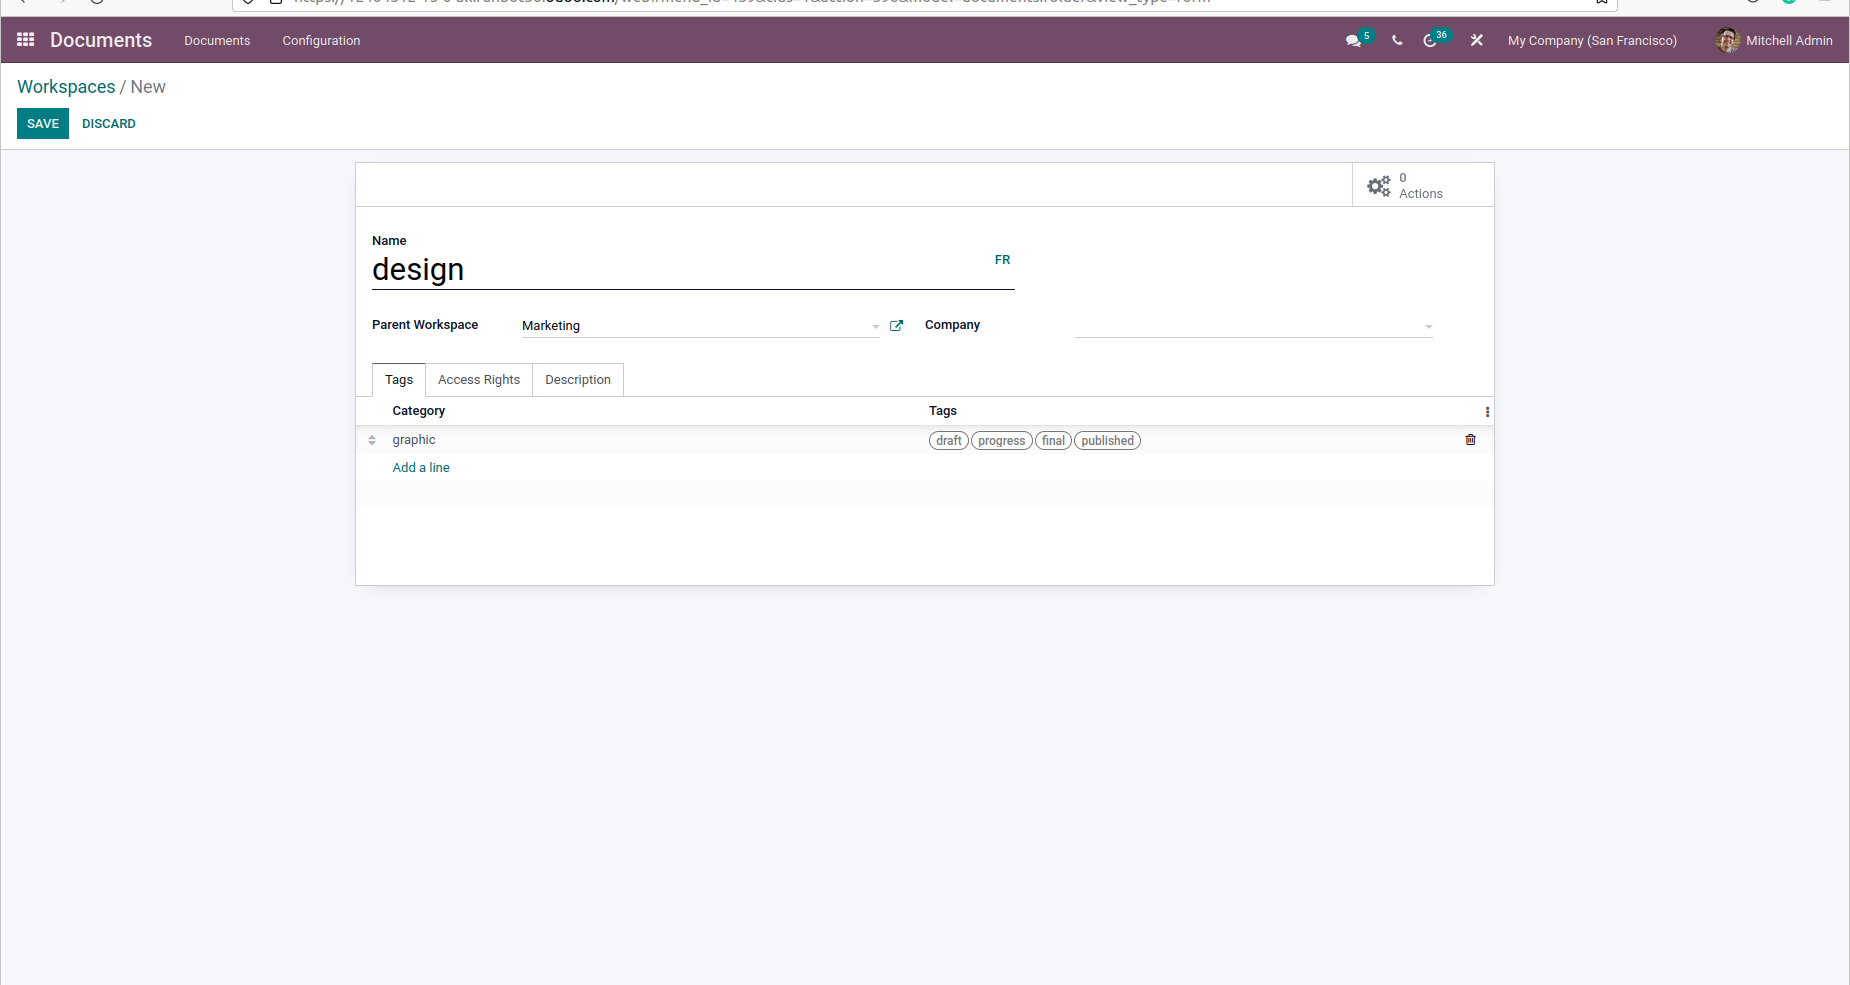
For that click on Configuration–>Workspaces–>Create–>add the ‘name’ and ‘Parent Workspace’.
You should note that all tags from Parent Workspace will apply to the sub workspace automatically but, you can set specific tags just for the sub workspace as well. For that ‘add a line’ in creation of workspace page–> create tag categories–> give Name–> add a line (draft,progress,final,published) as shown below.
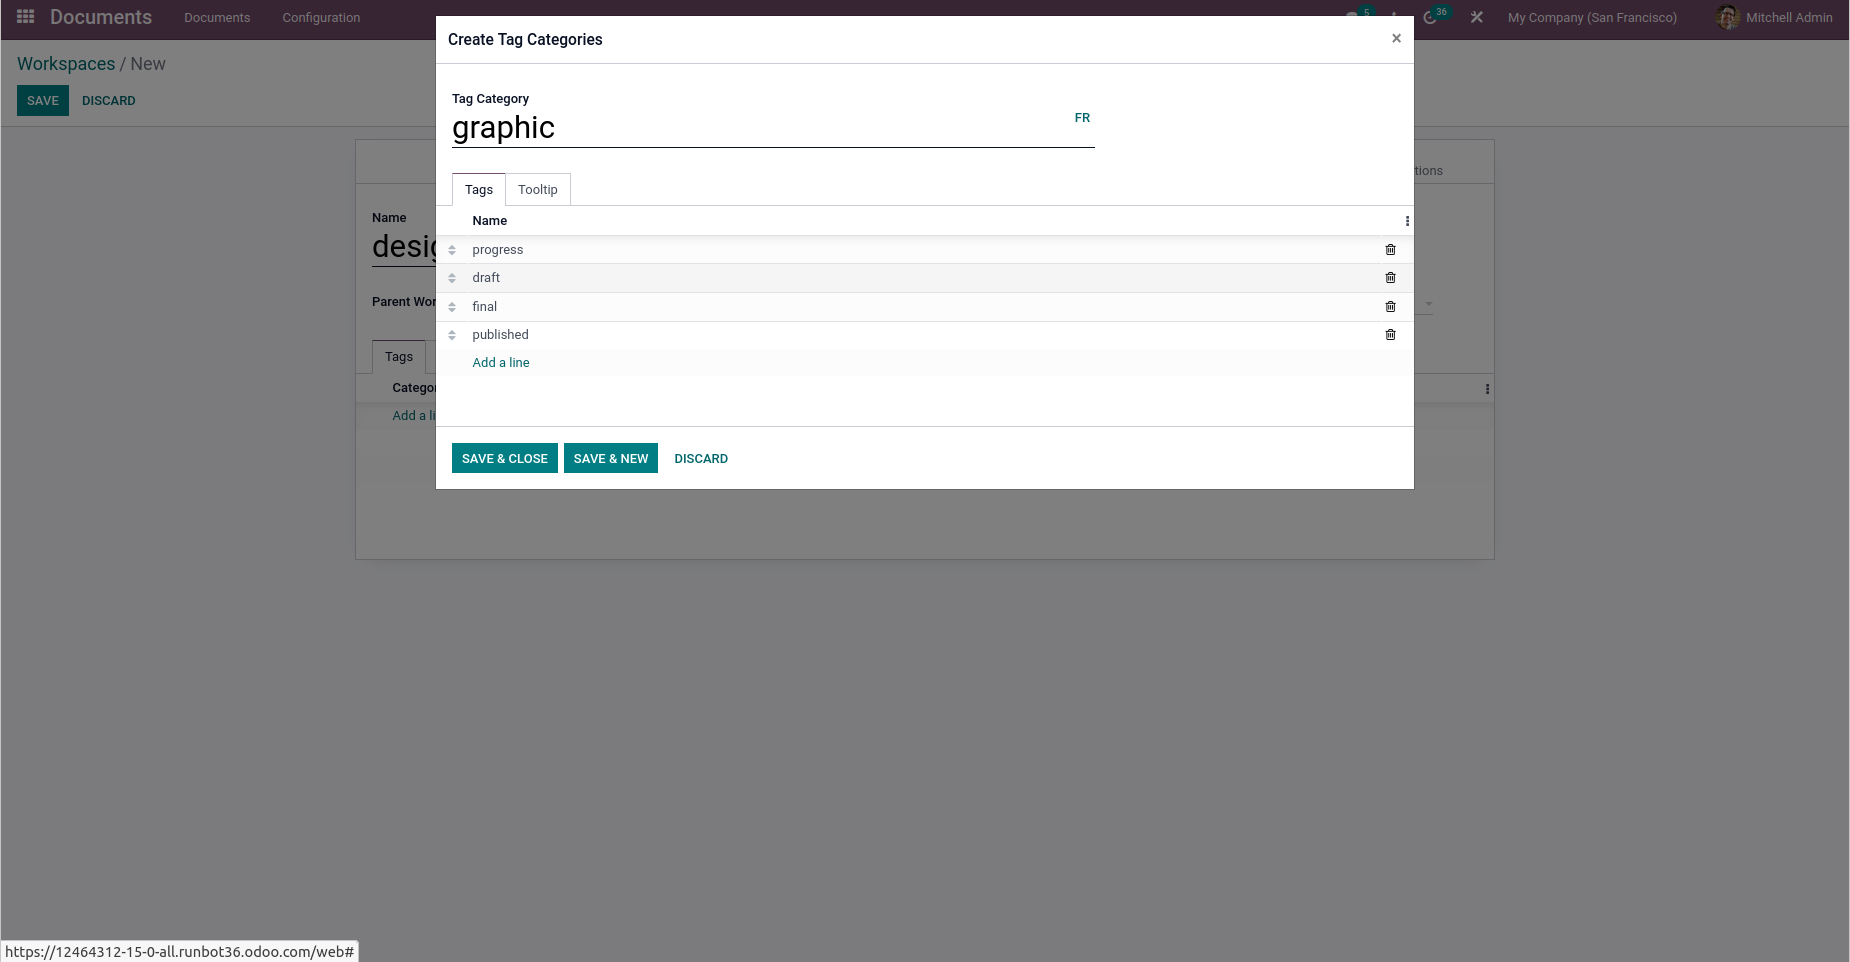
So tags are essential because that is the order that which they will appear on the application. You can also rearrange the order by dragging the mouse and even deleting it. In the above you can see an option ‘tooltip’ here you can add description related to the tags and finally save and close. You will see a workspace created as shown below.
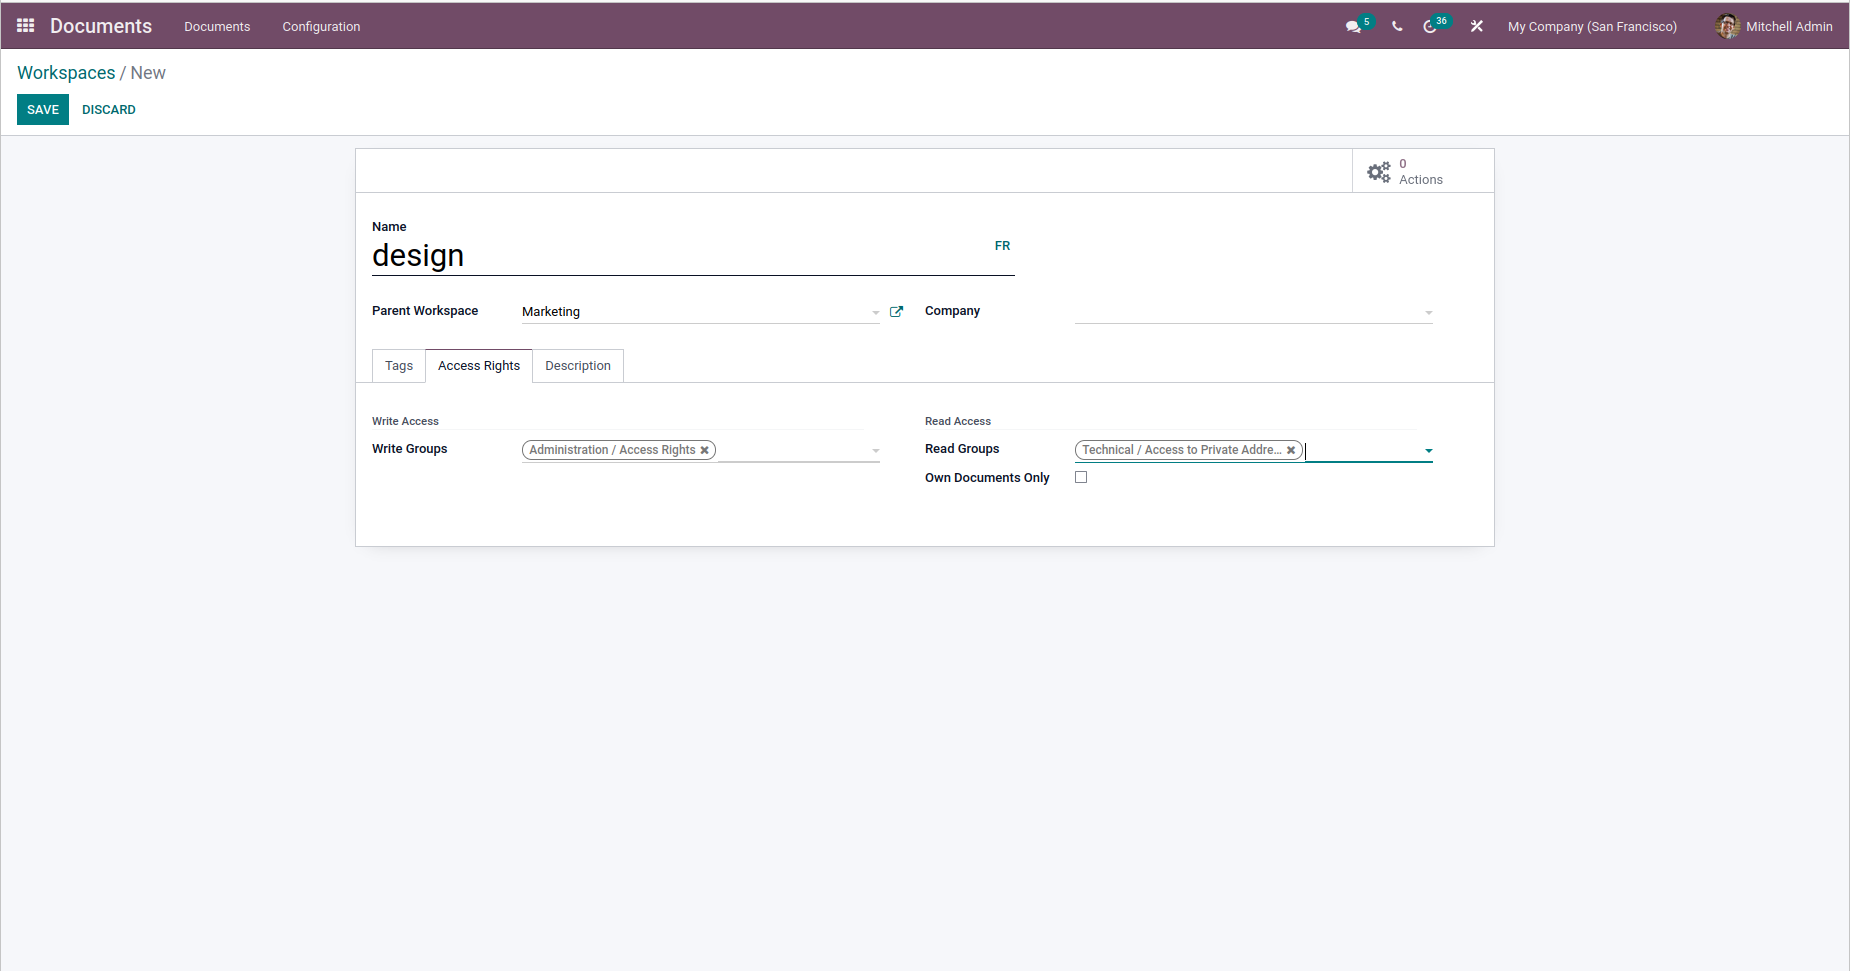
You can include the ‘Access Rights’ in the workspace. That is where you can give access to read and write by a selected individual/company. It is shown below and saved in the workspace.
Likewise, you can create the tags,
For that click on Configuration–> tags–> create
Now let us see how these documents are used with the Accounting module:-
Odoo Documents application allows us to convert our invoices into bills easily and automatically register them into the workspace.
Let’s move on…
For that firstly you want to activate the Accounting option. To do that you have to go to,
Configuration–>Settings–> Accounting, then only this app will be used for accounting’s documents for the invoices of your company. And add a workspace Finance as shown below.
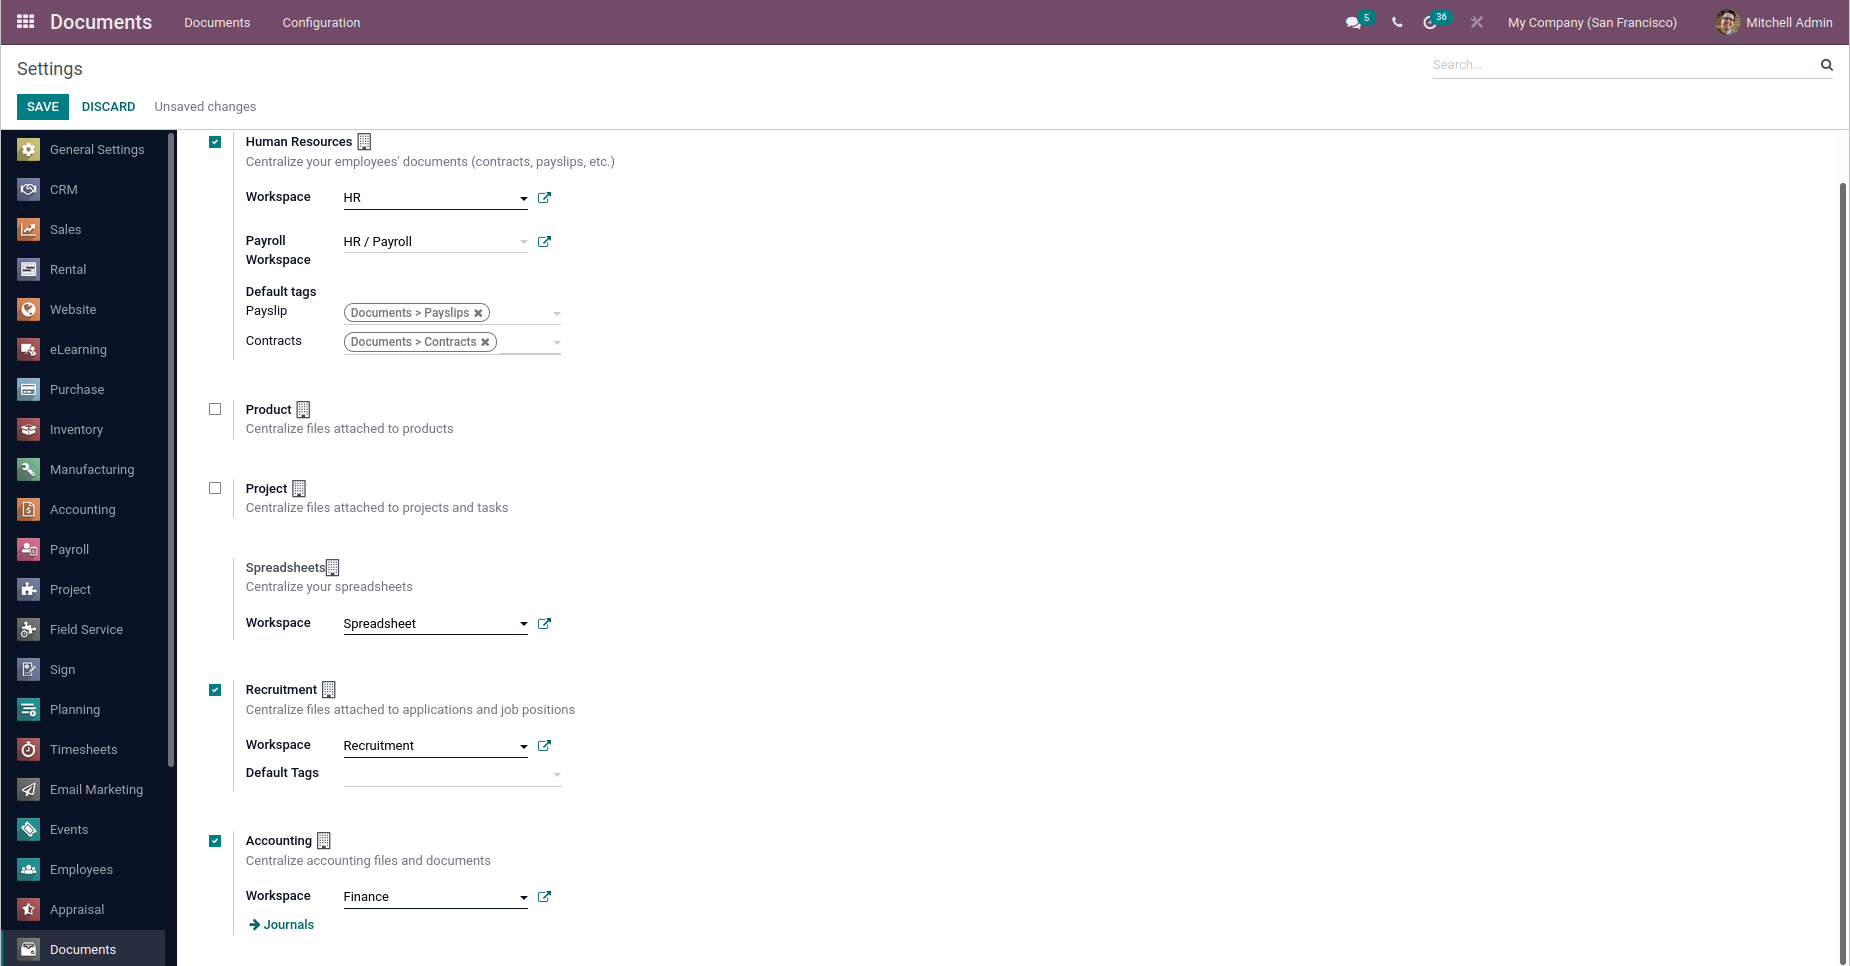
The workspace selected here as Finance is to make sure that you are sending the documents to the Finance workspace and then go straight to the accounting application.
There create a new Invoice–> add Name and lines in it–> Validate–>send(but no need of print since documents are digitalized).
So once send it will also send to your Documents application. To check it open the Documents application–>choose the workspace which you had already given before in settings and the document will appear here and preview the document. So thus we can see the information that we had added before while creating the invoice.
DOWNLOAD Odoo 15
We’re available by phone or email, with a 24-hour response time in case you need immediate Odoo erp support. For more details,Call us on +91 88912 49995 or +91 70250 75566 email us at info@bassaminfotech.com
"Unlock the Full Potential of Your Business with Odoo ERP!"
"Get a Cost Estimate for Your ERP Project, Absolutely FREE!"
Get a Free Quote